Sarkany
-
Posts
39 -
Joined
-
Last visited
-
Ah! Curses! I'll try to fix it when I have a moment. The screenshot I posted of Mids isn't SwitchFade's build (although it's close) as I've upgraded to more purple sets while maintaining defenses, improving speed/slow resist and upping damage output a tad in the big hitters. I just hit level 8 and I am crazy busy with work so it's going to be a bit before I can post a helpful playtest eval
-
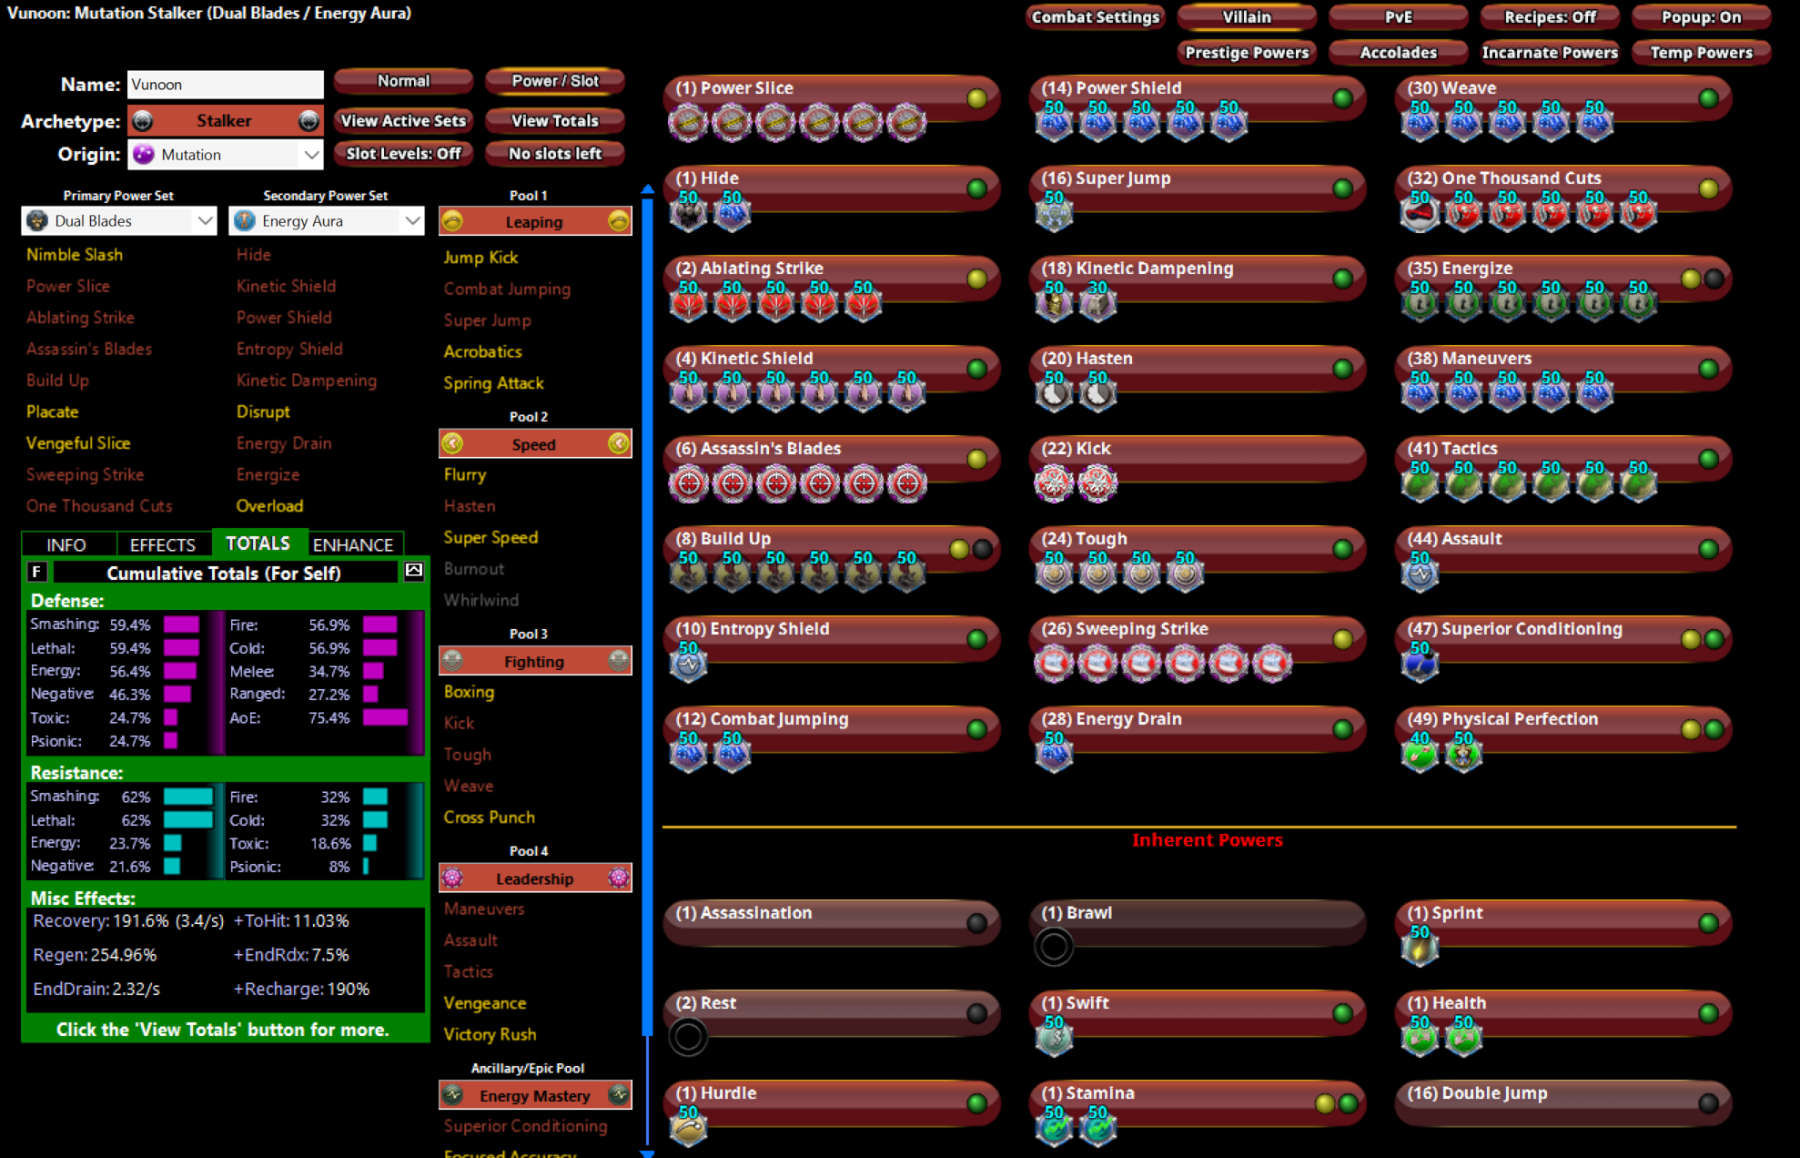
My friends! After a brief respite from this game, I return with interest in a new powerset and build: DB/Energy Aura. Once upon a time, there was a visionary Stalker who went by SwitchFade. He came up with a build. Said it was super deadly. He showed it on the forums and then deleted it. Others tried it. They liked it too. Eventually, SwitchFade logged off for his final time (I believe in February of 2024, sadly... not sure if he's been back?) I managed to find an archived post of his build, took it and modified it, I think for the better. -Sky high recharge with perm hasten -Sky high typed defenses to foil even the most dastardly of defense debuffs... -... aside from Negative Energy which is merely at 44% (after halving the defense from Hide)... -.... and the massive (and concerning!) toxic and psi holes -Can self heal every 3 seconds -Perm energize on demand -Energy Drain as needed for more end -Note the fun Armageddon with knockback to knock down slot in 1000 Cuts Resists are... ok, I guess.... but nothing that a Incarnate barrier can't fix, that's for sure! I believe the idea is to combo into the sweeps combination with a BU> assns blades>ablating>sweep>power slice attack chain, occasionally throwing 1 thousand cuts around for the hell of it. I suppose the idea is that you get a ton of damage mitigation by simply knocking everyone over. the 190% recharge rate probably let's you cycle knockdowns constantly, especially with the 4.3 sec recharge thousand cuts Reactions to the below? |MBD;24543;1459;1948;BASE64;| |G95fERWUEgAtDnhzLuQFS4VoYMPKX9d9fSpFZ0e0udQvi+hYa2MpvRlzKl89QvmQEmW| |9KrNm0enqq5vieRWyNNaf6mPTWqE921LdjIh5TTgRbAFu//7z95a4y1r/t1nQiL5yt/| |ROafXOZorNT+m0sdItIK3gGgcwiO/RO5f+H1tMMDa6bgMWCJG5Tv/xHb/daSnpIAYco| |2FYpI2KvkwF1qIMpvWyIozzhMg/oNxPPfHRLrBDmqEExUYCP46dUQ+LeqN+rTpmSJdQ| |Hl+k7jHq/xHO2NxDEs6UtDSju9PGLGGAtvwg+t3YGPbYMTqx6ANnd8xTkhJRq9niIJV| |c8You6rmGQ/EABw5vcaaLosjxNHOR1rnS6YydQi7t5OlHD1khpYOMTVbHmzEl4x0zyD| |oUEcvGwalfPEg18iu4M8PYywi7Tp2H3ORETG36ciAFtbBw9BzGaDr19fOLV6Iztns3i| |P3t22qU8q23MeccB9NQO8DazQy4X6DmoIkbiejXwXL1X0E3j8p9SjrzORkXnUsw0dRF| |dV4bOQGzfeuq2EwpJpfvYnTvgPKBF1dJlUWxfdsul4Td3nsp4wwQzbzOjfsttn30dZV| |4RxDGdSTJL/5Ruq0FlUhrwMk/YQht30hOUEBog+QCxYRWwg569sGVZ8FKvucwxPWtyt| |xRylvHdJ1zG1x5F3ftWOGKqw3KdVm3vvzf4Eqe05FcJojCc1LrH5K944oKK7pnaoyyO| |86ZLJL6skoYoID7RXYiCkGYJZzZWaBt6FamBnBDxBlbUQnsCClO6YP7TkstK4AhsY+s| |AsbEXjGipMOK5PZApudwl8S3vkFBr0XF1TaHEgmtgYAhoX1EFygmbSKSBx6pJ5pb7j7| |A29KcTY+u0ZFdhS+Ten8lu8okivMrJt18xTeUS0uM53CnvJg+ORjCAxgS3iC8gDHBFa| |+0u/aEZLdeXxXt7BLdPSa6nQjdeZIBdlLhVnTnj6K86NB8Tmn2RrHPyEBgdSKq0ZiPQ| |Uv+y+2VIdCc9jqfwEHYpJGqqMLlDuAjLUAhKTBBdpaivQiZFV8DLxGvnaraSLELqSrC| |Usm0n9nO8dgGPiK+CyoXNem5+ZOQz8y0I+ZONkRt/3hfKFxbhKohzzzQx0/WUo2kkF2| |BHAtjK2wpnUkA4ljUwnt5x4O5rD3x8Q5YJKWGvG26VX/UnrhY07WskJas8NBOF0/+5r| |7uDjiUuox+7AIuKwZlAiQpTBCL5TNisNGebPRv5NvgBLyUTVUt4138pBm6UbhKPmILC| |4QlMCL+FdbIEzXJx5xitQfgA/wa9spfHjthh7wjuwa5M9xvL62yXrLn4r7c0goxXPbU| |7tgPcj8/NAewiFhvy62KYN/4fhsLdwxFPnJBVVwU0H6BkELIQBCXKfMeqLtR8Jm4IoM| |ckzfaRTw0MyPaLLtjShzuLFKQk1taIC1BESkYIK1BjKode7j8Sf1xHedwrVlGw7cBjN| |zSApgggEVaAy51Qa/jrYbshuQ43IH+37XHzhbQEbK4tolLbIe2yXshLBFWwJjYx/lyE| |M02F1duwEHemOIX6OursAp1htPIjrjccV8vT22TFzjd/+mY9KWRdl+jyuzmk+P8lxks| |ZdwSEt6VvBonIQOSIDqEHTz25E8Ug9vUutd+VazML82UD5fVfVdU1DPK2Jt606Glr71| |v1fGCI62/WKn+wRUVocBKRKEKeslB/7Xzw95WR3LdkXZ4TNqZyvN19z913I+FFGvGuz| |gKMRr4yy9FRC5H/blw8eAj6f2rd6qDxhZ9xeVMtvRlX+/M5Q/wZPN90yJVuMjwyP7tD| |EAWcEM9t8u7TCoZXgn8kiEZ0jieN5rfNOwa26V3gjUTPEvKVXWoKgPpO58zmgWbePb/| |Oa+iJs6ly4ejik/preCcVX+dadoQZfvCgXjO+bjYitWbGaNmk5hml5XEr+3L1i3xtRr| |ZAQ==|

-
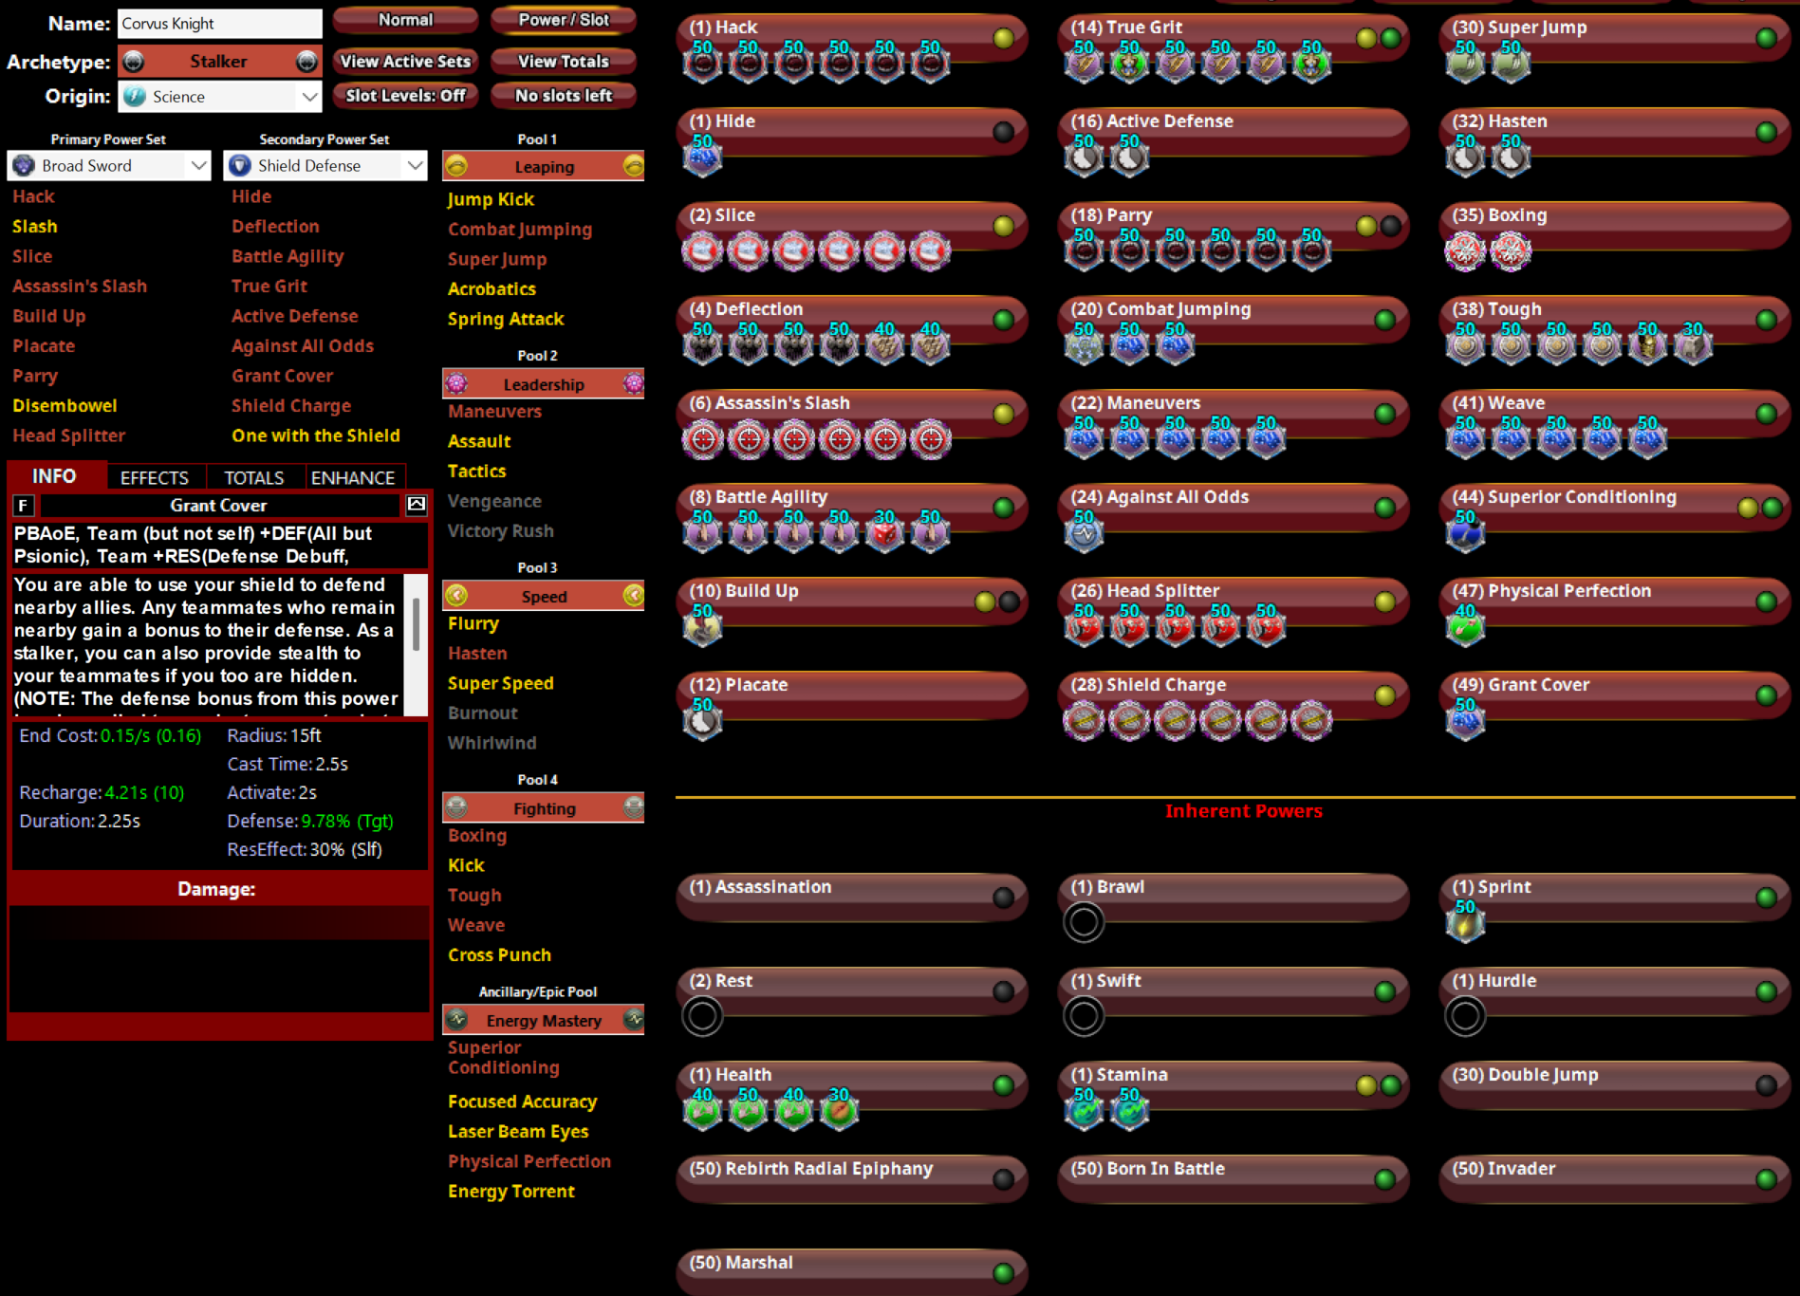
One option: BS/shield stalker (so not a brute)! Super sneaky and applies criticals to BS' huge damage numbers. ALSO, shield charge does not break stealth! Here is my build: |MBD;23910;1483;1980;BASE64;| |G2VdACwKbBuZfSeOBuYtPTK/LkW69lSn+B7d8diJCaylQwRUad+Of82i09XXKbOURy9| |LofRT+ow9N3+qn9NaWbu3pdrRO/vdBZXgCHD6t2qZlgAUYEJQxVW7TE+gAN4w95JTjq| |MUjykhw4cOCaeIDKgRMBMghmAWbQ96PzSzmWFInL6NoXYddE3bT9EYJIbgr9UzLPJGR| |a9ufXBdLXSd+TYZx60NWH5HC8c7L/kKYIe0qYWoxETgr7Ev9L44L/d7QxyskFoOvw6Q| |ude0Hq+STMyVjGX0peSI+okLDuZnO0967YOFYau6zyq+G6evuHe+nTFuIUniyAWErHL| |VOytbP59zunQa2W24Vkkm0/rmdZIw5/Y8lDaD1jQdPHVZv4grxrRktlfFPlhrFafCXs| |vt361LR+ea39KRxfiO92VtcCGL372tHNbJmZjbLzmQIj2wqJzXK8ZHS+rFjNnS8mu1u| |jVcHTNijWAaYpexdAtO+15dPJofDHq926q0MQv7+XI/uNsUvI2zyzlY17JT1U8jB2Cx| |J33wz9bZggWexSkdHyuFWhQ0iMBkC/dyNmir6/t8Dws+Cr4GuukNTOjoMz/yH4rpdXF| |+tpdz6/9xay91JFAM9kpHB4owcw7Ku2DRtlxaDUawLupGsAMTWRTFZB29ibTX3prN/0| |EJnA9jpHT/ZUIwRWeEKxhSYX//akHVdk7BDYOPIycLGejKH651BVAI+6erAcUx8yTpo| |kLEPV5iI8lM0OEaU+yShOL1E/TATErO6J9fGMBiaimgODpZtWayeuGuC+Jckbw5JWbW| |fTUAATraQpCJTPWUNOQhyHAbZXWRUQ2kmP+IUmKrUWLkVpGAIXIbqG6AceR2UFxITjV| |CtV3NhwhealrfQhR3UdYWVRQ7nNQHZ1zkWlcARrCeKIRp3/VT82Qlbk5Cxb1qeOVdcB| |AwW/ZVQ4ocNMVBpwZ2pkLFXfvtbcRf9cMpRYMTVBNSZXrTYRioLTBp2qnMHadip6W0f| |viKTYnQSmJgw7BXb59q79n5AUlsxKy2MVw/ogHHIFSK0it15SxKH65VFeQsZqYiB6em| |/nk0dAgu2Ky0fQJ0uSFObyNW06E23IiI7005q6nZp2ZrJsBlmI5nJNQgdQRAEs6ujg5| |pBVhvc8VHdVvnAyXvfQZxmxDgoKHWCWL7mKtSnAHKybGNUGkjxPmuvFtmHma/1+i+VS| |1kGTQpqyxRB5nQFnzDODIwtBV0sXE1mp/uYfIzk8+cuf18ZXSyfEg+d7xlmfjETcYI0| |arKpze/TKsYaQ3c4tpwN0GIEy/OuVxKl2d2YRz2GgawNzoKqZHAFBRb1ucX4BULpa+B| |BLPg8o635apzwx8JFKHeXFAdUJ2AMeTWQPbqGu+1P2zYDjhhOjfRmK7LXmMI39OX1/E| |98pjHsY7IfBF+7fM3rciiZwlgwYAkT2NqmHnoPbv4zs719ZD3deDCsBUWp9I0izFgfX| |22bOr+w888NHNG7Vr7dayBF0M9sbENfKliLgmIU5SCijj0AzSTnclTwjAVtSLnE9KsM| |L0hi1TzRJZ43Bm4kMpeqH2Im/NiApOU5USaOrCgrfjWFoAhMkhg+WKAzo9G9V8H5GrK| |lssPYMOwuUezxdIMYXv56V20CRi47XvGeeChKR66+10Dw3jBy3rv0KzmYmkkkqcy8MH| |MJcXFTcH48v6kd5sHop0IDZbnn0QGPq05O6KeMYy9aXH6K0y1P7om3mgMrW+xXD97Mh| |MUWJkoV4H+o5y/ifmpz83wR/qXU90xjdQFhNUhX0x8Su59qiPFlt8wJn2oJNLtMPpnH| |EkjM8O/6Cjwc5YV/l1R/y9uytLMzVmjh1G8riqkaKoHvtD9ZdLWuiDji3KbZXgoFfG7| |Rux3arN8LfpRA+Eodmd+K7KrJ51oL0gmpsJEl14H/Jt9DQrVb2wg9vn3yo4xlmEyO1e| |4NBe3JQNdfkH+sdc/m81vTAbbxTfEIJxW7Q==|
-
BY THE WAY! Have you seen the massive update on the test server for cloak of fear??? I am about to have to uno reverse myself on this topic big time! Changes in test: Endurance cost lowered from 0.56 per second to 0.26 end per second. Pulse rate changed from every 5s to every 1s. Power is now auto hit (Fear effect still requires a hit roll). Radius increased from 8ft to 15ft (Fear and Taunt still only apply within 8ft). Accuracy increased from 0.67 to 0.8. Power now applies a scale 2 -dmg debuff (equal to Chilling Embrace). Power now applies a -25% kb str debuff on all affected targets. Power now grants + 1.0KB protection for each enemy in range for 5 seconds. This Stacks and refreshes even if only one foe is in range and is capped at 10 for a maximum of 10 kb mez protection. The most foes you have in melee range, the faster you will reach the cap.. Enhancements and resistance now affect magnitude instead of duration. That's a pretty impressive buff! to hit debuff, new damage debuff and new KB protection buff appear to be all auto hit! The old to-hit debuff now gets a huge boost to accuracy! I have already designed a modified build that drops darkest night for cloak of fear!
-
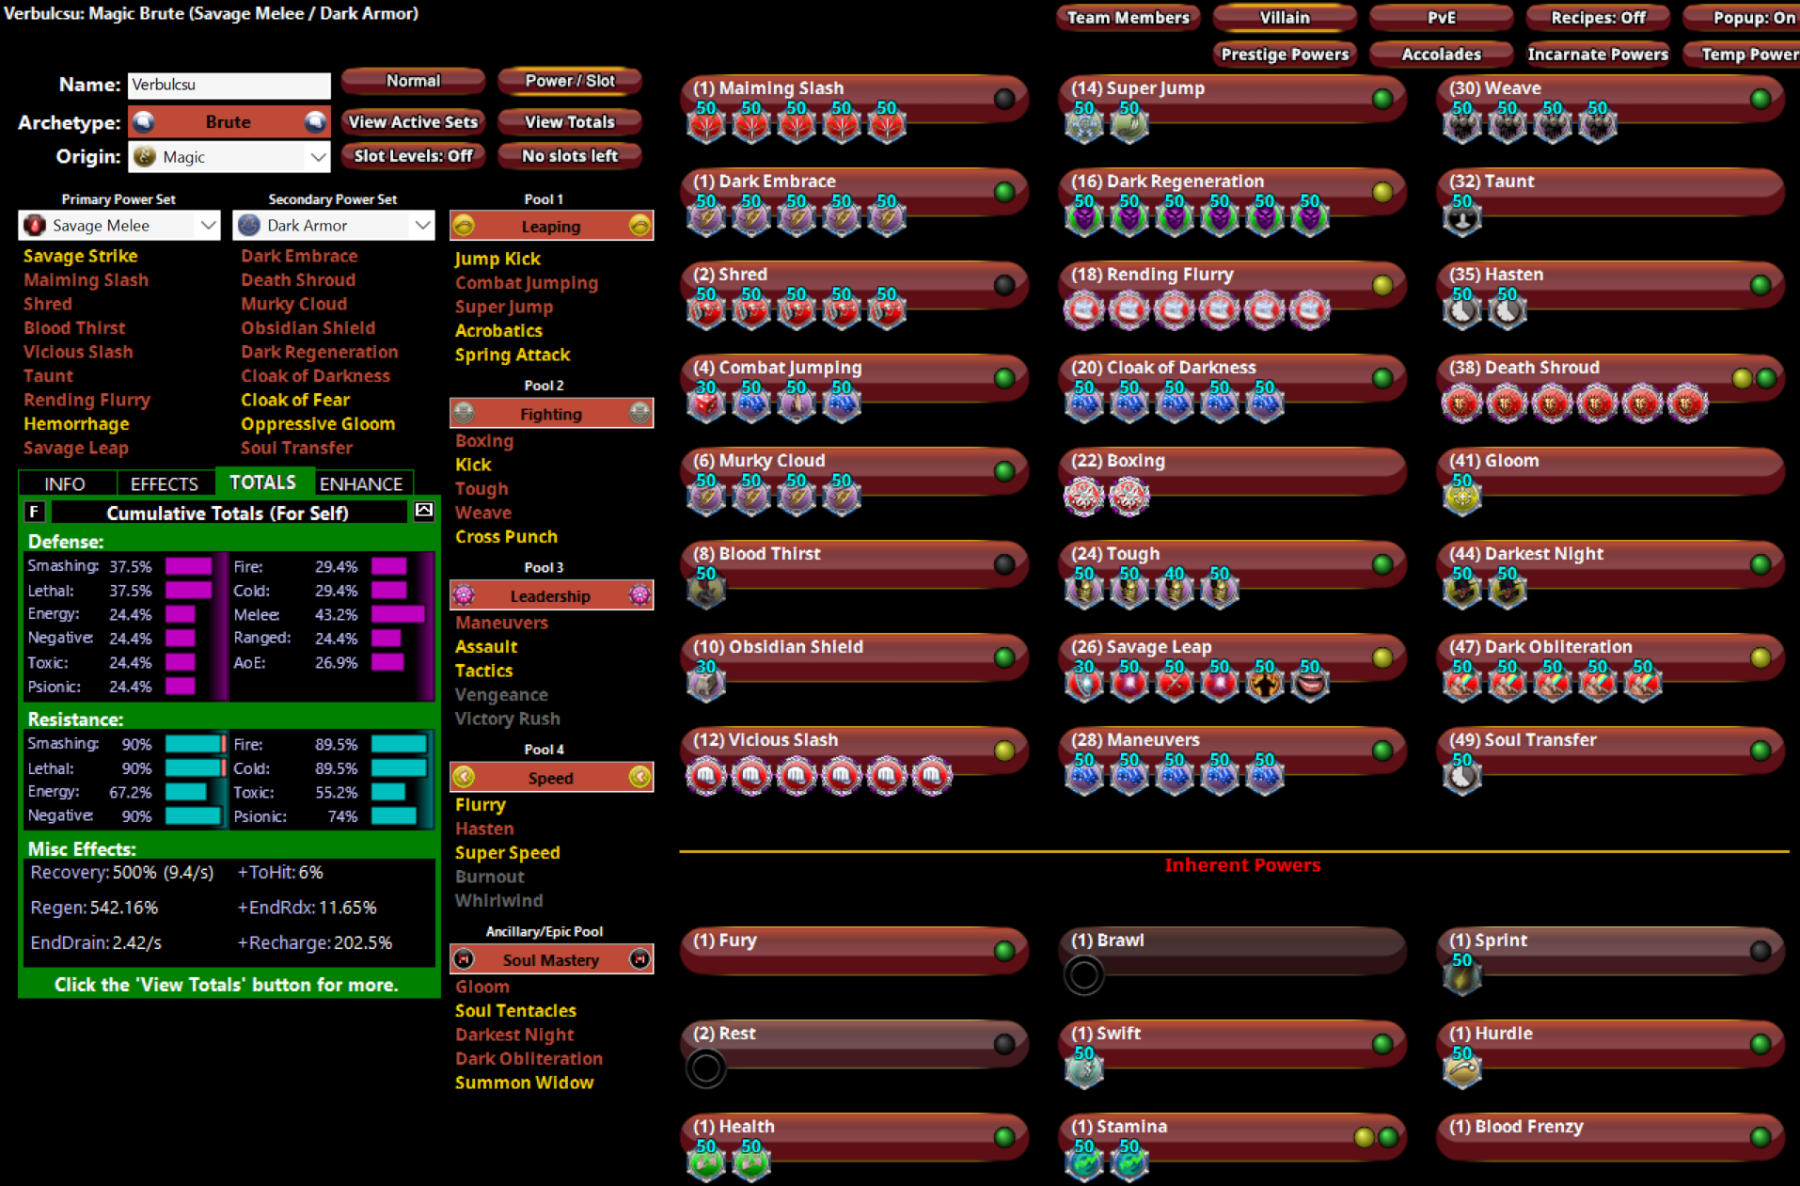
@Snarky @Yomo Kimyata @Psyonico IT WORKS! I can navigate the first mission! I did have to jump away from the mass of dark nictus baddies and then take them out in smaller groups, but it worked. I then went on to the next mission with the crystals and it's super easy... then the server reset on me mid mission and I now have to do some work. POINT IS: New version of build can solo ITF +4/8 missions. When I have a 2 hour block at some point I'll run it through to the end and see if I can manage enough damage output on Romulus. This has been a very fun journey so far. |MBD;25505;1678;2240;BASE64;| |G6BjERWcNgAtDnhzLuQFS4VoYMPKX9d9fSpFZ8fzsyN/HNRWRrcj+ibOpfxrYnmhrhs| |nY6O/WXS6+rrB2Lyk4U/1q6o9WX26ZnU1IvabmDsCEeD5r5XLsp4Z+gE1NDKhUcv+AD| |Wh1mjlkCNKWZvZ7jHngCKgKRQ3I29mCiUh9aDzMwP4j/6O3XFmM6uMZpnwptPASpErP| |V7WhGGRNCr6dCtwXS2NjPzjiOO2BuVvtDzOe+7ZN9ghbW6JikoE8zjjjNIX5/k5/2cc| |K6ShI88fhHtt6+sLiWIVGp6UJJXj+ZDeMD07/oRVi3XhYqEmxUQe+DbEvrTnamiQ41o| |ORyJy3g8qW8/lv5UaKLAF3/k4YF1zdDytSGnFNQMhTg91Se9w3WrwJXYcpC2wdDCMr/| |Q9mWtd0NBL+nYlR8OXkt+l819t1JxFc1/rHoxj32HzH5fmQBXPfDHYvTUsaX86hXLOl| |sInz1EUlzurNa3s9Dx9eD9Y27dRVv1Eq4+yTQSsfjLinr+J8Xi9WDvJzZ+TmaxNAutz| |XtSyNiO42O2Xuol+LCYZLRx8Kwwq0Ln83Ekav5GL6Wnd1mW/7P37K1Z7WpKk1dv2htl| |cfI0/+YupXBfGNUvdtuEX16hSGoVxpdjAogEGiGrDVizevakC8mkp9e1mPffCpTQNQD| |w88bxmsnJQsuk6lBbHkIjGlzQKIfJHEVxxMvCqADR1kV1beCpmYOgJWNUSxErqPNmcm| |MCGG9mryRYFiK48KlAY0S2WaIBkg+Wcjf3cuWhQitrr63e3iiA4b7ySPFFyCq5iVg6W| |kv04w//ZdfjcFZG16lZY6+gm0PVLoFSwAWxKc2G18qnNetGLWH2NPe6A1cHYyq3ksvr| |tiCsub7hQ0LjNF9E4JbKy38yn4+rGs+B7e+KVKWxJ8bK16l70xiCTQBe0xcKSXqvZPf| |6t/Eb5kb95sYPDyAhlqdZf7faUIWwUU6CjvwMYoWaEUUSBx42zaGFJgWS16mZd61jMY| |cH1lpVPX32WLr6yyxpYN6QgabcAlxOqlmHQgRTxLpRkK149r0E5BnwDKISOMsE3g28B| |sjbapbsGujMegBnqZlCrr1md5KvDHZGuO9XaS0iRKXY0KweKHdd8BfGevm1zLPU3JSS| |SiZ6Ch5yp6BSfhFvptbLMSScxbeJW8YreOoCsJpRsEVqQNozZazZvGEUAC1ySwQAUtu| |1wGWEJOsABF9LzsdRtxF5MpiviVTwAX+Whqaug9SPcWdn6RI9080ObWYBZAgwj8nXnt| |fmktD/MnfawOi/9kYffbci0Z3C4H/DKC4uy3NEeHSDyZtbg0GsAv2GW4Nxr0kJ710b+| |/NLUFcBCZV3Nh0gl634QtIPYdRBKlHTyjkvG06OvY+6Bg7qzlPB85SFcHlk+uqSJmy1| |pz6m09M2cakhGqwMm0E7VB8iubjPvAQ8Ez7DGo3QuMUQNSig7tHX7RJAA5L46w67/n+| |gS3rsnCeIuObXalYySmDNb0EELuHQFTSsLvzGPJzsw/mgXOwz9Usf3xb94PFOPAR+4v| |YZcAA9uwRtGNwEY3MoGmpsZ8yzgO35fAyNsKFO7cUQLq3bENxi+XCpQBK1L/dGkeHrk| |ZZXDgAXBoli4qKjoF8n/woKzYHfAheBqQ1aPtRayqTptVTRacE2KGb6GGAAfGj+TvmM| |nCyisJLbRKtGphneyc8i6ZLJcv1seDRhDeAIMIbwChdFJBZw0A87lJuiFW1L3c+QuME| |PNDHpFfn5IVyoI9yCL1oxnpi9wIDhUpNMqAP+tIJIEebEEqSIpzpwRFpJkUW4KCvBC8| |PYh58M4/H8Z2dSRZRFAUbSq4FDgj3EXpBf0ilxNNRDJR0/sb4K6P8RUp8KK7Zv+7HyA| |aN1ujtCK0n2agh9K1eEx6nNHyj4FMlahaC8Jx6W+DOlSPbkzFCHVzCku8e3IFAUWQpU| |Uxf9b0hN1PORWPg7/VF8mOzole+hixVAEGh7r+rOahaGvMaV9qxgnsdudFUMh3TEqtY| |E4uorE5ihm5+tnuvwFVV6fNRjTKYNCDjKdEPVwFrD3qy6q5oxZxOUA0XOP8mWdw7iw/| |WlsFvir+w57gEz5ocikExkxGVMK0J8n5y3Nyr6Ua8W+1+o5+HBjv1mQE0HeggNJHk+/| |VsXhednu3rvKWlDY+Xp88dpDxpZPBxdKMD9BX84LZsOhVNw7c0PvrjyQ28Q+vMn7MvI| |wykZz3vcm+792wekmnbCCM+fqHQ==|
-
Ha! I mean, I built out a BS/Shield stalker to 50 with purple sets in between the last post and now...
-
MY DOODS! Epiphany! I had left my Hybrid slot on Assault... but if I switch it to Melee, I get S/L resists to 98% along with a 500%+ native regen rate! I lose a little damage, but for this ITF test, gain a huge leap in survivability. This should solve the resist debuff problem as well. Made the switch! With the Ageless Partial Core Invocation (+end, +recovery, +recharge rate), I can run full blue bar and full green bar. This also allows me to dump sorcery and switch back in Leaping (combat jumping, super leap) and pick up taunt (a tad more team friendly) while allowing me to add some slots to health (add a numina's heal enhancer to get the +12% regen set bonus and boost health regen generally), stamina (power transfer for heal proc) and darkest night (now two slotted) New version retains 50% slow resistance. Only question is: do I have enough damage output? I think so... WILL TRY TEST AGAIN! (quick test on first cave section is very promising...) @Snarky @Yomo Kimyata @Psyonico
-
Love it! Don’t forget laterally too! So much of the fun of this is lining up those fast recharging cones!
-
My problem isn’t stuns or even fighting mass mobs of bosses… it’s the dwarf recharge debuffs on these ITF solo runs at 8/+4 stuns aren’t an issue either with the right sets on top of DA med protection.
-
POSTED in OP! Added saved file.
-
I do! AND I have a revised build that adds in ignite. It can solo an ITF and runs +3 s/l farms like a beast I’ll post in a few hours
-
OK! So after running that first ITF mission multiple times, I am now quite good at managing the first cave area. The build can manage that entire scene as long as one takes a bit of care in not biting off more than one can chew. In short: a pack of guys with 6 bosses is trouble if you don't eat a ton of inspirations. I am still stuck, however, with all of those dark dwarf/nebula guys on the outside. This version of the build did way better on that score... got through the first wave and then got waxed on the last wave. One option: fight the first wave, kill a bunch, fly away and then return to fight them in smaller groups while letting debuffs go away. Another option: have Archmage Armor ready for the toughest fights in the ITF? I haven't grinded it out on this brute, so can't test. OH! And of course I could go buy a P2W power I'm not sure this is possible with Dark Armor brutes. i think the resists are just too low. Maybe a shield character (comes with defense debuff resistance) or a very high resist set (invul) would work way way way better. Sadness! I'm very confident I could handle +3 version. Still love the build and character. This is a pretty dang optimized version. My next build is a BS/Shield stalker... can IT run a solo +4 ITF???
-
@Yomo Kimyata @Psyonico EXACTLY THE ADVICE I NEED! Easy fixes! Will revise and test again when I have some free time! I can drop a slot from Shred (costs some toxic/psi resist) to pick up the winter's gift IO. I like the fully proc'd out savage leap I have the full Avalanche set slotted which is good Ah! I only need 2 blistering cold slots in Boxing to get to 50% with the winter's gift IO... maybe I do need to drop that extra proc in savage leap... is 90% to hit on +4s sufficient accuracy ? That's where I land if I drop Kismet... kinda feels like I need to keep it, particularly to reliably hit Romulus. So I drop the Lethal Proc from savage leap? EDIT: OK! Decision made! I'm going to drop the fun power transfer set off of Stamina and switch to a +end proc. The fun heal proc won't make or break anything vs dark regen and I'd rather have the extra lethal proc in savage leap This build does end up with a massive toxic damage hole at only 39% resist (!) and a medium sized energy damage hole at 53% resist... but sacrifices must be made and the build does retain a 43.6% melee defense
-
@Yomo Kimyata @Snarky @Psyonico OK! Found small break of time to conduct a short test on the first ITF mission using the most recent build from above. In short... IT WORKS!!! I can tank an entire room! Health bar bounces around, but dark regen keeps me alive. NEW PROBLEM: I don't have enough endurance to run everything. Darkest Night is power hungry! One option: dump the debuff defense version of Ageless for the +recovery version. Trying that next (because it doesn't cost a respec). My backup plan is to dump Manuevers and free up those slots for blue bar procs and recovery EDIT: WORKS! Endurance problem solved even with the 90 sec version of Ageless. I can run this thing! The Romans are facing a new, undead god! One does need to pay close attention but as long as I don't make silly mistakes (e.g., not paying attention to green bar and miss a dark regen hit or fail to engage ROP when necessary etc) this thing sustainably works against +4/8 ITF. BUT NEW PROBLEM (pt 2): The dark dwarves are stacking massive recharge debuffs on me... never noticed this before because my blaster solos this by flying. Those debuffs prevent me from killing them. Advice?
-
Ha! fair. I could do Rom solo with my AR/nrgy blaster but that was definitely not +4. It could very well be that my damage won't be able to hack it. Let's just see if this is survivable first I just completed setting up the build. I don't have much time tonight but I'll try tomorrow and report back