leeper48
-
Posts
62 -
Joined
-
Last visited
Content Type
Profiles
Forums
Events
Store
Articles
Patch Notes
Everything posted by leeper48
-
Agreed. That’s why I exclusively do that process now and don’t settle for the first phase. If you want to give it a shot and see if you can follow along with what I’ve done based on the example I’ll be excited to see what you come up with. And again, if you have any questions along the way reach out
-
The bumpmap side of things is about 10 times more involved than the first phase which is the steps at the beginning of this post (15mins vs 2-3 hours). It took a ton of trial and error to get it as fast as that. I haven't written out or recorded a tutorial on it yet due to how complex it is but here are a couple things to help: When you press Ctrl Shift L (step17 from my instructions) it not only makes ogle.obj mesh file at "C:\Games\Homecoming" it also extracts the images to "C:\Games\Homecoming\bin\win64\live\Frame_000858\Images\" It makes a new folder at each capture and increments the name, in this case, Frame_000858. The image file names are funky and there are a bunch of icons and UI junk I toss out so I'm not tripping over them in Blender when looking for the right image. Also it is a good idea to rename the files to hands, feet, torso, etc to make finding the right one in Blender. The steps to map the images involves UVMap texture wrapping and using a displacement modifier in Blender. Feel free to grab this sample .blend file and images folder to see how I did it for another player recently to reverse engineer the steps. https://drive.google.com/drive/folders/1KulUwrEtmm7ZUDgLJUvCtZcMvSk15G-5?usp=drive_link If you grab the file, you'll want to hide the North49_merged group and unhide North49_working to see all the modifiers. Good luck and let me know if you have more questions.
-
Here is an updated video. Kanga pointed out that some of my shortcut keys in the last video didn't line up with the default Blender setup, so I installed Blender fresh on a different computer without any aftermarket addons so the UI and shortcuts should look like the default.
-
Here is a video of me going through the process as well as some steps that might help with the results with the funky geometry. I hope this helps others with the same situation.
-
Hi guys. I'm around if you have questions in the process. I moved to a new house this past year so hadn't done any exports recently but just fired up CoH with the steps above and it still worked for me. If you look in the gallery link in my signature you'll see I have been able to add bump map textures which adds a lot more details but that is a several hour process. The raw export without texture is 10-15 mins once you have everything setup. Drop a DM if need anything answered and good luck.
-
I don't want to get cocky but I haven't come across anything yet that doesn't port over, so I think it should export/print well.
-
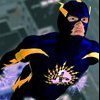
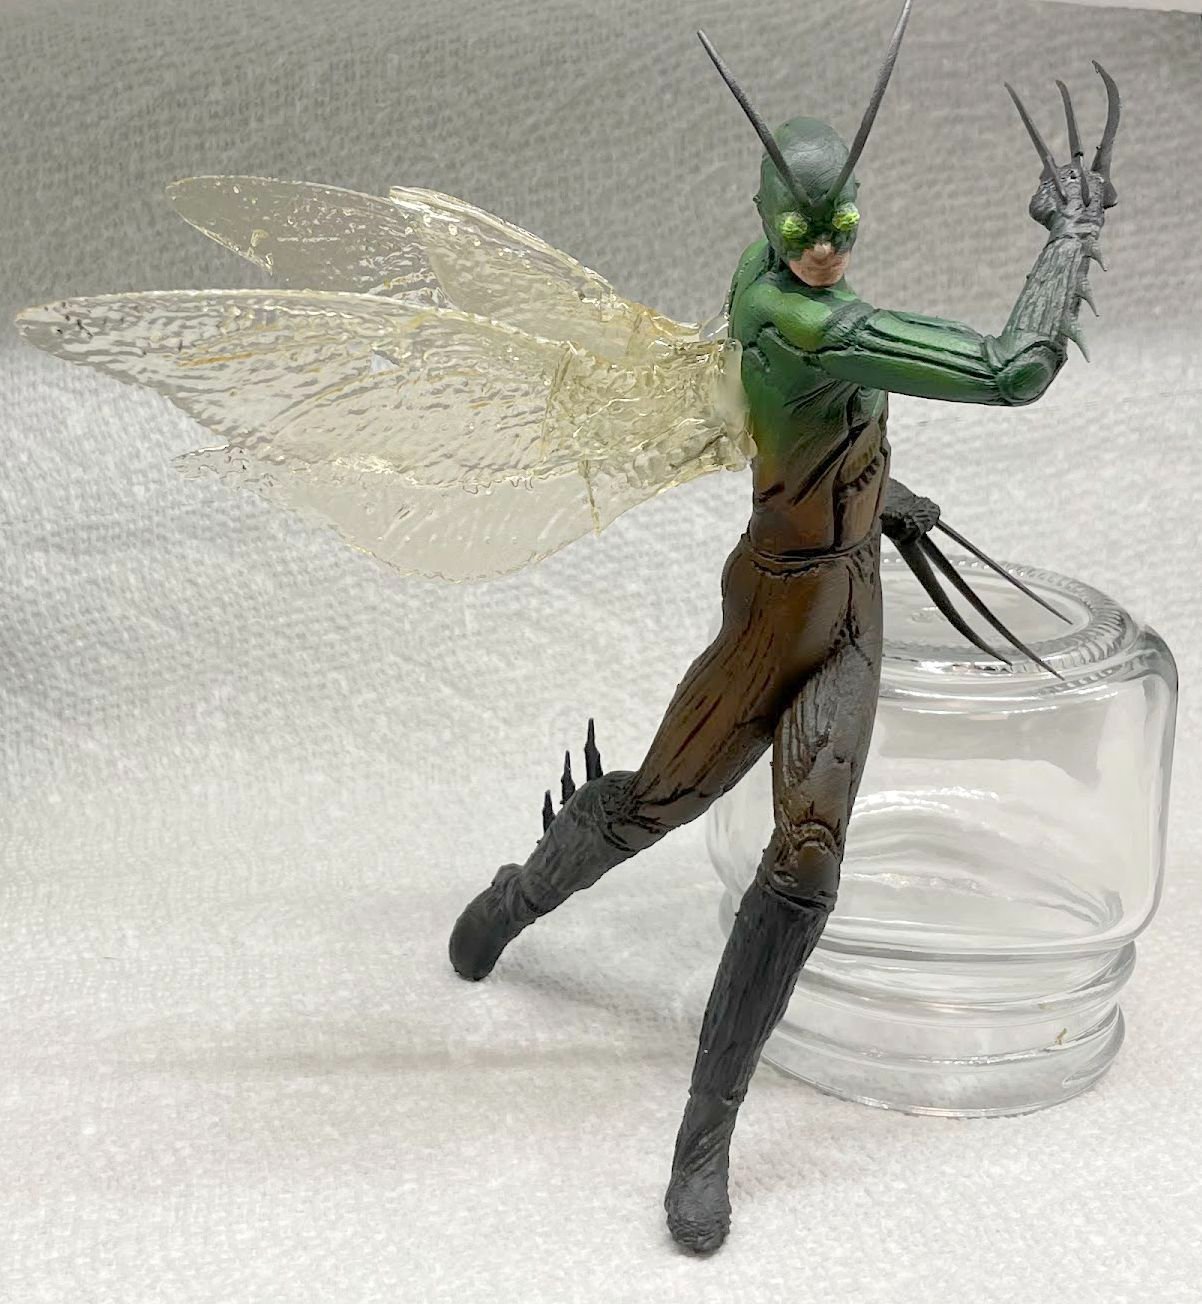
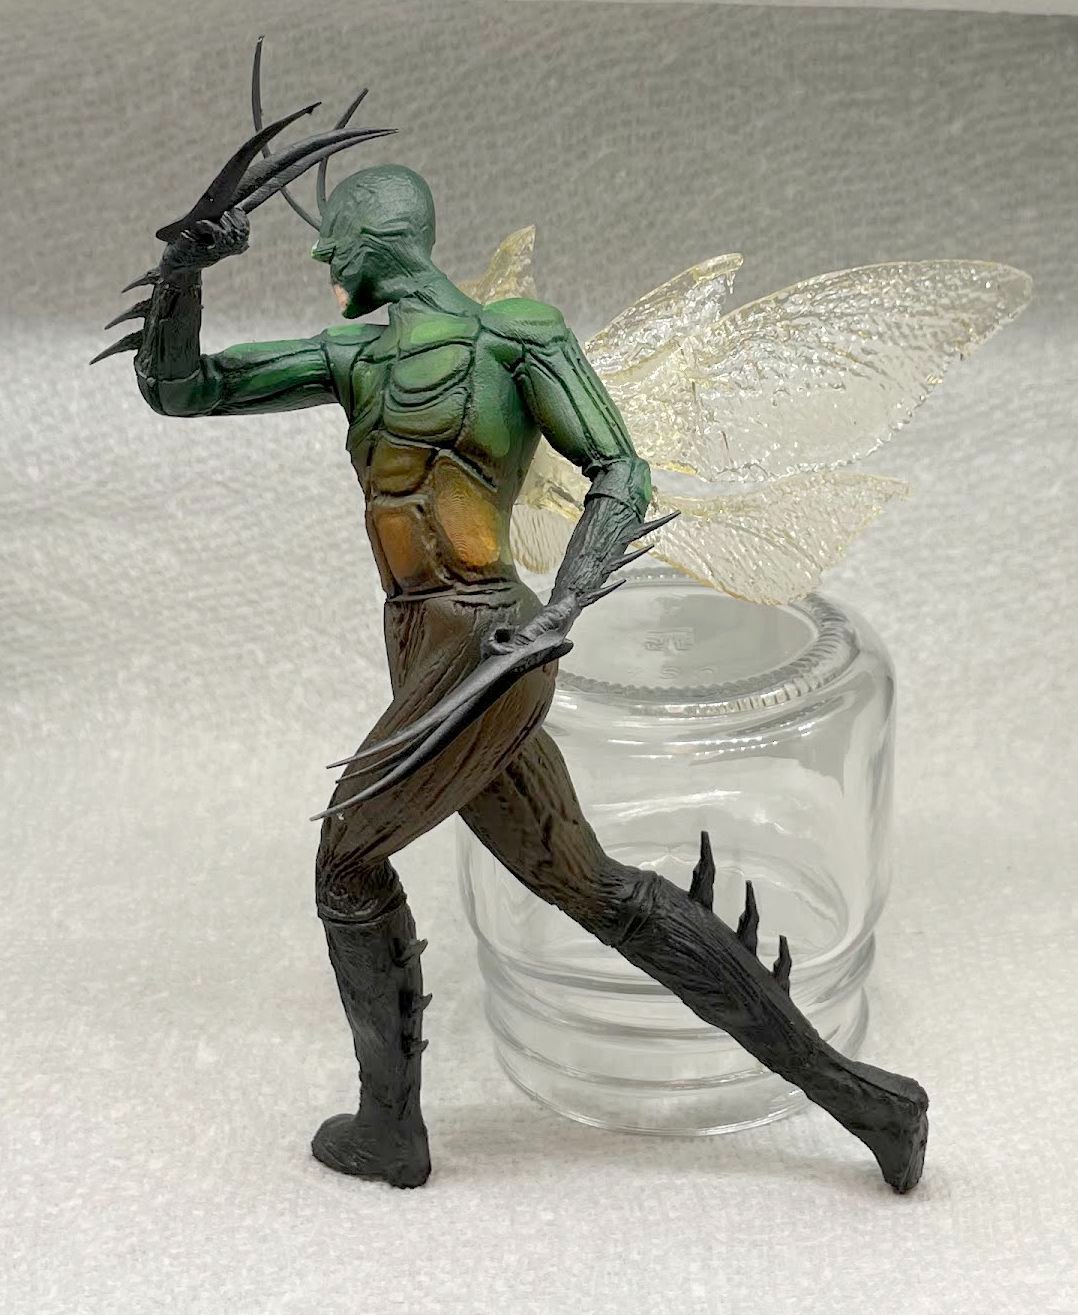
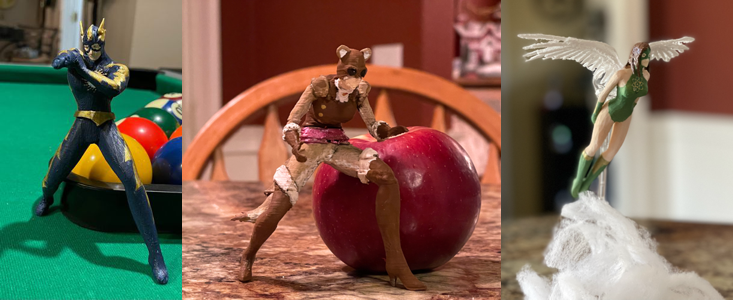
Beetle Man: Level 50 claws/bio Scrapper. Your cordial community bug boy. Printed in gray resin (wings printed in clear) on Anycubic M3 MAX. 1/10 scale (approx 7.3" tall). Bump/displacement textures hand placed.

-
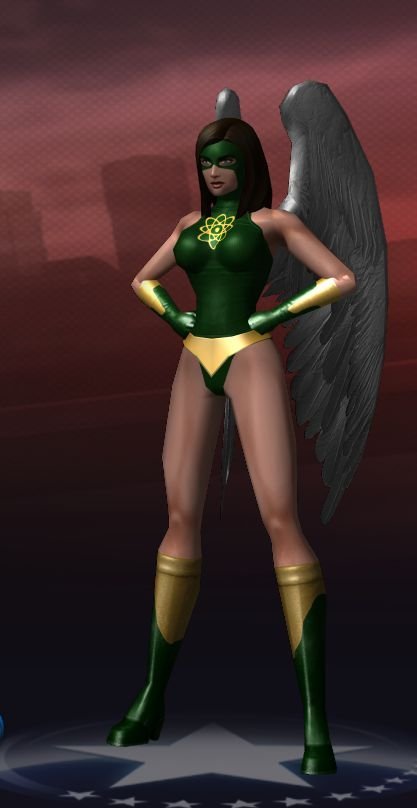
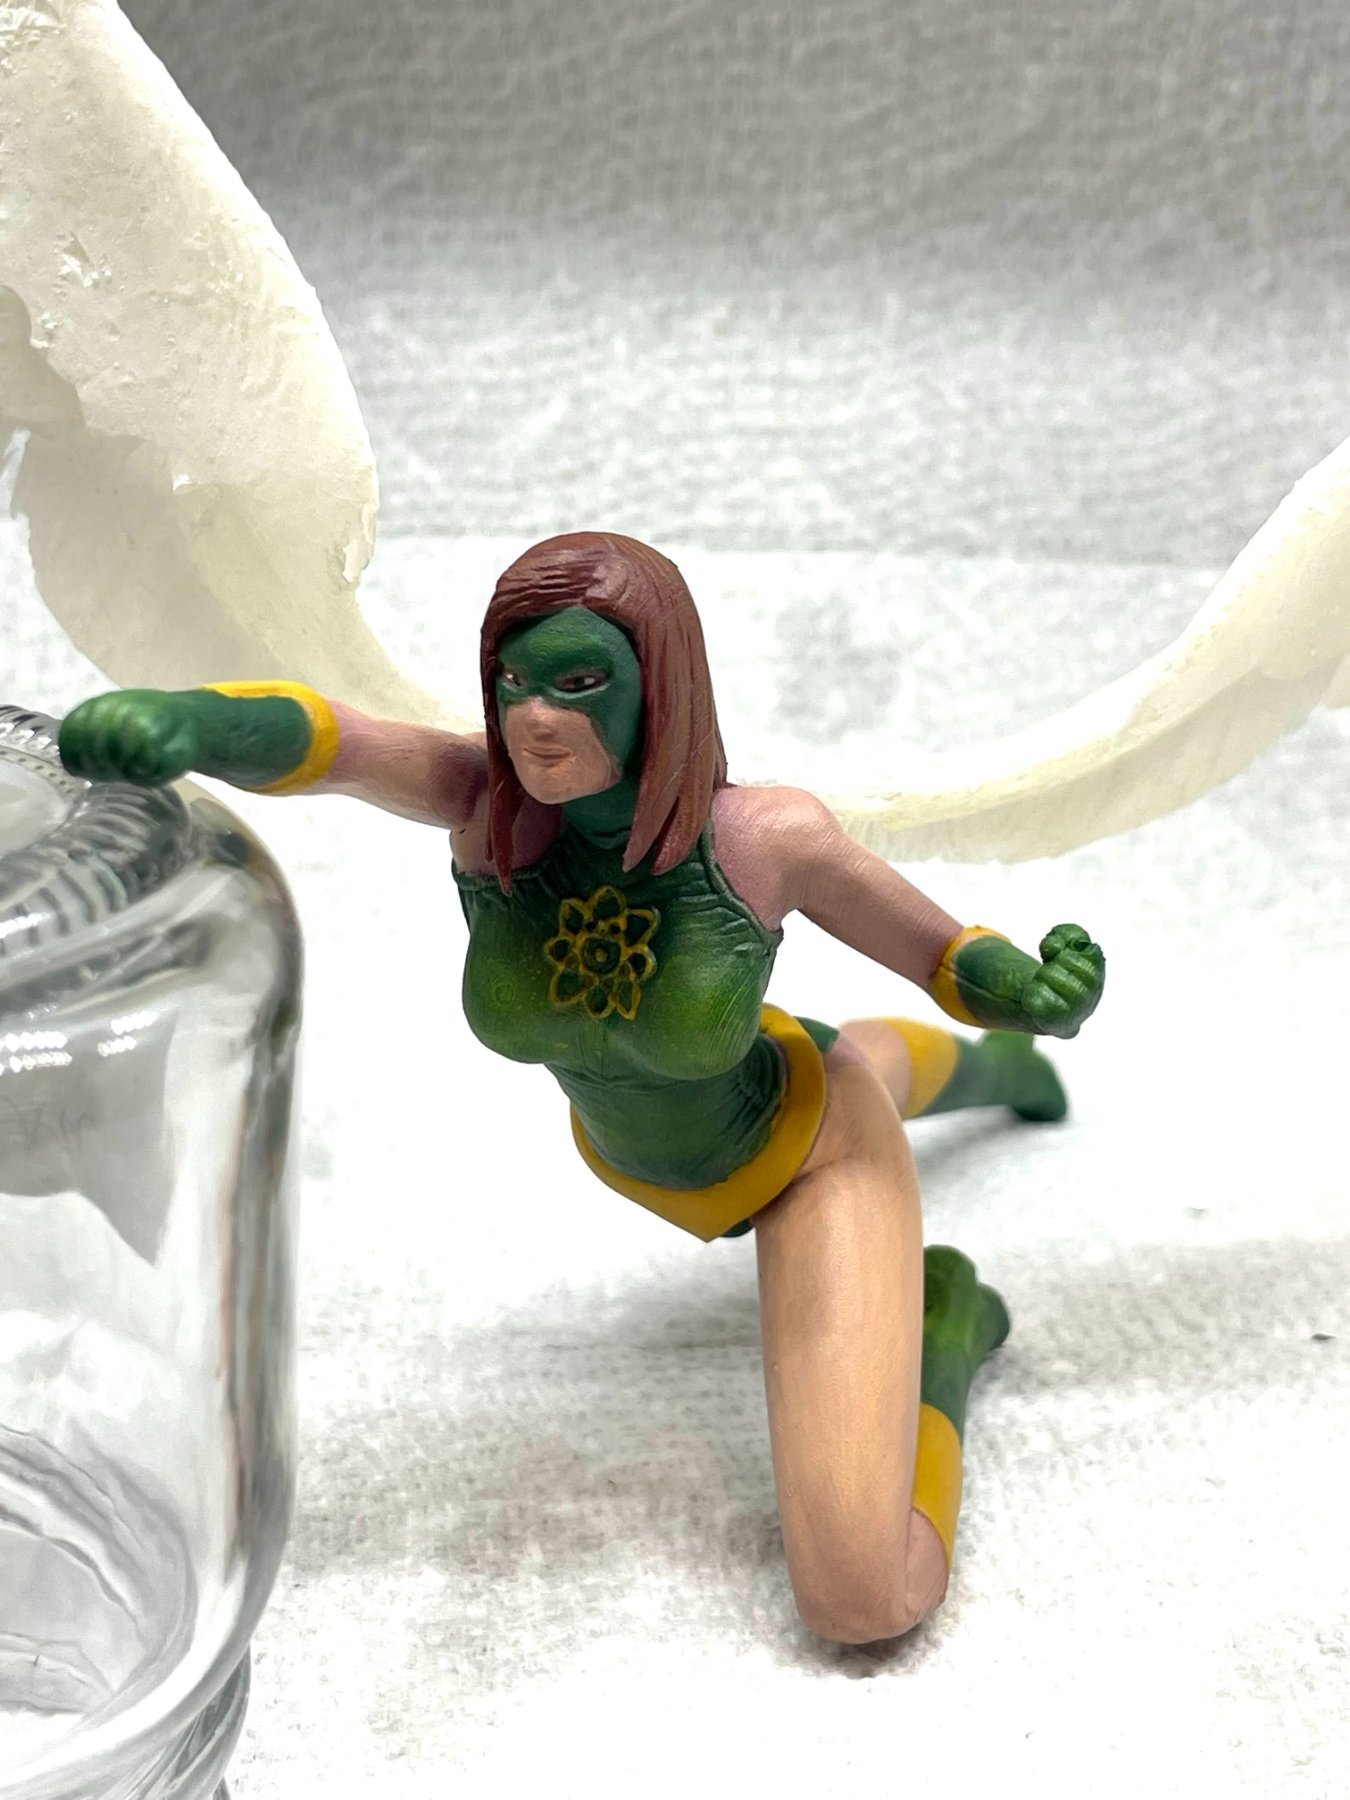
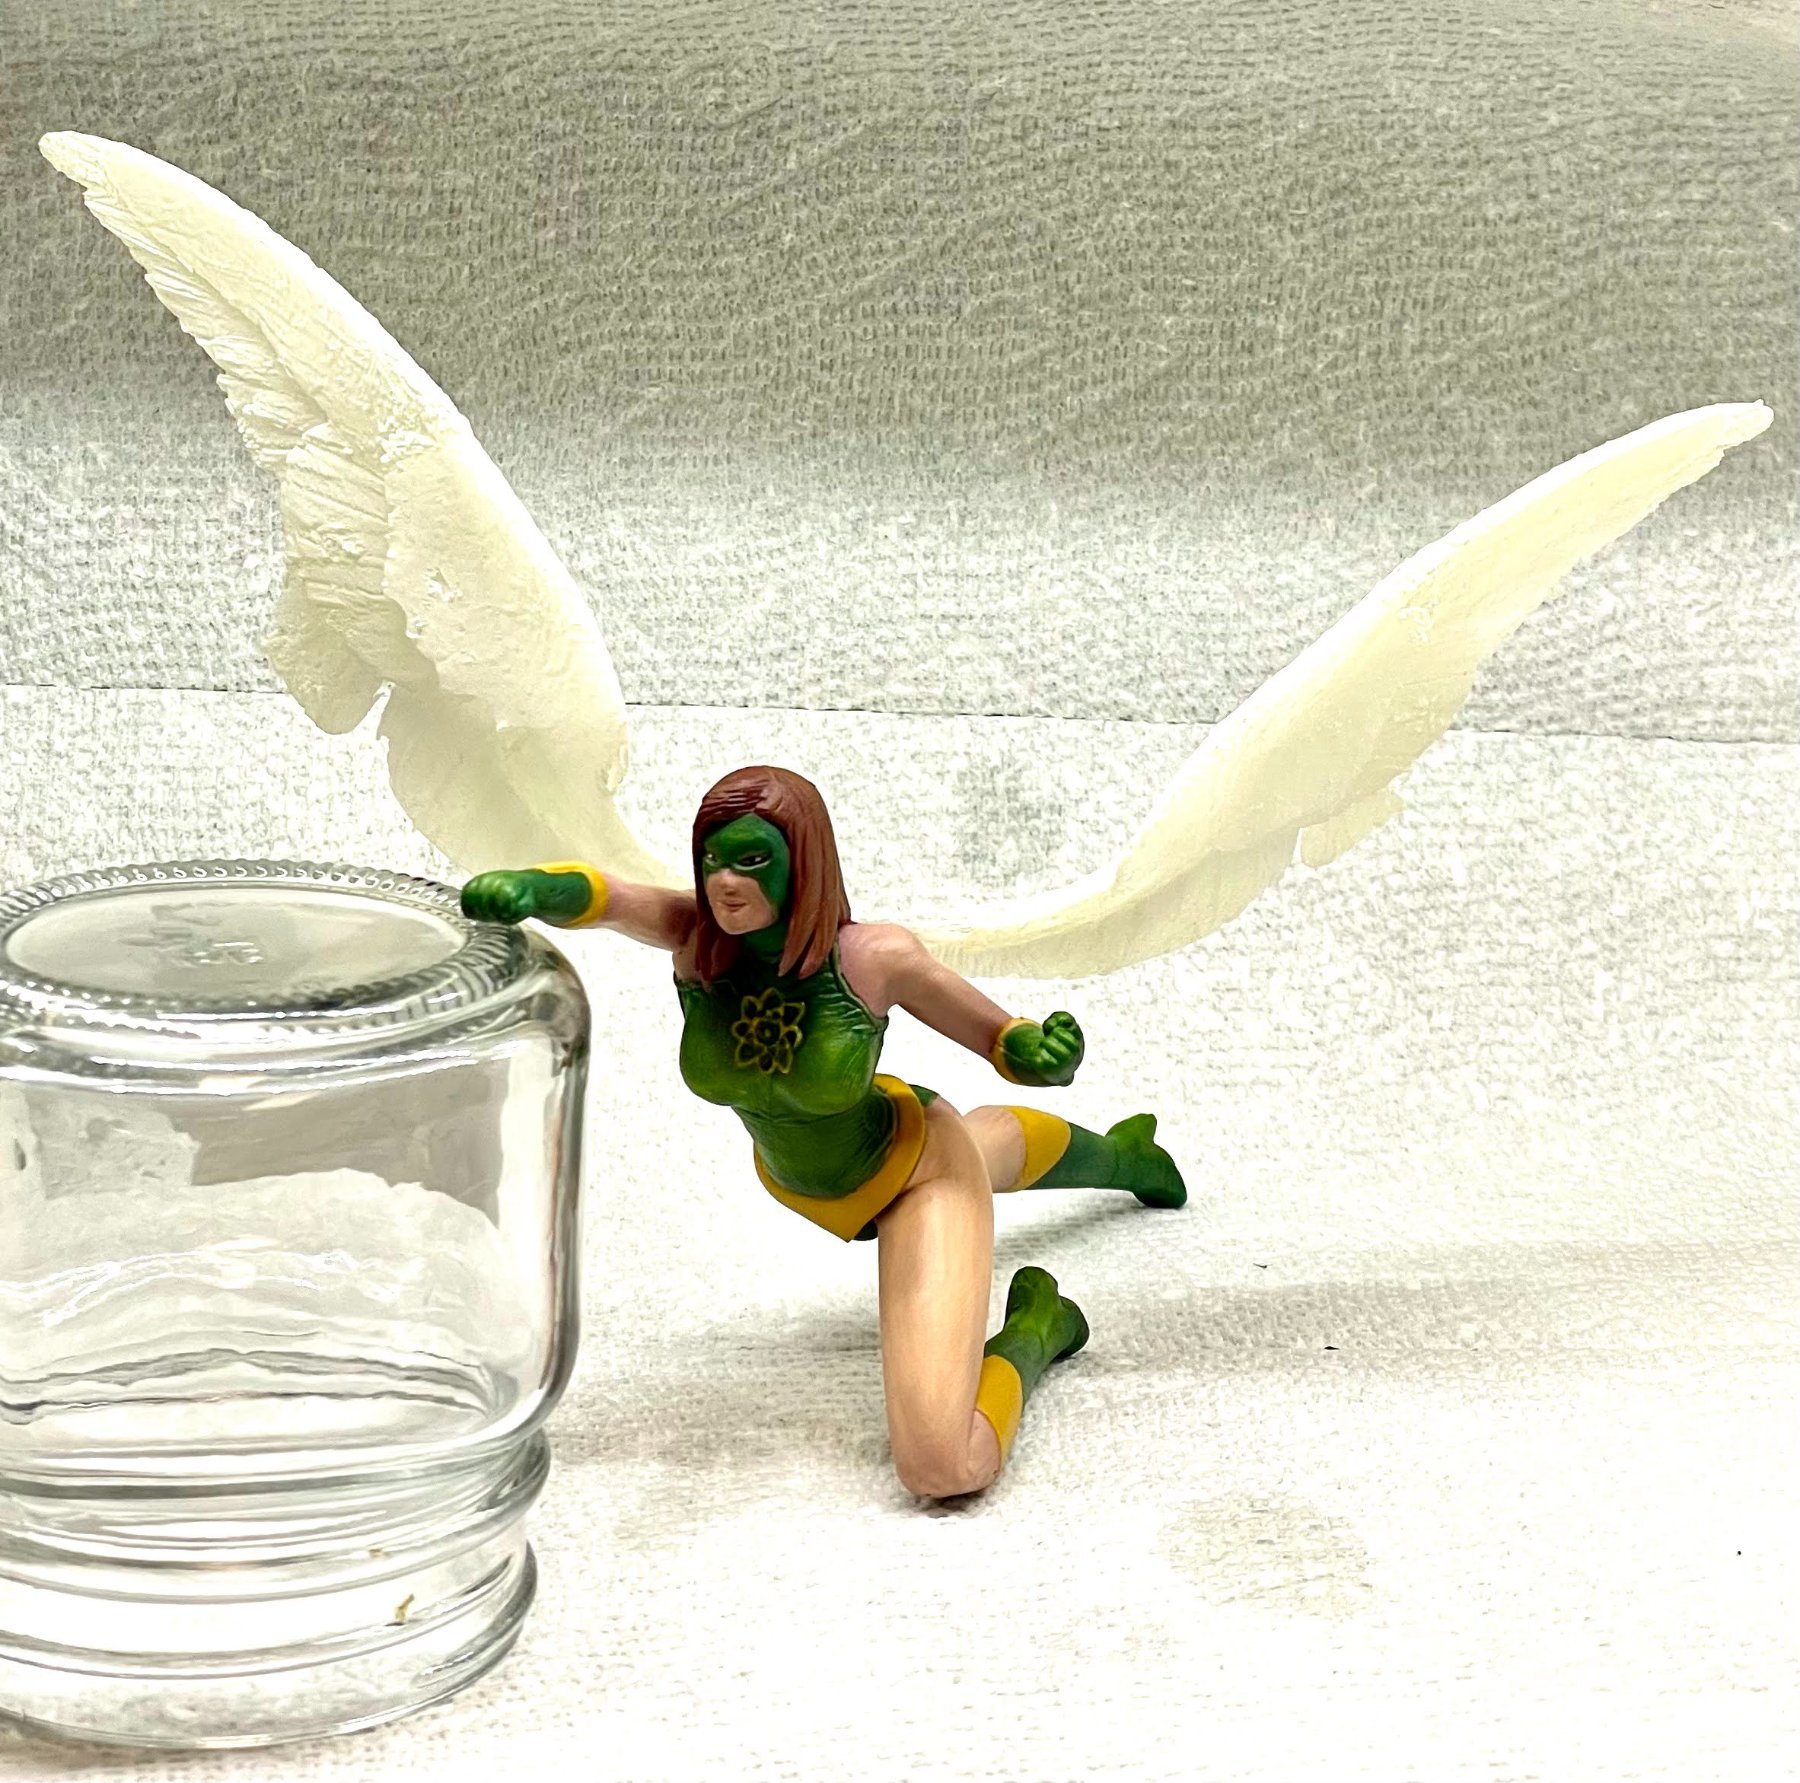
I just finished painting my wife's main. Atomic-Angel: Level 50 rad/rad Sentinel. Printed in gray resin (wings printed in clear with white mist coat) on Anycubic M3 MAX. 1/10 scale (aprox 8" long). Bump/displacement textures hand placed.
-
Filament is a great method to start with. I love my resin but the chemicals, smell, cleaning process, etc is not for everyone. You can get an inexpensive FDM (under $160), print at .1 mm height and get damn good results. I have 3 filament printers. Two large scale and this one https://a.co/d/ip4PCXG This was done on my small filament machine. Ignore the little bits; they flake right off. But if you look closely, the layer lines are very faint. That's the difference between printing standard and fine detail (that said, it takes twice as long, but that's the only real trade-off).
-
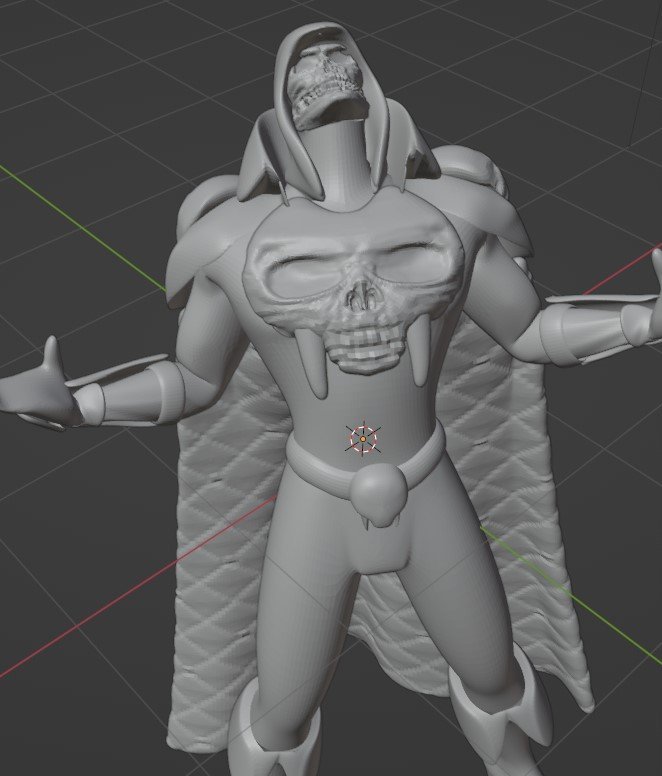
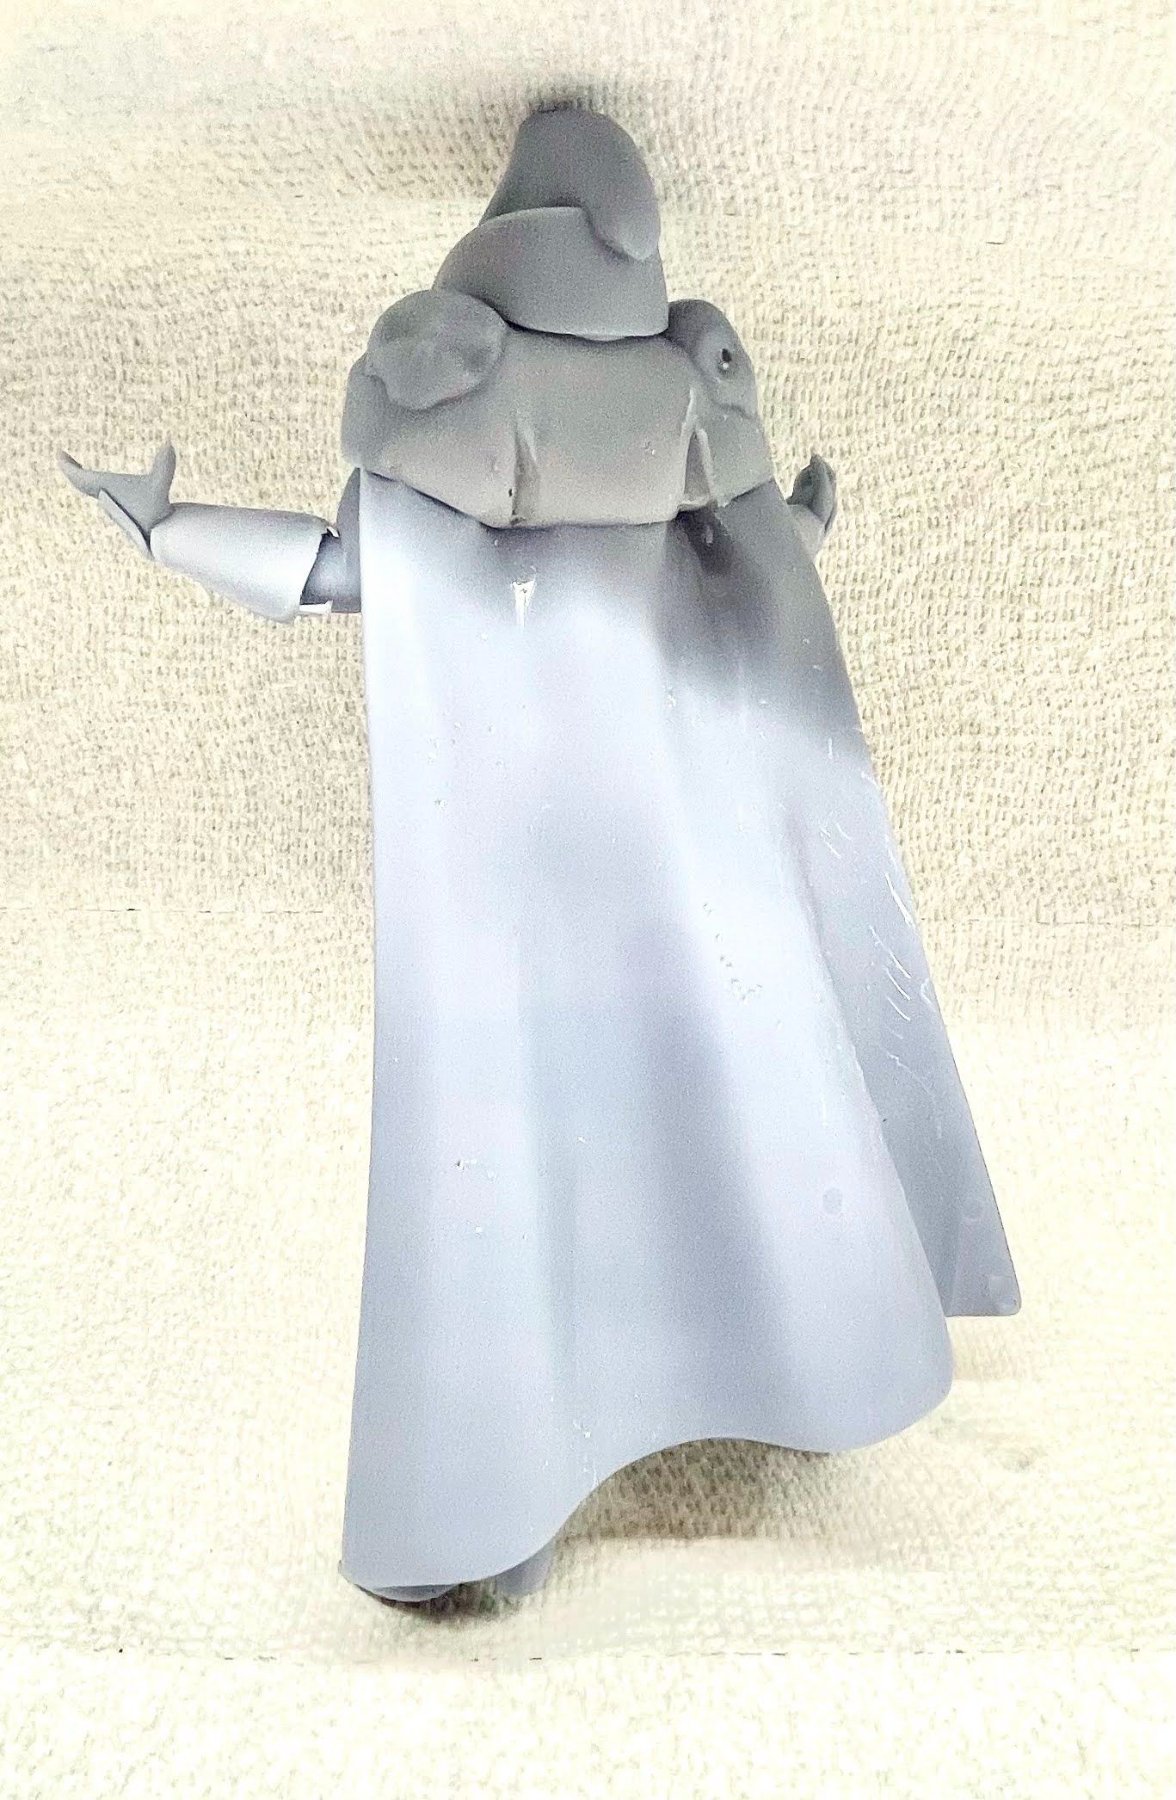
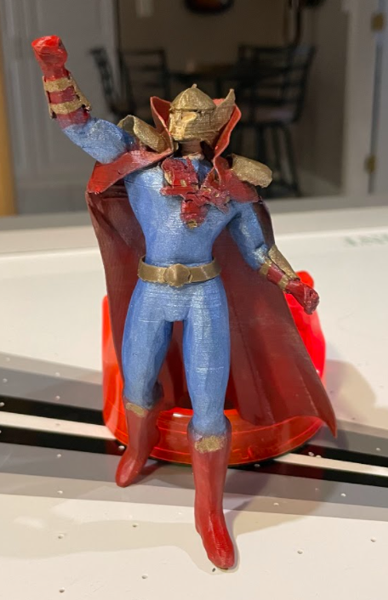
Pretty good now that I've come up with the way to give them "thickness." Anything that is a 2D plane needs a slight extrusion then prints fine (same thing with details like the mask bolts for HC). Hand of Satan: Level 50 necro/dark Master MindPrinted in gray resin on Anycubic M3 MAX. I printed this the past weekend before @brigg inspired me to get the texture maps to work. The image on the right shows a work in progress of applying the skull textures and quilting in the cape in Blender. Many more textures to come. I will reprint it when I am done.
-
Human Conductor: Level 50 elec/elec BlasterPrinted in gray resin on Anycubic M3 MAX. 1/12 scale (5.4" high). Bump/displacement textures hand placed. Custom emblem with pigg file override. Will paint to match. As this is my main, I'm also printing a 1/6 scale version to showcase the facial and costume details.
-
Check out these links to some instructions/video I made. 3D Printing City of Heroes Characters Instructions and NEW Video Walk-thru I'll have to make another set of instructions/video for the textures. It's more involved than the extraction process.
-
Share pics of your work-in-progress and finished CoX-related 3D prints here. Thermo Nuker: Level 50 rad/fire Brute Printed in gray resin on Anycubic M3 MAX. 1/12 scale (7.4" high). Bump/displacement textures hand placed. Will paint to match.
-
Thank you for your feedback @GM Impervium I completely understand Homecoming distancing itself from personal identity collections, and the last thing I would want to do is jeopardize the HC team. I even want to do anything in my power to avoid getting personal information, as things are these days. If the two people who entered are comfortable reaching out to me separately on Discord at leeper48 I will do the two figures for them. Otherwise, @GM Impervium please feel free to lock this thread. Thank you
-
Hey, you Dashing Heroes and Scoundrelous Villains! I'm giving away a free 3D Print of one of your characters. One winner will be chosen at random on 3/2/24 after 6 pm EST. The print will be approximately 5-6" high with whatever power pose or emote you choose. It will be in your choice of either gray, black, or clear resin and include a round base with your character's name. I will ship to your nearest FedEx or UPS facility to keep your identity and address private. To enter, reply to this post and include a screenshot of one of your characters. This is a FREE giveaway. This is to celebrate Homecoming's recent deal with NCSOFT and the recent Page 7 release.
-
Glad you got it to work. I just recently got a couple of resin printers and switched to Lychee myself (it is nice they also added filament printers recently, too). Good luck and be sure to post any pics of prints you make.
-
I hope this helps anyone wanting to capture and print their character. It would be good to have the written instructions handy at the start of the post and pay attention to my text in yellow during the video for important things to turn off when not capturing your character to return things to normal otherwise graphics will be low quality and stability will drop. NEW Video Walk-thru https://youtu.be/vVlmudp2KfU
-
Hi. I just tested in case the latest version broke something but it still worked for me. The screen/UI comes in as a giant plane along with your figure (your character may be almost microscopic in comparison). Try scaling the imported model in Blender down by pressing S then .1 The character should be in the lower left of the giant plane. You'll want to select everything but your character and delete it then doing a zoom all/Frame selecteed should wrap around the character. I hope that helps. If not, send me your OBJ and I'll take a look.
-
The steps look daunting but tried to be thorough. Once you get it installed it goes quick. 10-15 mins from capture to printing is what I average.
-
FYI, I think I may not have pressed save on the last version of the Blender file so use this one, please. Cronus V3.blend
-
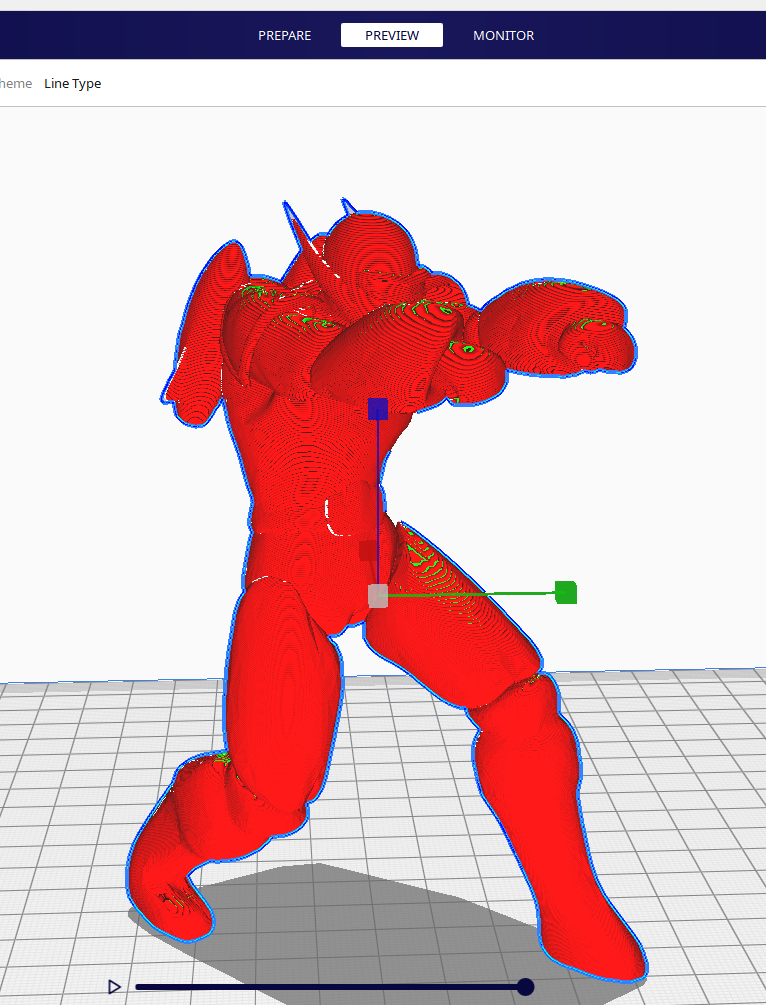
I think I have it remedied for you. Here are the steps I took. I opened your Blender file Make sure the built-in 3D-Print add-on is turned on (Go Edit>Preferences>Add-ons>search for 3D-Print and make sure it is checked) Pressed Tab and selected Faces Pressed A for select all Pressed M for Merge and then B for By distance. This welded a lot of loose polys together. Then Tabbed back into Object mode Pressed Ctrl 2 which applied a sub-surface smoothing. I like this as it takes out a fair amount of blockiness and matches the game engine better, I think. Press N to bring up the add-on panel on the right side of your window Look for Clean Up in the panel Click Make Manifold Then I exported the STL. I loaded and scaled the STL in Cura. I sliced it. Then I go to the Preview tab at the top to see how it looks. I'm going to add this step to notes in the tutorial as it is a good step. 90% of the time if it looks good in the Preview tab (no ghosting, gaps, missing pieces, etc.) it will print fine. Please give the files I attached a shot. Good luck! Cronus V3.stl Cronus V3.blend
-
The good news is that the images/texture maps do export automatically into an images folder (Ex. C:\Games\Homecoming\bin\win64\live\Frame_095291\Images). The bad news is I haven't found a way to extract/create the UV map which is the vehicle the 3D model uses to map the texture to the proper quads/triangles on the mesh. If someone can solve that, they will be my hero.
-
If you could share your OBJ and your STL files, I could take a look. Could be rogue planes from aura sprites or non-manifold (water tight) mesh. Feel free to zip and send it to me via DM.
-
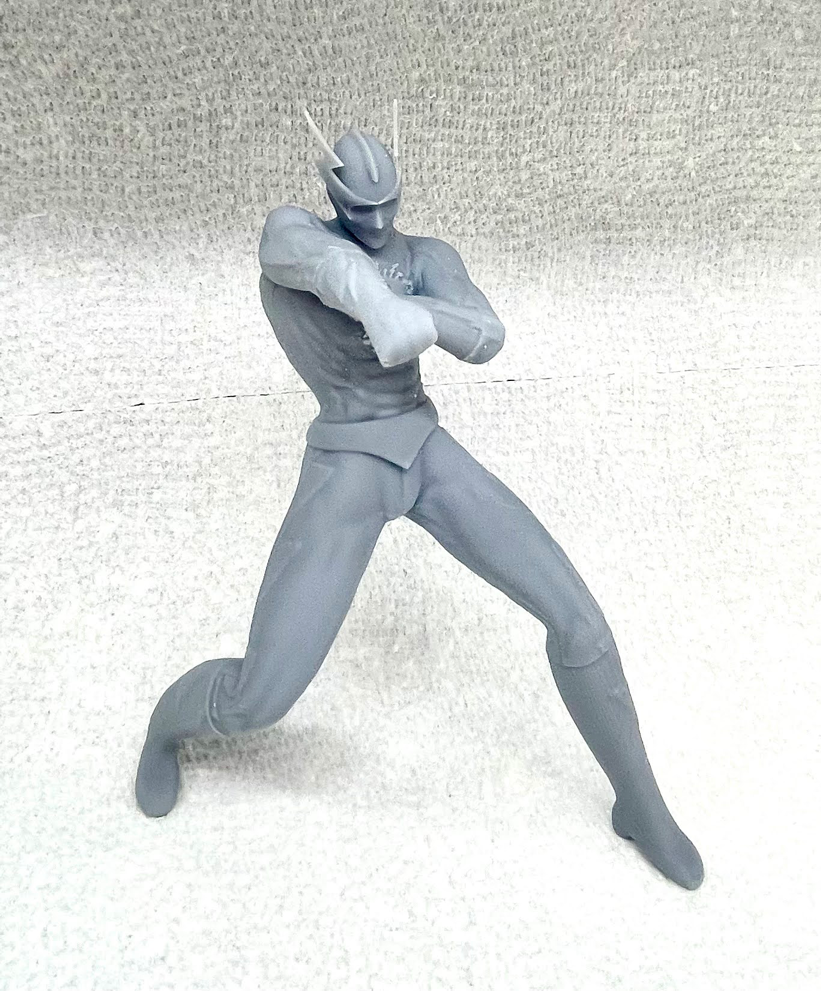
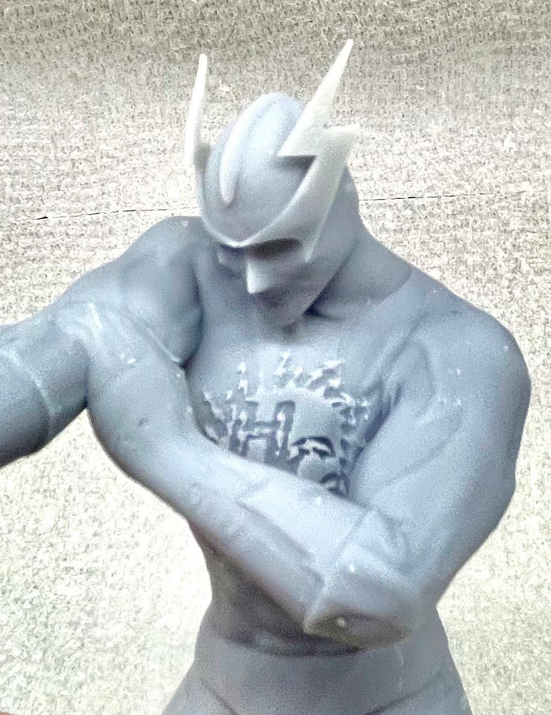
I've been using Apple Barrel / Folkart from Walmart and Craft Smart from Michaels, diluted half & half with 90% Rubbing Alcohol in my airbrush with good results. You can use a conventional brush too but work out the thinning ratio to your best results (definitely test on some scrap prints first). Priming the parts is a good suggestion too. I know there are model-grade paints already out there but these inexpensive acrylics have worked well for me and come in a ton of colors, finishes, and even some metal flake (see below). Supreme-Thunder
-
I do not have great luck with Gorilla Glue and PLA plastic. I use it for my foam RC planes but its expansion properties don't work so well with my 3D prints. Superglue (Cyanoacrylate) bonds really well. I like to use this instant activator which sets the glue up in 2 seconds. Or for a homemade activator: