-
Posts
62 -
Joined
-
Last visited
Content Type
Profiles
Forums
Events
Store
Articles
Patch Notes
Everything posted by leeper48
-
I think you just added this to step 14, and that seems to have fixed it for me. I'll have to check later if the crashing thing persists, but I'm optimistic. I sure did. Glad you were able to help me catch that and glad it seems to be working for you as far as the graphics go. Not a bad idea having a dedicated machine for these captures. Best of luck and catch you later on a MSR or iTrial if you're around.
-
As for the crashing I have good idea what it is. It is specifically the OpenGL32.dll file. I don't like playing the game normally with it on (fine for the captures) so what I do when I'm not using it is rename it to OpenGL32.dll.off. I'm going to add that as a highly recommended step above after number 20. Sorry for the headaches that must have caused. With it off it runs fine for me.
-
Hi check out step 14. Need to remove that parameter when not extracting. Hmm, just reread and saw you said the parameter is removed. That is always the thing that changes the looks for me. Did you also return the /noparticles back to 0? Follow up, when you remove that parameter, go back to your graphic options and reload what ever you had (ultra, performance, even the customized should do etc.) That command line basically kicks everything down to make the capture work. I better add that to the notes above, too,
-
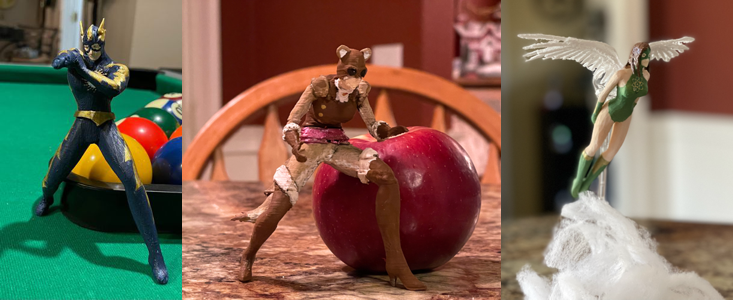
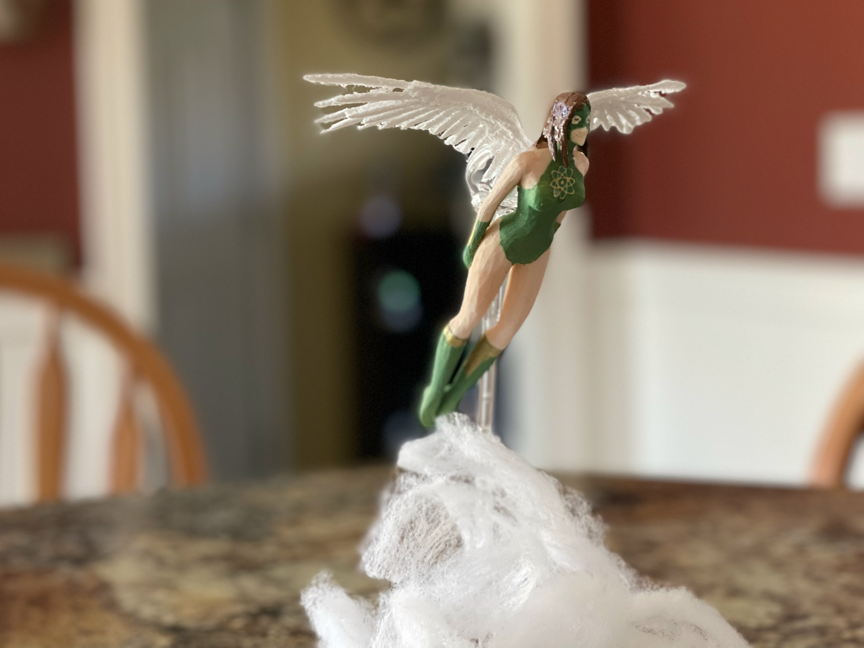
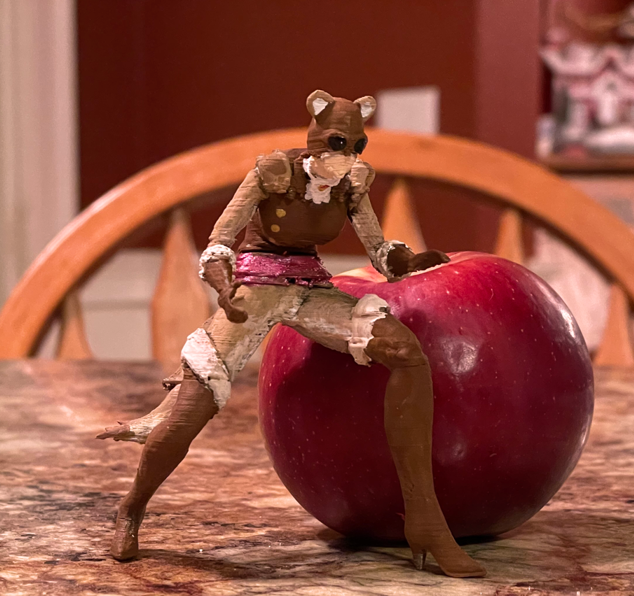
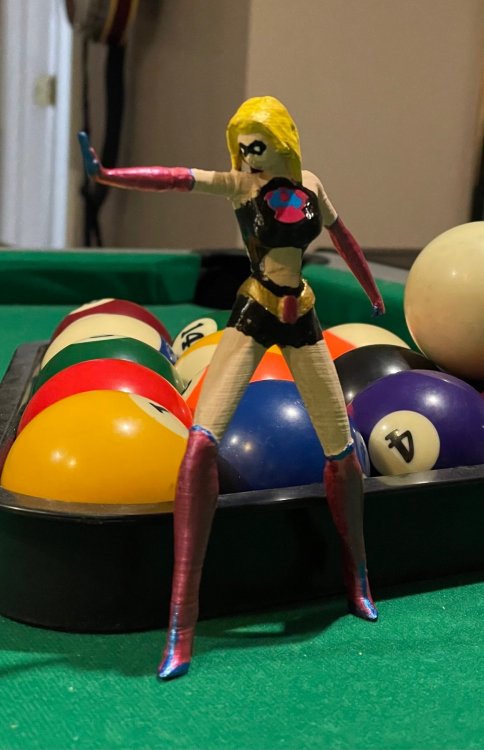
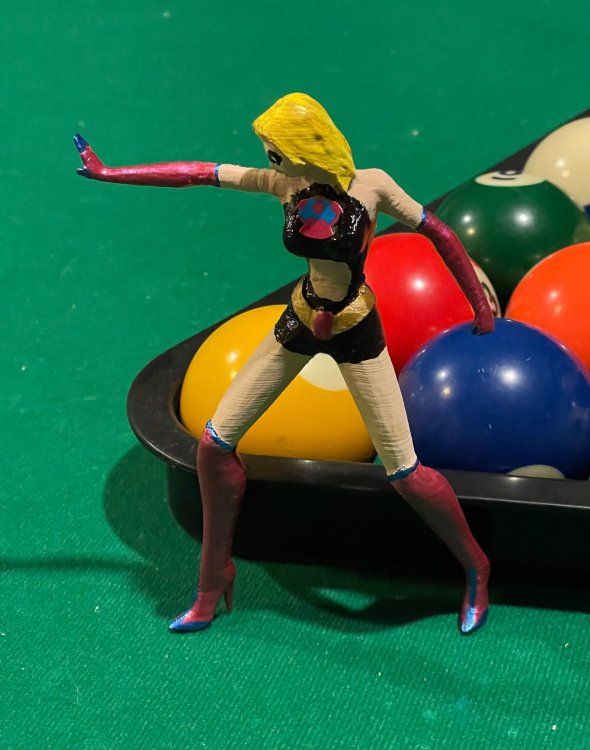
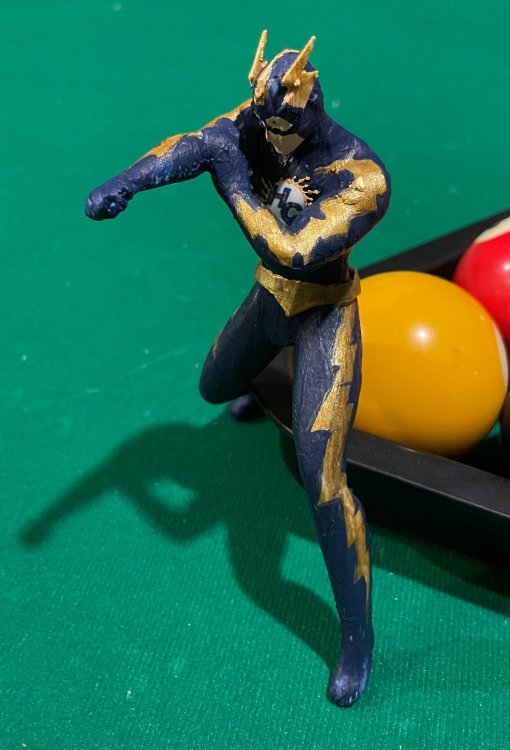
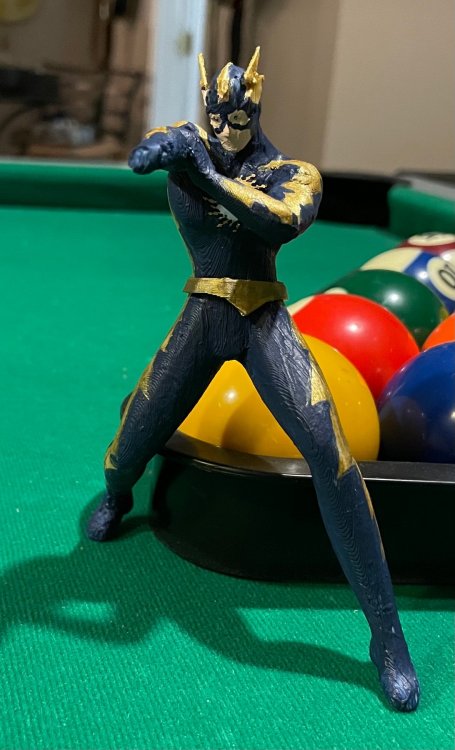
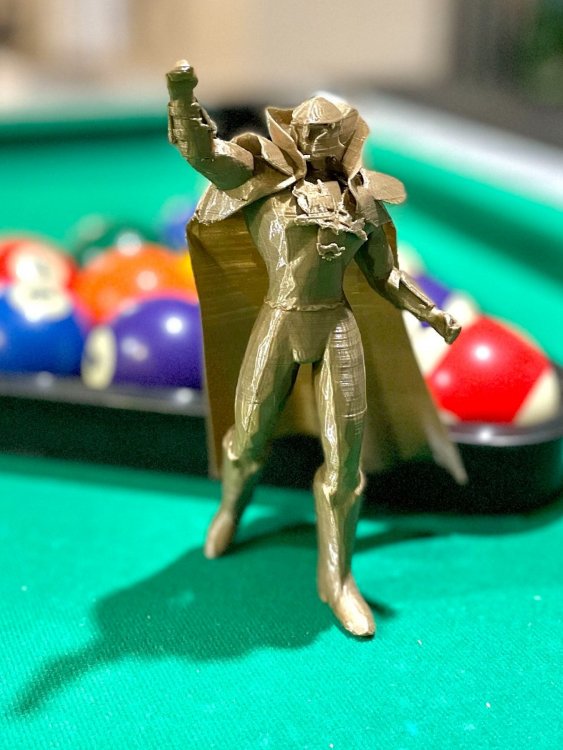
Another tip is it's ok to use CA (superglue) and feel free to intentionally split the figures into halves (top and bottom). It can save on long/rickety support structures. I also 3D print RC planes and use the CA glue on the seams all the time. The glue is stronger than the actual printed layers. I like to use this instant activator which sets the glue up in 2 seconds. Here is my latest print for my character, Ash County. I'm learning how to use my airbrush, slowly. Origin The name is, County. Ash County. I've been roaming this country for over a hundred and twenty years. While caught in a shoot-out in a graveyard with a gang of murdering outlaws, I ducked behind a tombstone. Turns out, it was actually a cursed tablet inscribed with ancient Sumerian burial practices. When I touched it, the darkness got into my hand and cursed it. I had to cut it off just below the elbow. I had my professor pal build me a metal hand with an itchy trigger finger. The tablet became bound to me. To this day I use the dark powers it holds to try to bring the lawless to justice.
-
I had been having a lot of drift lately too. I am printing in my basement and the ambient temp is pretty low (60F down there). I'm running the printer's hot end at 220C and the bed at 68C using eSUN PLA+ filament and it is working pretty good now. Another thing I do is wipe the bed down with rubbing alcohol to get a nice clean surface. Good luck.
-
Great news. Can’t wait to see it.
-
Thanks. I've got it and just tested on my other machine. I'm assuming you are using 64-bit and not 32. Tequila 64 bit Alt Steps: 9. Go up one level to "C:\Program Files\GLInterceptx64_1_3_4\" and copy the "OpenGL32.dll" file you find there into "\hc-bin64\" inside your CoH install folder. For me it is ..\Documents\COH\ 10. Copy the attached "gliConfig.ini" file also into "\hc-bin64\" inside your CoH install folder. 11. Launch the Tequila Launcher. 12. Click options down the bottom . . 19. You can minimize to your desktop and check to see if it generated an "ogle.obj" file at inside the root of your CoH install folder. Let me know if this works out
-
Can you send a directory snapshot of your Homecoming folder? thanks
-
Are you on the latest launcher or still Tequila? I wonder if that might be it. If the bin folder doesn’t exist it is probably a sign. I reread your message. Let me check an old machine with Tequila and see if I can provide alternate instructions for the different path.
-
Steps 21-38 will run the OBJ through Blender and get it into a pretty clean STL file that can be shared with someone who has a printer.
-
Hey OK I'm using a Creality CR-10S v2, same company that makes the Ender 3. I really dig it. @TalonGrayson uses a resin like the Elegoo so he might have some opinions on that. I do know the resins can make a nice clean prints. They're great for figures. I run eSUN PLA+ filament which runs a bit hotter (220C hot end, 65C bed temp) https://www.amazon.com/eSUN-1-75mm-Printer-Filament-2-2lbs/dp/B01EKEMPHM/ref=sxts_rp_s1_0?crid=1TWBETPFFT7RS&cv_ct_cx=esun%2Bpla%2B&keywords=esun%2Bpla%2B&pd_rd_i=B01EKEMFQS&pd_rd_r=f1c2a9dd-7da9-4a80-8c85-745e7aed843e&pd_rd_w=OdE6j&pd_rd_wg=DXoEn&pf_rd_p=dc8286ba-5f1e-4679-adde-8b7fe66c128e&pf_rd_r=QXEPJ5EGD94K3R6RXXR0&qid=1646100965&sprefix=esun%2Bpla%2B%2Caps%2C73&sr=1-1-5e1b2986-06e6-4004-a85e-73bfa3ee44fe&th=1 I hope that helps.
-
NEW Video Walk-thru https://youtu.be/vVlmudp2KfU Note: These instructions are expecting a Windows 10 install with the 64-bit version of City of Heroes running in the default location on drive C. Also expecting who ever is doing the 3D printing is experienced in its usage. Mastery of Blender isn't needed as I spell out the shortcuts but if it is your first time using it, there are loads of tutorials https://www.blender.org/support/tutorials/ (It really is one of my favorite programs, especially being free). If you have experience/access in other 3D software, you can adapt the steps as needed using those tools. I know it looks like a lot of steps below but steps 1-10 are a one time occurrence and I am going into the specific shortcuts in Blender for cleanup. I can extract, cleanup and get a character printing in under 10 minutes. @TalonGrayson has a streamlined solution for the install, launching and parameter swapping. Find this below in the post. Software needed (All free) City of Heroes [using Homecoming] https://forums.homecomingservers.com/installation-guide/ GLIntercept [Choose the x64 version] https://github.com/dtrebilco/glintercept/releases OGLE [ogle-0.3c.bin.zip as of the writing of this] https://github.com/dgis/OGLE-for-GLIntercept/releases/tag/0.3c Custom gliConfig.ini [attached to instructions] Blender [open-source 3D modeling program] https://www.blender.org/ Cura [Model slicer to convert into code a 3D printer can use. Use another if you have a preference.] https://ultimaker.com/software/ultimaker-cura Install City of Heroes (this should default to "C:\Games\Homecoming") Install Blender Install Cura Install GLIntercept (this should default to "C:\Program Files\GLInterceptx64_1_3_4" as of the time of these instructions. Version number may change and you may need to update some paths in the ini.) Extract OGLE (ogle-0.3c.bin.zip). Go into the ogle-0.3c.bin folder extracted until you see sub folders "docs," "x64," "x86" Rename folder "x64" to "OGLE" Copy the "OGLE" folder you just renamed into the "C:\Program Files\GLInterceptx64_1_3_4\Plugins\" folder. Go up one level to "C:\Program Files\GLInterceptx64_1_3_4\" and copy the "OpenGL32.dll" file you find there into "C:\Games\Homecoming\bin\win64\live\" Copy the attached "gliConfig.ini" file (found at the bottom of this post) also into "C:\Games\Homecoming\bin\win64\live\" Launch the HC Launcher. Click the ... in the Homecoming button on the left column. Click settings Paste -useTexEnvCombine into the extra launch parameters field (Important: Remove this when you don't want to capture as this reduces the visual special effects and makes the game not look as nice. Next time you run the game after you remove this parameter you will want to go to the settings button on the log in screen and toggle the advanced graphic settings twice and then hit apply. This will reset it back to what you previously had.) Exit settings Launch the game by clicking the right pointing arrow in the Homecoming button Once you get to the character selection screen, you can press Ctrl Shift L to test if the install worked. If it did, the machine should pause a few seconds (ie the character idle animation will halt) and then resume. You can minimize to your desktop and check to see if it generated an "ogle.obj" file at "C:\Games\Homecoming\" If this generated, you can go into the game fully, pose your character and repeat the Ctrl Shift L process. (it will overwrite the original "ogle.obj" so be warned) NEW TIP: If you get crashes while running the game with these files installed, I highly recommend renaming the OpenGL32.dll you placed in the win64\live folder to OpenGL32.dll.off when you want to play the game normally. Just rename back to OpenGL32.dll when you want to capture again. NEW TIP: Use /noparticles 1 to turn off sprites like auras and shields that wind up having to be deleted in Blender. Then use /noparticles 0 to turn them back on. Open Blender and delete the default cube Go to file, import OBJ Go to "C:\Games\Homecoming\" and open the "ogle.obj" file. Press the Tab key to go to face select mode. Press M for "merge vertex" and then B for "By distance" Press Shift N to normalize. Press Alt Z for Xray mode Drag a box to select your character Press Ctrl L to select all linked faces (some extraneous face might be included) Press Ctrl I to invert the selection Press Del to remove the unwanted faces You may need to do some individual face cleanup (Note: you may want to remove any auras for your costume and turn off toggles to cut down on artifacts generated). After happy with cleanup, press Tab to go back to Object mode Press Ctrl 2 to apply a subsurface modifier to smooth the blockiness. With the character still selected, go to file, export STL Make sure to check 'Selection Only' and 'Apply Modifiers' are checked on. Name the file and export it. Open Cura. Press Ctrl O for open. Select the STL of your character. Press Ctrl A for select all. Press S for scale mode. Make sure 'Uniform Scaling' is checked on. Scale you character up. (Note: If you capture your character in the costume editor, which is a good idea if you want to use a power animation, it will be 90% the size of a capture in the regular environment. I use 2400% for a model captured in the environment and 2640% for one captured in the costume editor) Configure your print settings at your discretion but supports will likely be needed. Print the model. Paint/finish as you desire. Links to where a lot of this content came from: https://cohtitan.com/forum/index.php?PHPSESSID=8q80mg1nopubf84e936bmqgai5&topic=4947.0 https://docs.google.com/document/d/1XF9QWSRDltgij1sYPBGctl-3XksFavU9DeneU2S5SRI/edit?usp=sharing https://forums.homecomingservers.com/topic/1563-3d-printed-characters/ And thanks @TalonGrayson for his assistance as well. gliConfig.ini
- 66 replies
-
- 21
-

-

-

-
3D Printed Characters with brief process notes
leeper48 replied to leeper48's topic in Art & Multimedia
Clean and crisp. What was the final print time? -

3D Printed Characters with brief process notes
leeper48 replied to leeper48's topic in Art & Multimedia
I have a similar setup for my Ortur laser engraver. The fumes from cutting plywood were pretty noxious but once I built an enclosure and setup ducting with and inline fan it completely eliminated it. -
-

3D Printed Characters with brief process notes
leeper48 replied to leeper48's topic in Art & Multimedia
Just a little sanding. I’m running .2 layer height. I’ll try finer height settings first before getting another printer. -

3D Printed Characters with brief process notes
leeper48 replied to leeper48's topic in Art & Multimedia
Capt Cosmo 50 fire/eng Sentinel I am Captain Carn B' Erry. I hail from the planet Vodak in the Triple Sector. I have come to your humble little world to track down fugitives spanning a wide array of threat levels. Assist me if you wish, but do not stand in the way of cosmic justice. ... side note I think I'm going to get a resin printer to see if I can cut down on these layer lines. They really pop out in these photos/zoomed in. Not so bad in real life but it might be my 40+ year old eyes smoothing the edges. 😄 -

3D Printed Characters with brief process notes
leeper48 replied to leeper48's topic in Art & Multimedia
Here is my main, Human Conductor, painted. I did an experiment using my Cricut to make his emblem and I think it worked well. I was impressed how fine it could cut the little lightning bolts. I couldn’t have painted that detail by hand. -

3D Printed Characters with brief process notes
leeper48 replied to leeper48's topic in Art & Multimedia
Following up to my post above on the 64bit & new launcher working - even better news... this new GLintercept/OGLE is working on my NVIDIA card. No more hopping to my old machine. -

3D Printed Characters with brief process notes
leeper48 replied to leeper48's topic in Art & Multimedia
OBJs Female.obj Huge.obj Male.obj -

3D Printed Characters with brief process notes
leeper48 replied to leeper48's topic in Art & Multimedia
Hi battlewraith I came across these already extracted on Thingiverse. https://www.thingiverse.com/thing:4645609 A custom sculpt is a major prize. Super cool! Plain_Female.stl Plain_Huge.stl Plain_Male.stl -

3D Printed Characters with brief process notes
leeper48 replied to leeper48's topic in Art & Multimedia
In all honesty I am surprised too. Only two people have come to me separately. @Erratic1 Drop me a .costume and I'll convert it for you and you can talk with your friend on the printing. Let me know archetype/powers so I can pose it. I'd like to talk to the GM/devs and see if they had any interest in adding a printed one as a monthly costume contest prize. I wouldn't mind printing one monthly. Only sticky point is shipping. I know everyone's finical situation is different, but it is cool to see there are some really great 3D printers for under $200. https://www.amazon.com/gp/slredirect/picassoRedirect.html/ref=pa_sp_atf_aps_sr_pg1_1?ie=UTF8&adId=A0127409EXG6WPJOFFZ9&url=%2FComgrow-Creality-Ender-Aluminum-220x220x250mm%2Fdp%2FB07BR3F9N6%2Fref%3Dsr_1_1_sspa%3Fkeywords%3Dender%2B3%26qid%3D1642521865%26sprefix%3Dender%2Caps%2C62%26sr%3D8-1-spons%26psc%3D1&qualifier=1642521865&id=2843084745401070&widgetName=sp_atf -

3D Printed Characters with brief process notes
leeper48 replied to leeper48's topic in Art & Multimedia
@TalonGrayson and I have been talking and can now say that I have had success with the new launcher and 64 bit mode. Links found by TalonGrayson: 64-bit version of GLIntercept is here, with a decent enough readme (grab the x64 exe from the binaries link): https://github.com/dtrebilco/glintercept 64-bit OGLE is here, just extract the files in the x64 folder into an OGLE folder in the GLIntercept Plugins folder (same pattern as x86): https://github.com/dgis/OGLE-for-GLIntercept/releases/tag/0.3c My ini file that goes into the path C:\Games\Homecoming\bin\win64\live (assuming that is your default install location/drive) is attached to this post. I use Shift Ctrl L to trigger the capture. It should put the ogle.obj file at C:\Games\Homecoming\ I seem to need to use the -useTexEnvCombine as a launcher parameter to prevent the mesh from blowing apart. Again reminder, doesn't work with NVIDIA (well haven't tested the new 64bit so that's my standing assumption for now). I use the built-in Intel GPU on my old laptop. And not to be so dry as this is an "Art" thread, including most recent print of Supreme Thunder. gliConfig.ini -

3D Printed Characters with brief process notes
leeper48 replied to leeper48's topic in Art & Multimedia
Hi Kai. I use PLA filament on two different machines (Monoprice IIIP and Creality CR10). The STL comes straight out of Blender with no additional supports. I use Cura for my slicing and I add the supports there. I could share my profile from Cura as well and you can cherry pick the settings from there. I have pretty good luck with it but there’s still room for tweaking and improvements with the slicer settings.
