

Dark Current
-
Posts
153 -
Joined
-
Last visited
Content Type
Profiles
Forums
Events
Store
Articles
Patch Notes
Posts posted by Dark Current
-
-
Tanks have been spanked.
So what's next?
Warshade?
Crab?
Any AT requests for the other 3 aside from Scrappers and Stalkers?
-
Sentinels are going on break. Time to call in the tankers!
Tankers
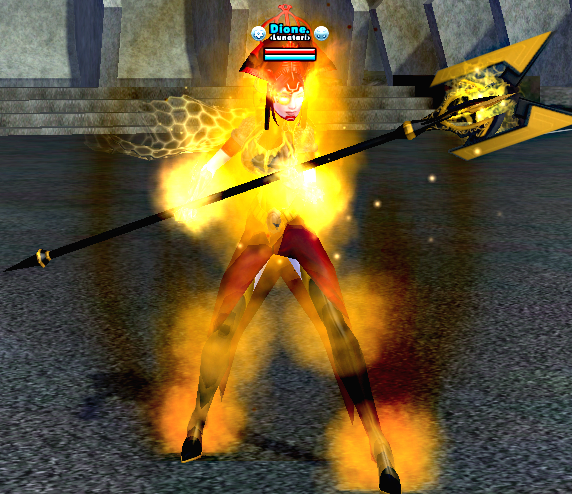
 41) Dione - Fire / Staff / Pyre
Theme: Burn, burn, burn. Burning with fire. High damage tank.
Mids Build: https://mids.app/build/preview/kbZH5Dm0CMC.htm
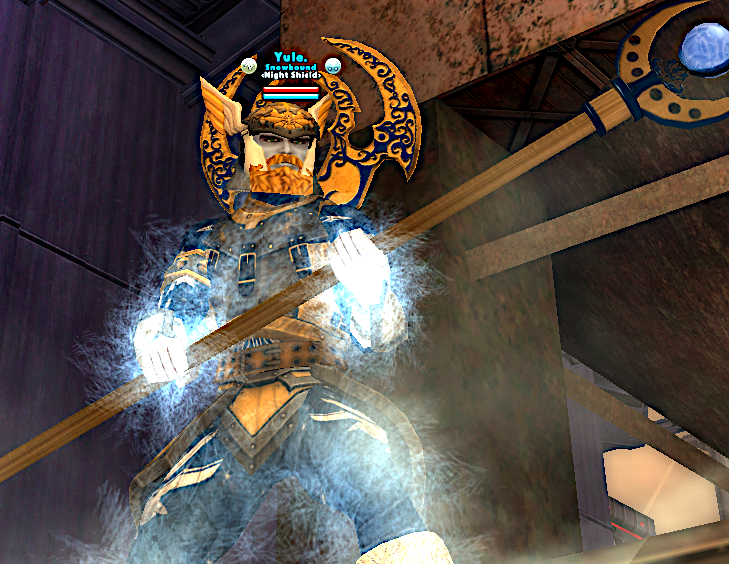
42) Yule - Ice / Staff / Arctic
Theme: Freeze and shatter. Slow and slam high damage ice tank.
Mids Build: https://mids.app/build/preview/kcmq0Rc9YbI.htm
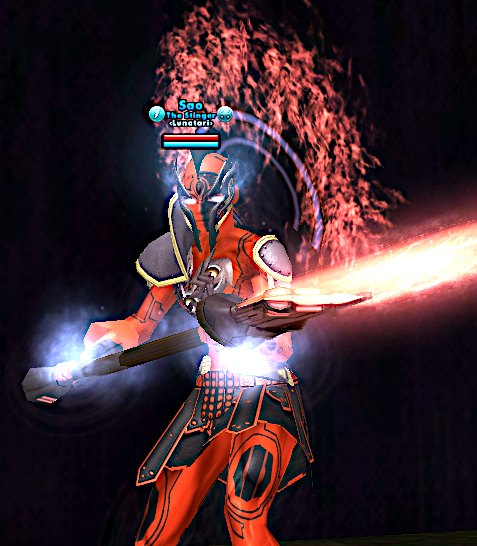
Theme: High speed and agility to build momentum fast and dodge hits like Neo. Very scrappy.
Mids Build: https://mids.app/build/preview/kcCkRqS77sq.htm
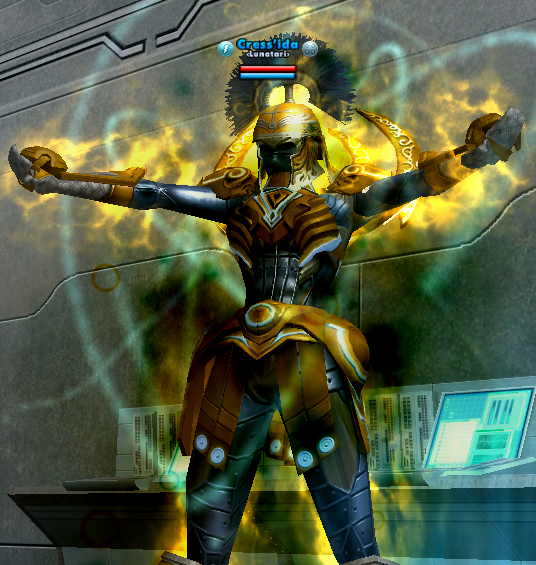
44) Cressida - Rad / Fire / Pyre
Theme: high survivability nuclear furnace
Mids Build: https://mids.app/build/preview/kdqGcA5QZlk.htm
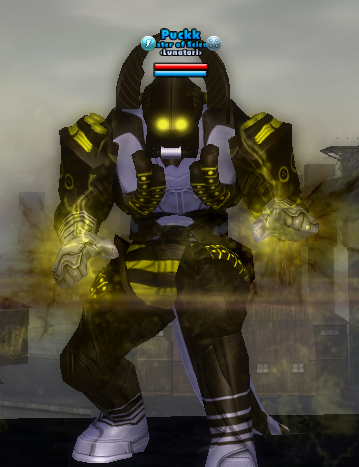
45) Puck - Bio / Savage / Leviathan
Theme: Brutal, high speed slasher. High survivability through regen and absorb.
Mids Build: https://mids.app/build/preview/kesCeUMYcqi.htm
-
 1
1
-
-
Masterminds have run out of pets, so it's time for you to keep your eye out for the Sentinels!
Sentinels
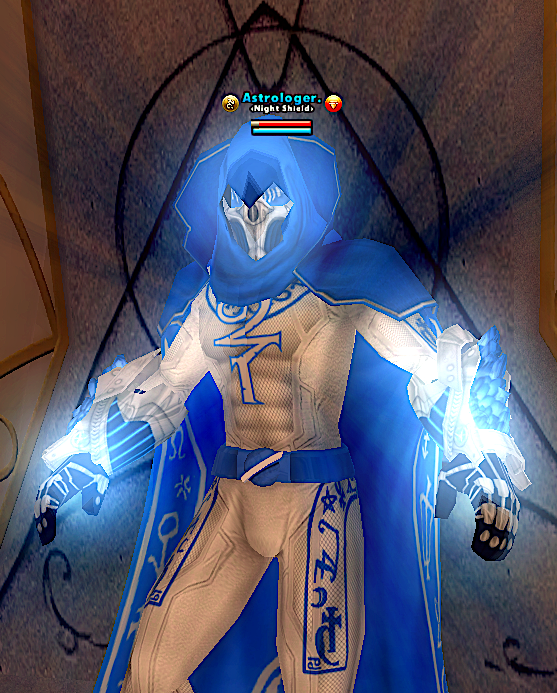
36) Astrologer - Dark / Invul / Dark
Theme = Flying Fortress
Mids Build: https://mids.app/build/preview/gzFqrauoB76.htm
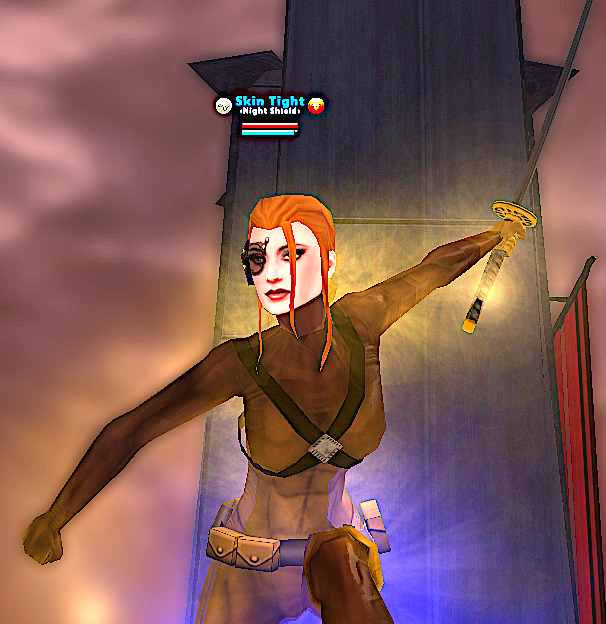
37) Skin Tight - DP / Ninja / Ninja
Theme = Femme Fatale assassin / spy
Mids Build: https://mids.app/build/preview/gA4cJBVLxgi.htm
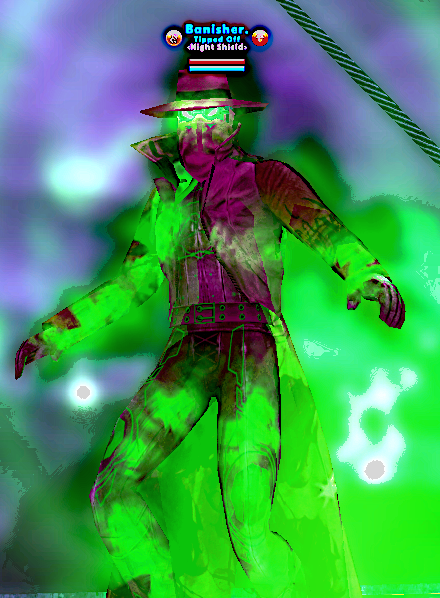
38) Banisher - Sonic / Dark / Psi
Theme = Stun stacking, fear-wielding wicked soul collector
Mids Build: https://mids.app/build/preview/fJmYfKoPJPU.htm
Theme = Drain and pain hovering energy siphon
Mids Build: https://mids.app/build/preview/fKwvy1UxtcW.htm
Theme: How slow can you go? Stacking -SPD, -RCH
Mids Build = https://mids.app/build/preview/bUsCrCGU39o.htm
-
1
-
-
Now that Mids has been updated, I can finally post all the missing build links since Episode 13.
Also had to update all the older links as they didn't seem to function in the new version.
Anyway, enjoy!
-
1
-
-
Thanks, Janus is one of my favorites. That was before the costume feature was added that would allow asymmetrical options for all sorts of things. But I like the classics!
-
 1
1
-
-
Dominators have run out of endurance. So it's on to the masters of pets!
Masterminds
31) Witch Leather - Thugs / Traps / Mace
Theme: Insurmountable defense and high recharge to cycle traps quickly.
Build: https://mids.app/build/preview/b8OQDWwK60a.htm
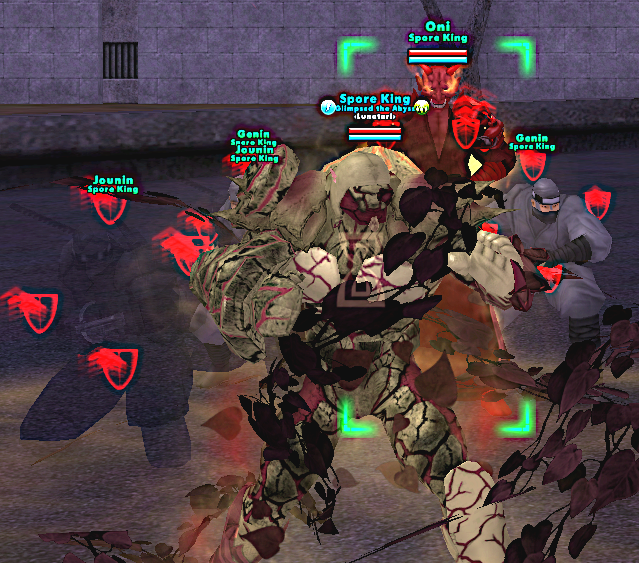
32) Spore King - Ninjas / Nature / Soul
Theme: "Creeping Doom" tank - mobile mass of regen, heals, absorb, resists, and debuffery that spreads infection across the field
Build: https://mids.app/build/preview/jVw1MJYowAm.htm
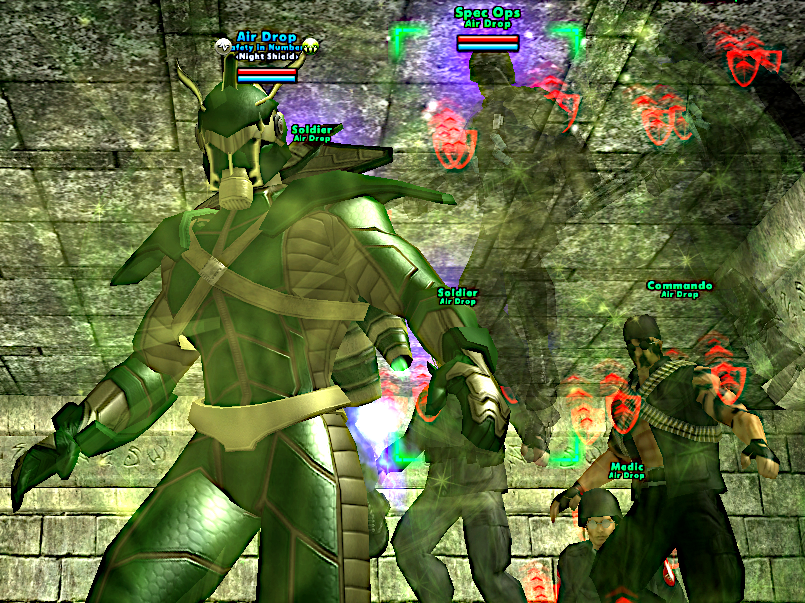
33) Air Drop - Mercs / FF / Heat
Theme: AC 130 Gunship - Death from Above using Group Fly + Machine Guns
Build: https://mids.app/build/preview/fFWSlOUgkEK.htm
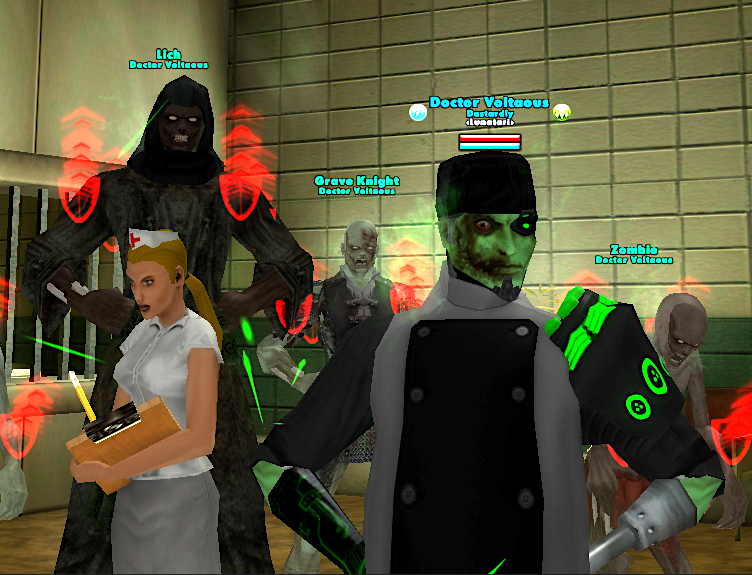
34) Doctor Voltaous - Necro / Elec / Mu
Theme: Mad Buffbot
Build: https://mids.app/build/preview/iwJyuWPPBYW.htm
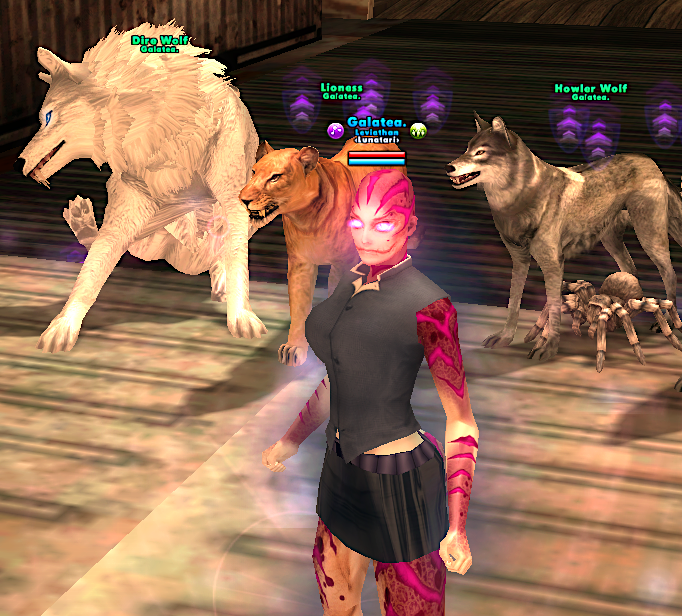
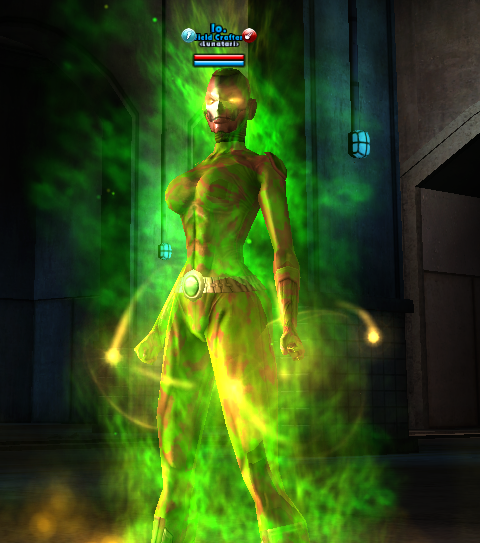
35) Galatea - Beast / Rad / Lev
Theme - Radioactive rage monster!
Build: https://mids.app/build/preview/bHtHf5IkDPU.htm
-
1
-
 1
1
-
-
Defenders be done, so it's on to the dominators!
Dominators
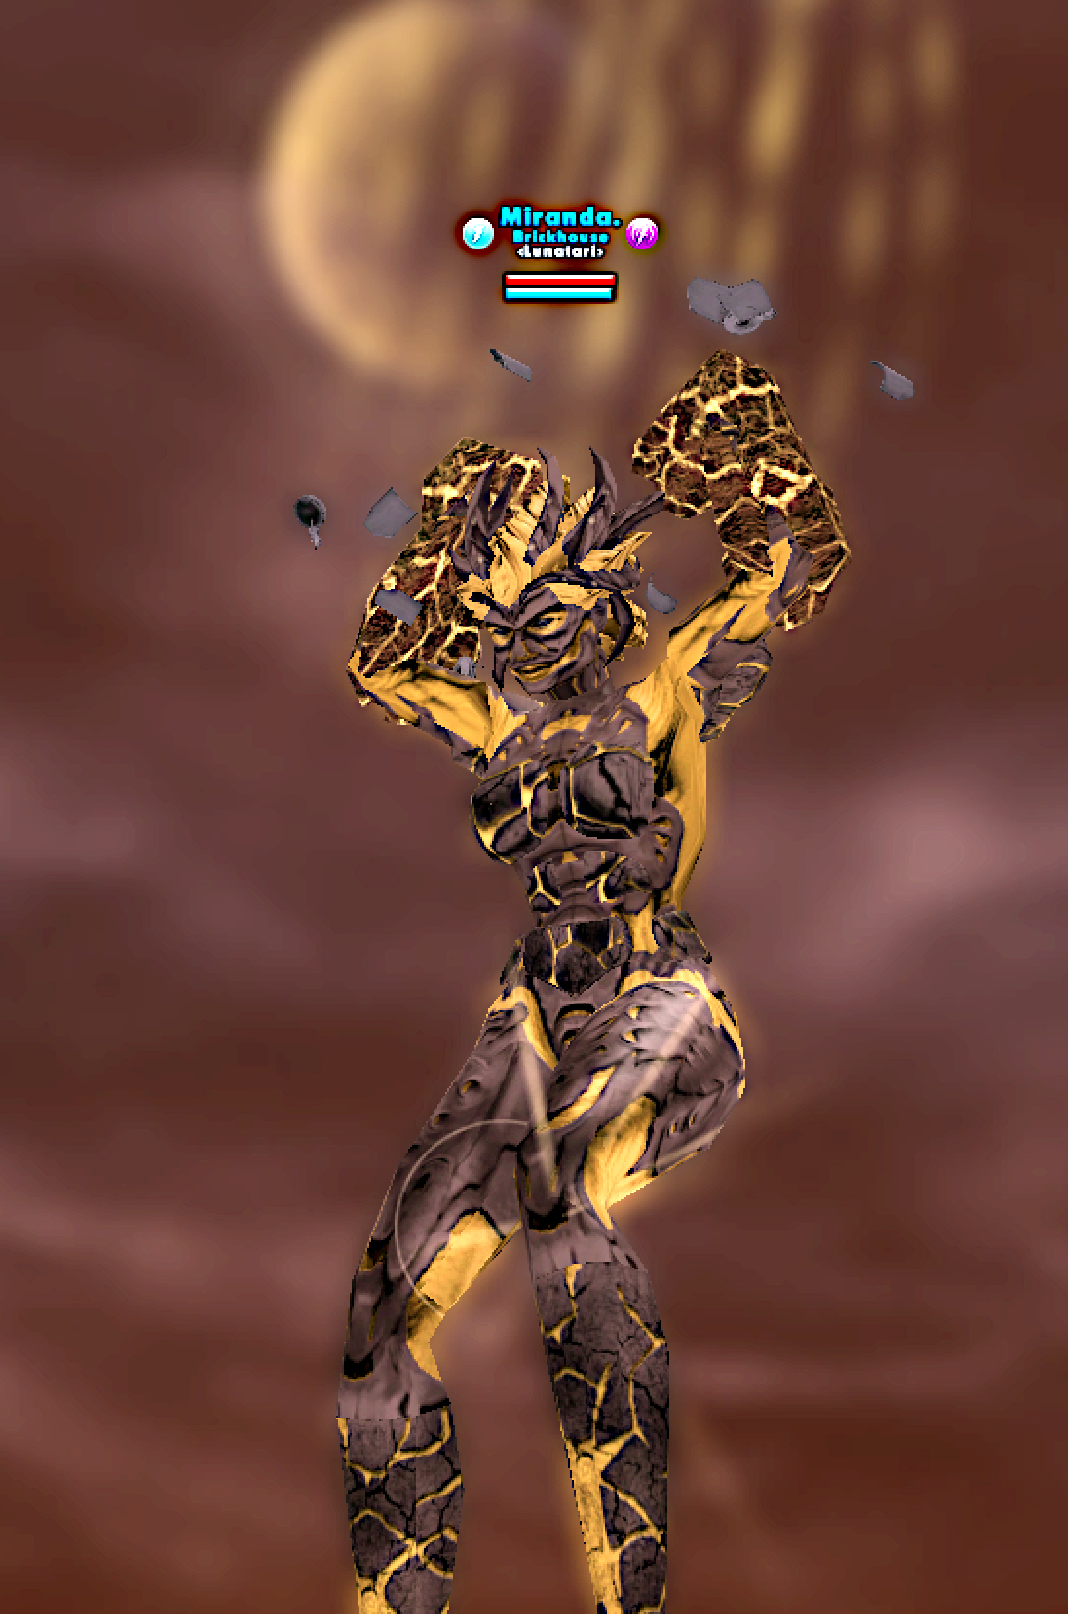
26) Miranda - Gravity / Earth / Primal
Theme: Ground 'Em and Pound 'Em. Or as Conan would say, "To crush our enemies. See them driven before you. And to hear the lamentations of the women."
Build: https://mids.app/build/preview/fYHnDi0fvhI.htm
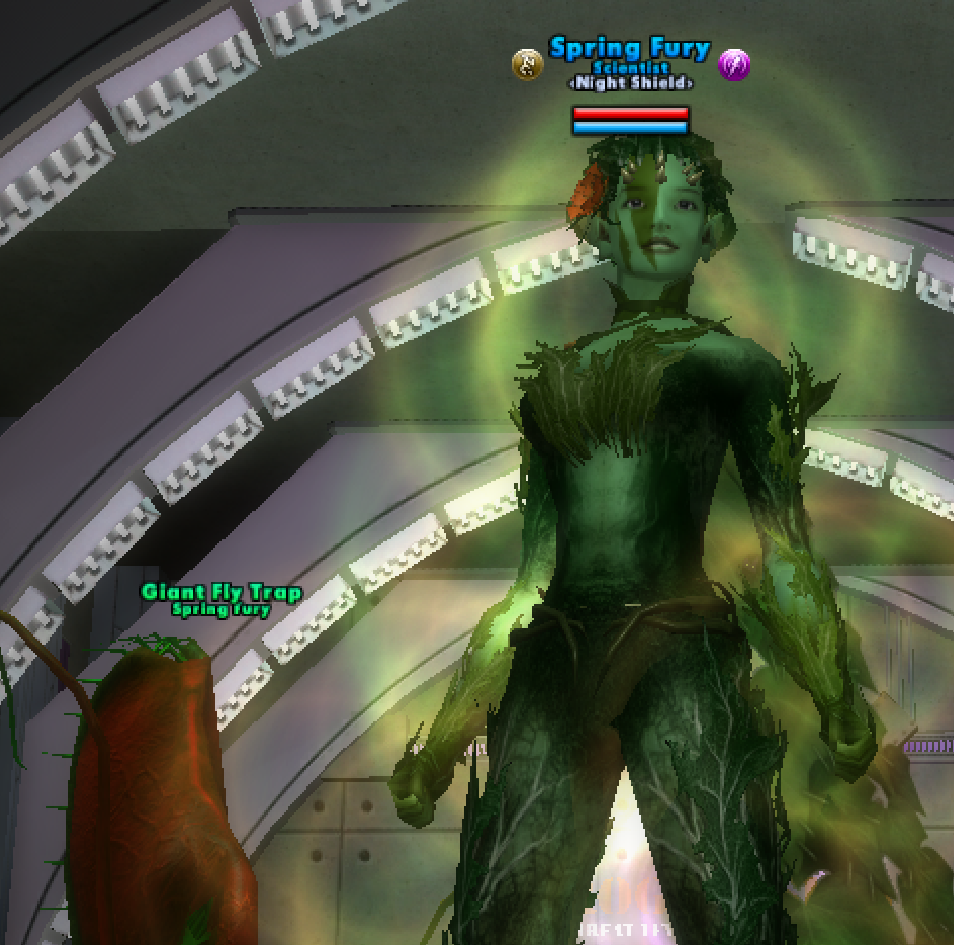
27) Spring Fury - Plant / Electric / Psi
Theme: Plant seeds of confusion, then call down the thunder among the creeper patch.
Build: https://mids.app/build/preview/fWUzqMCAj2y.htm
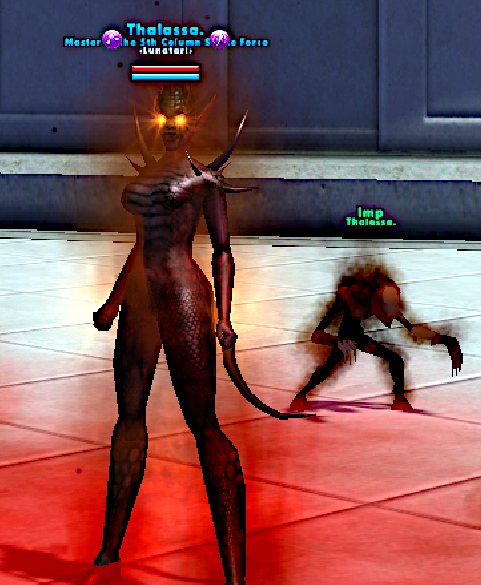
28) Thalassa - Fire / Rad / Fire
Theme: High damage output, with mistaken reliance on Medicine Pool.
Build: https://mids.app/build/preview/fWsOrIHloLA.htm
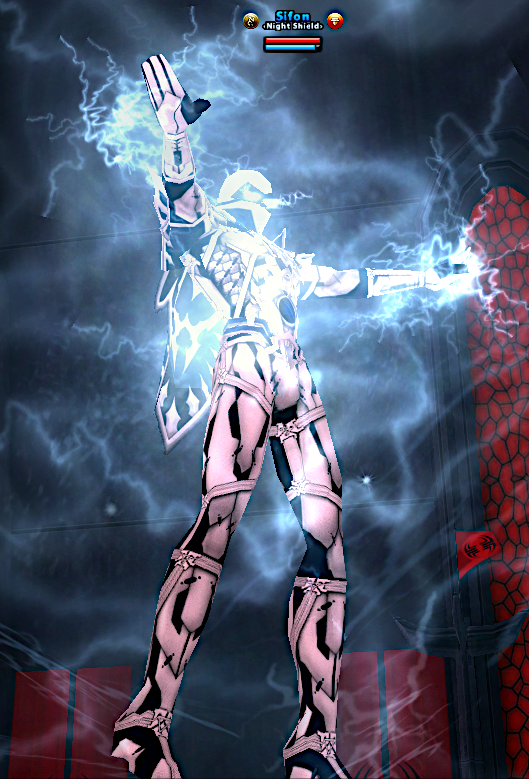
29) Janus - Dark / Energy / Soul
Theme: Stun Stacker
Build: https://mids.app/build/preview/fU8q0xtuoDs.htm
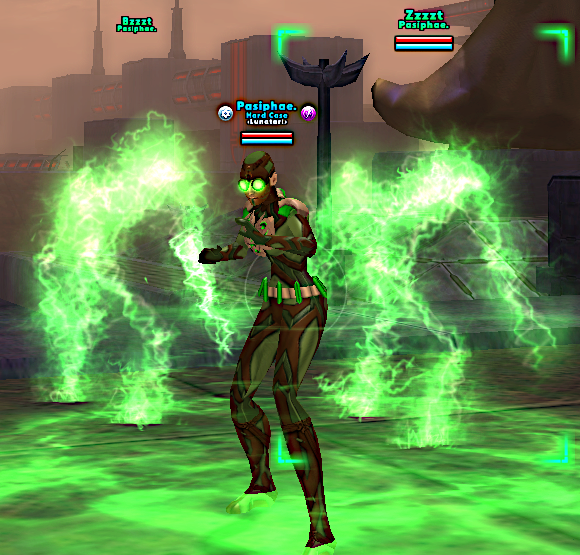
30) Pasiphae - Electric / Martial / Mu
Theme: Chain, Drain and Pain
Build: https://mids.app/build/preview/fTXeihVOjeu.htm
-
1
-
-
Controllers are finit! Say bonjour to the defenders!
Defenders
21) Juliet - Traps / Water / Psychic
Theme: slow, slow their roll + high defense + debuff the bejeekers out of the enemy
Build: https://mids.app/build/preview/f8tdPcVLpAW.htm
22) Portia - Nature / Psi / Psychic
Theme: Stand-off buffs and blasts... but, ah heck, let's swoop in and nuke their minds!
Build: https://mids.app/build/preview/f67VmRmsH2y.htm
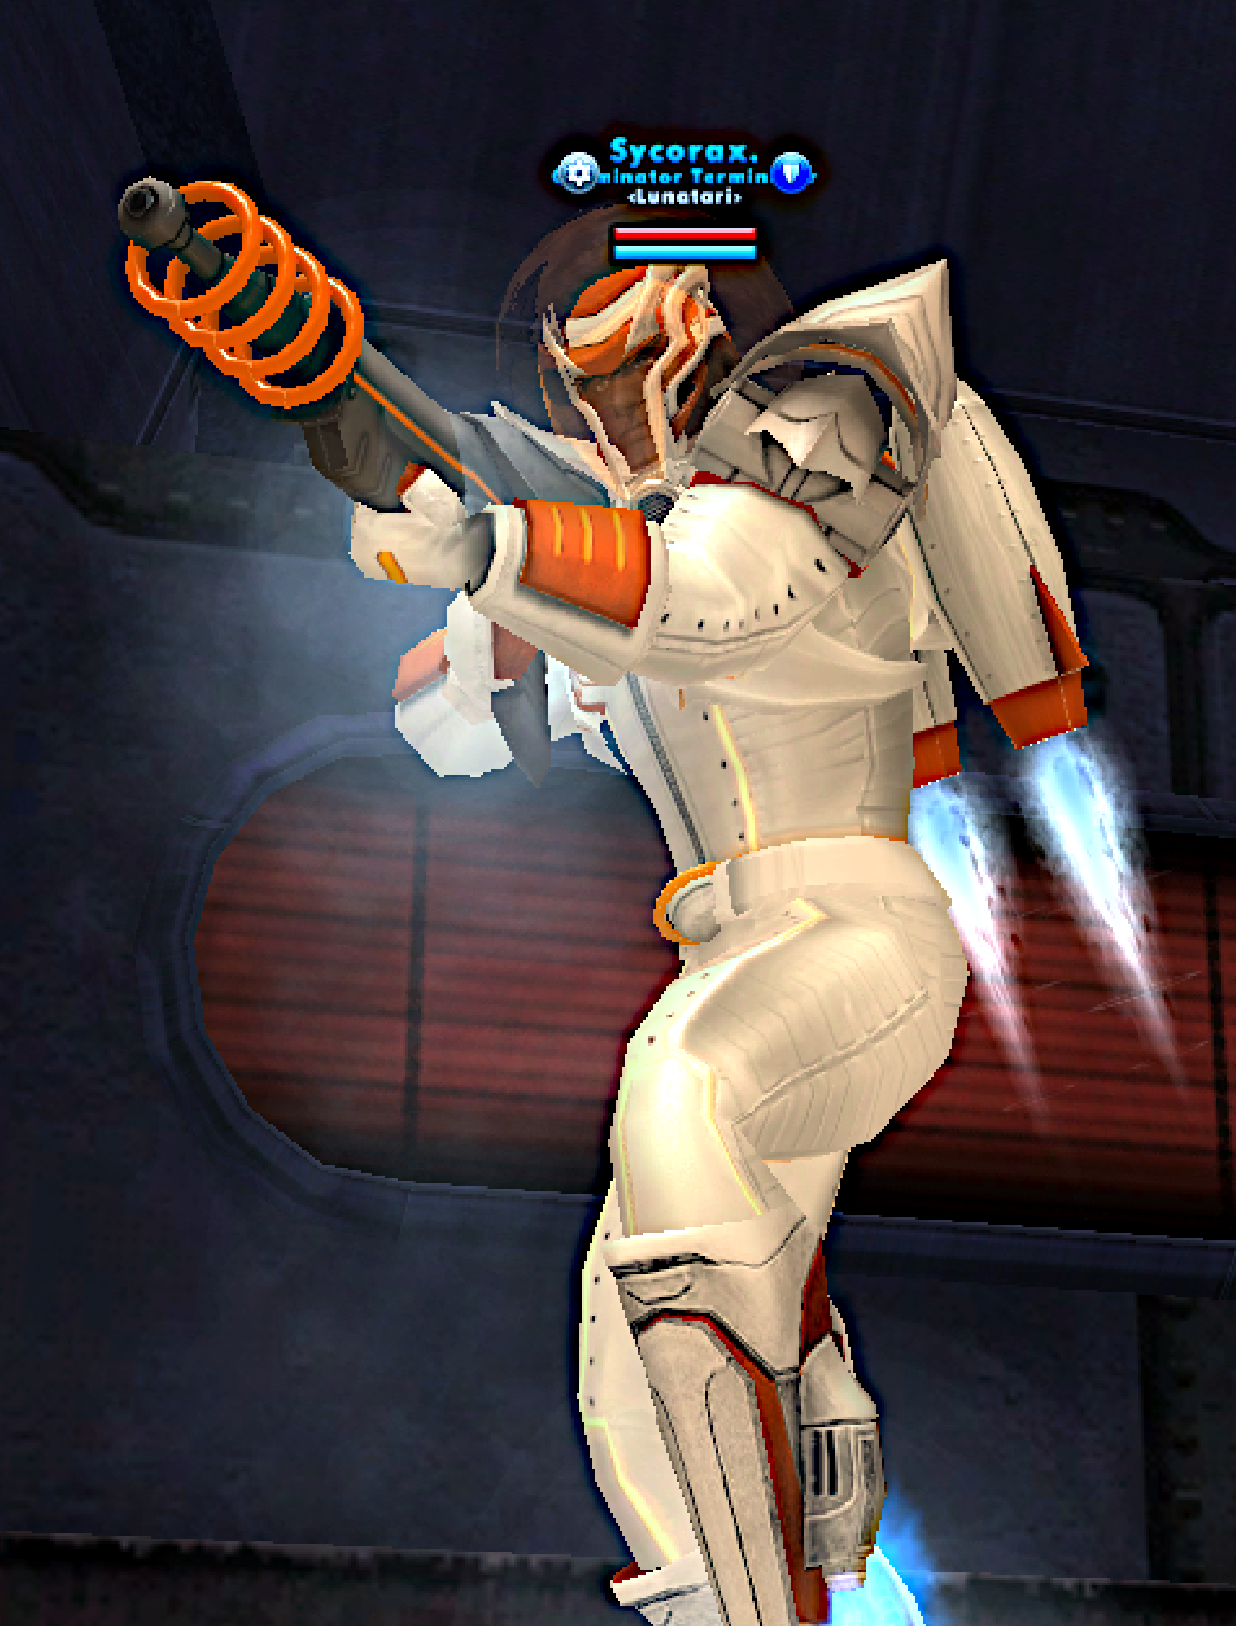
23) Sycorax - Storm / Beam / Mace
Theme: Hover Blasting Chaos Warrior
Build: https://mids.app/build/preview/f5IzGX5IGgS.htm
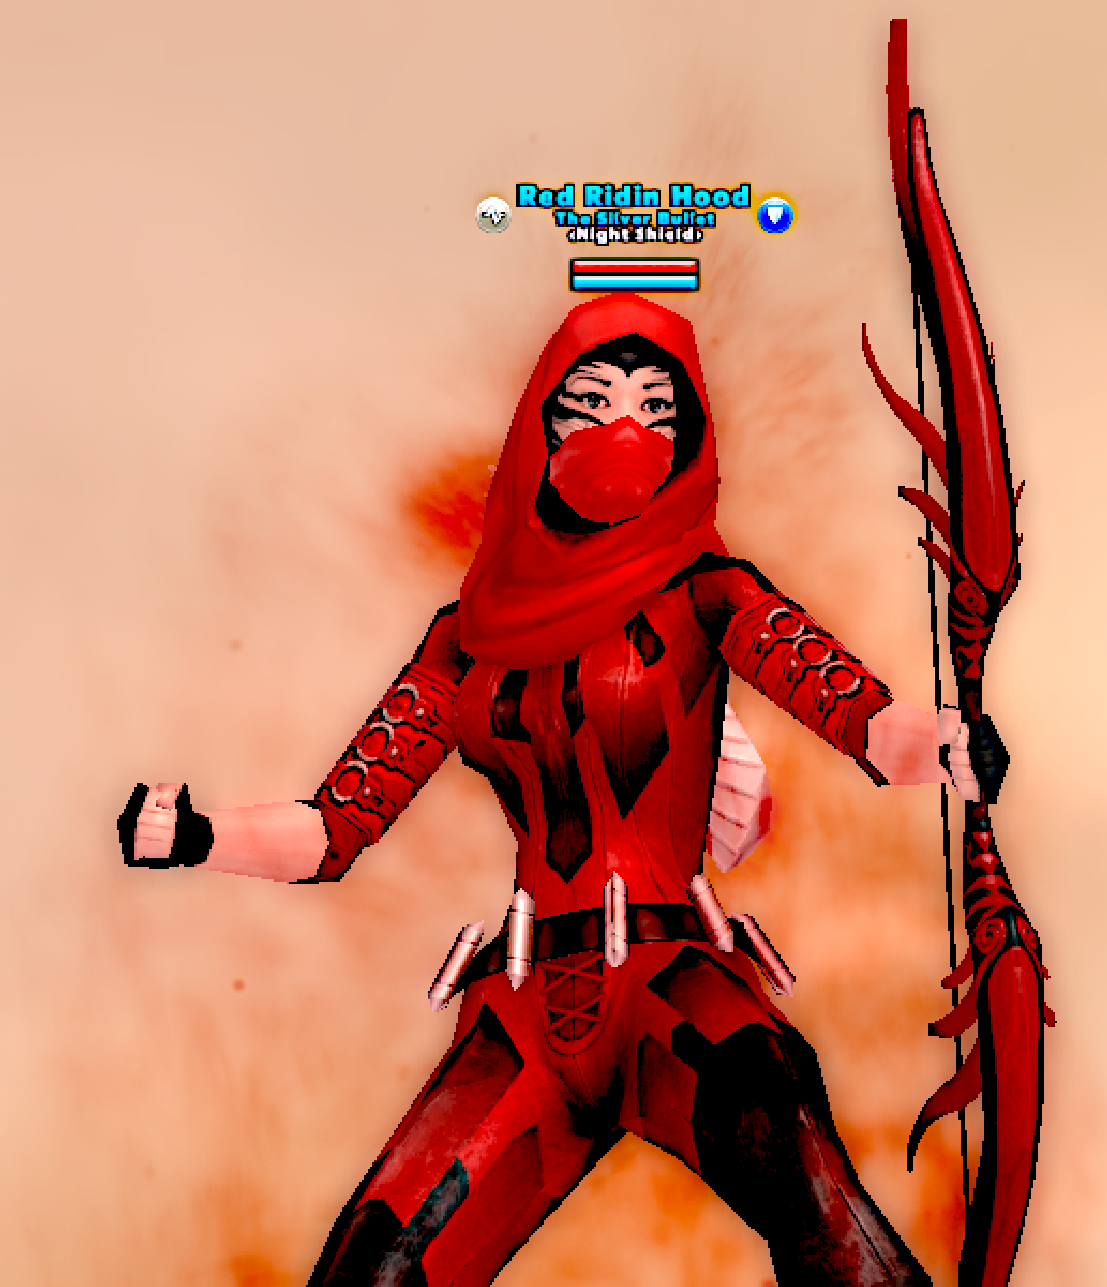
24) Red Ridin Hood - TA / Fire / Flame
Theme: Offender - Debuff EVERYTHING and then burn it to the ground!
Build: https://mids.app/build/preview/f3ox9SIo96q.htm
Theme: Mobile defense platform - raining shields and icy death from above
Build: https://mids.app/build/preview/f10jETgfJp6.htm
-
1
-
1
-
-
Controllers are done! On to the Corruptors!
Corruptors
Theme: Damage and Debuff - melt em all, let Recluse sort em out! Edge of seat, kill or be killed, but safer than a blaster.
Build https://mids.app/build/preview/gifSyBKXbFI.htm
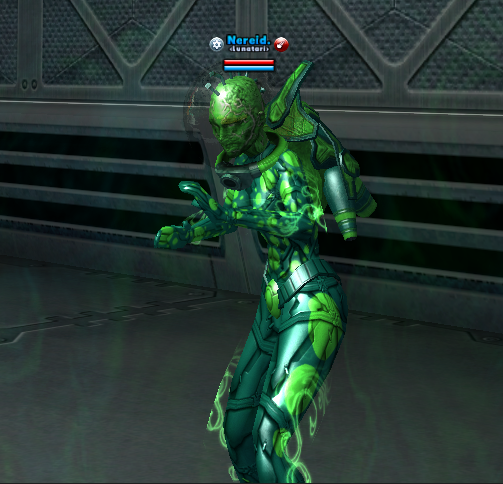
17) Nereid - Water / FF / Mace
Theme: Bubbles and Blasts! Witness the binary boom or bust of Forcefields in action!
Build https://mids.app/build/preview/ghzXswuEYk8.htm
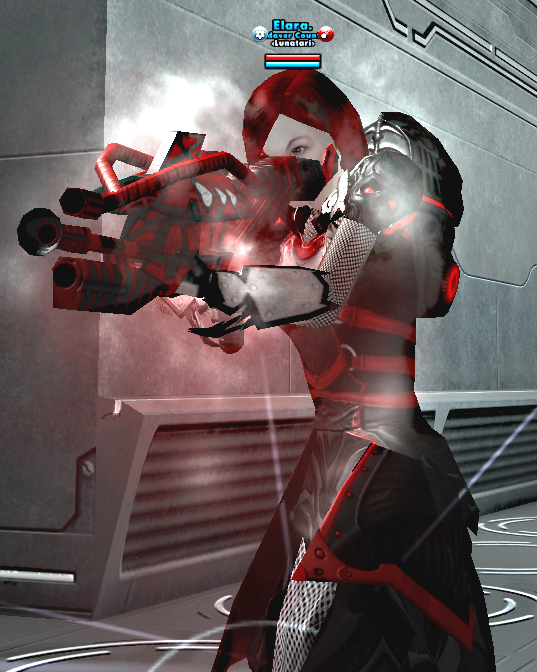
18) Elara - Beam / Poison / Power
Theme: Pew Pew Poison - Debuffs, debuffs, debuffs from range.
Build https://mids.app/build/preview/ggEMQB1jHbw.htm
19) Titania - Energy / Kinetics / Psychic
Theme: Buffs and Blasts, Boom boom pow!
Build https://mids.app/build/preview/gfqxAP8m7SS.htm
Split video into 3 parts - Build, Solo, Team. Part one is linked above and will link to Part two through YT.
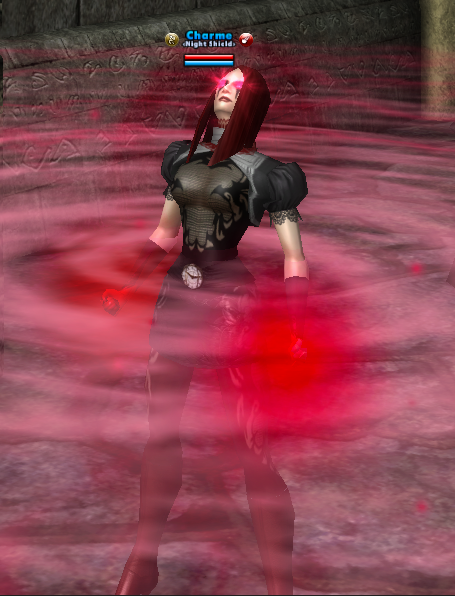
20) Charme - Psi / Pain / Psychic
Theme - Single target control buffet.
Build https://mids.app/build/preview/gesvUNqm1wy.htm!
-
1
-
-
Brutes are done! On to the Controllers!
The first video I recorded is the reverse order of my previous showcase vids. I start literally in the middle of team action as Liquid Remi drops the 6 of us into a meat grinder! I circle back at the end to review the build and its strategy.
Controllers
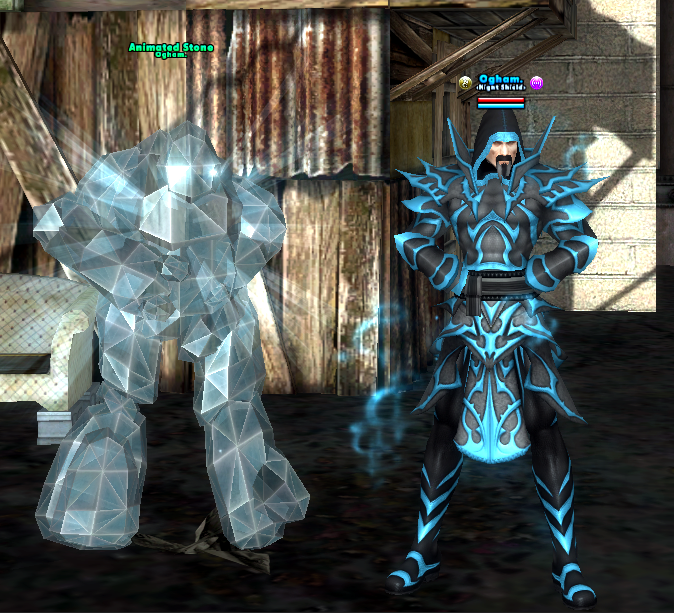
11) Ogham - Earth / Cold / Primal
Theme = Patch Master of Control and Debuff.
Build: https://mids.app/build/preview/gmVfShhz05A.htm
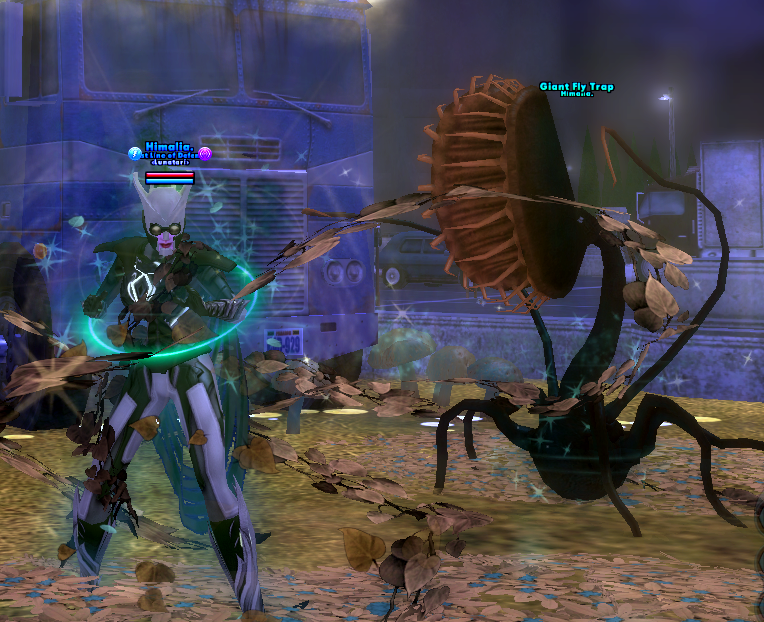
12) Himalia - Plant / Nature / Leviathan
Theme = stand-off controls and buffs. Lots of heals, regen, absorb, recovery support.
Build: https://mids.app/build/preview/glXXLdO3SzA.htm
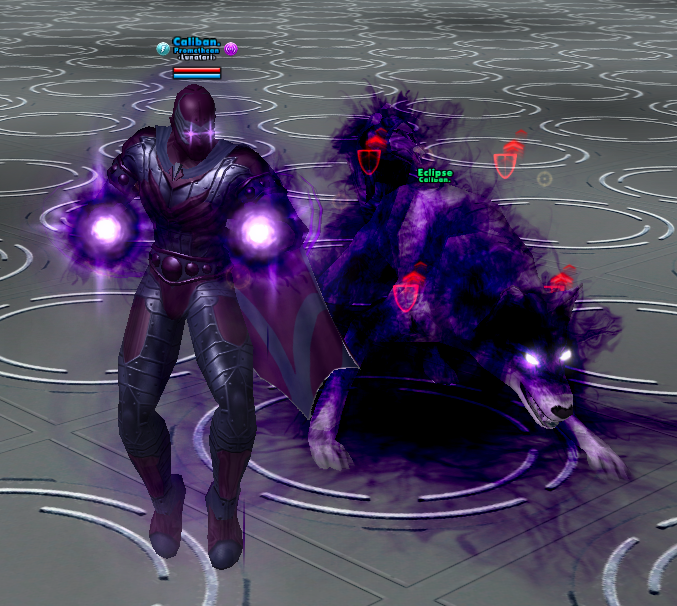
13) Caliban - Dark / Pain / Psy
Theme: stand-off controls and buffs. Pet-heavy, Chaos-medium damage and support.
Build https://mids.app/build/preview/gi2BCnAI5FQ.htm
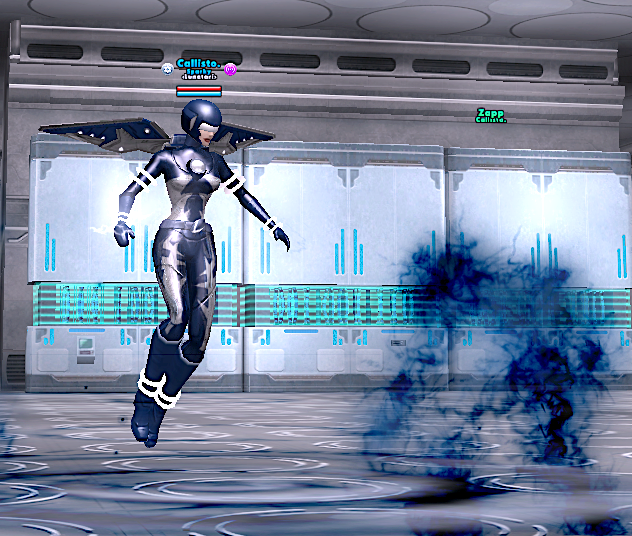
14) Callisto - Electricity / Time / Mu
Theme: tanktroller. Debuff patches and aura that drain, slow and reduce to hit + high dmg resists = draws aggro into focused survivability pocket.
Build https://mids.app/build/preview/glz4KPCnGbk.htm
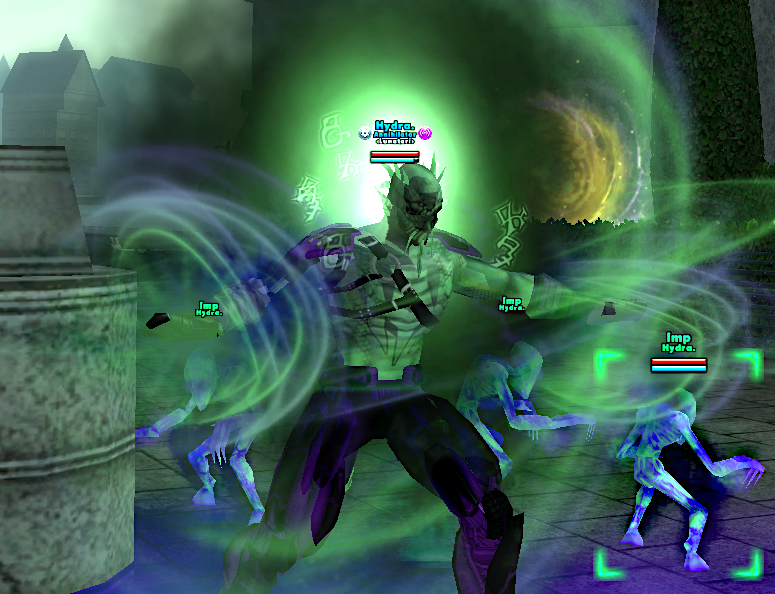
15) Hydra - Fire / Kinetics / Soul
Theme: damage capped self- and team buffer. Edge of seat, kill or be killed play.
Build https://mids.app/build/preview/gkeA515udwq.htm
-
1
-
-
Here come the brutes right up in your face!
Brutes
Theme = overlapping HP, Regen, Absorb + Debuffs.
Build: https://mids.app/build/preview/hdnpfOkKEQC.htm
Theme = stun stacking, end drainer.
Build: https://mids.app/build/preview/hc0bcSVA1w4.htm
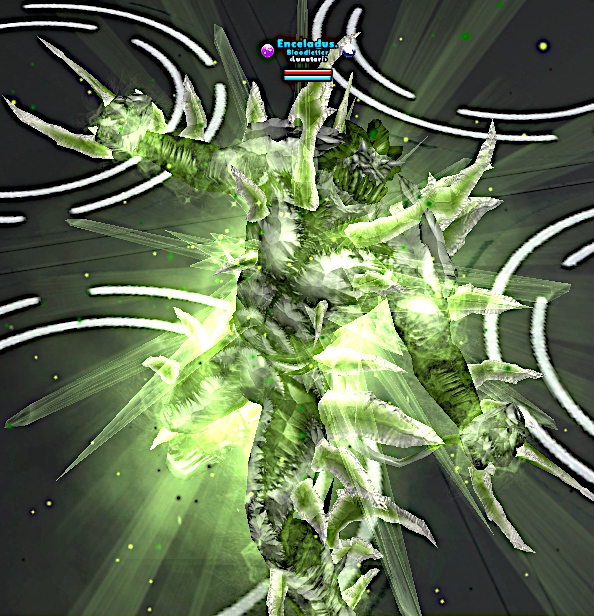
08) Enceladus - Spines / Ice / Earth
Theme = slows and -DEF, control / debuff.
Build: https://mids.app/build/preview/hcg6kqs9zdQ.htm
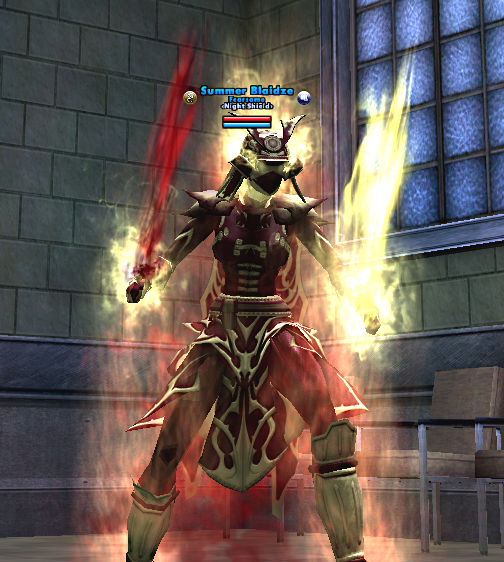
09) Summer Blaidze - DB / Fire / Soul
Theme = Damage of course!
Build: https://mids.app/build/preview/hb0H4UB0deS.htm
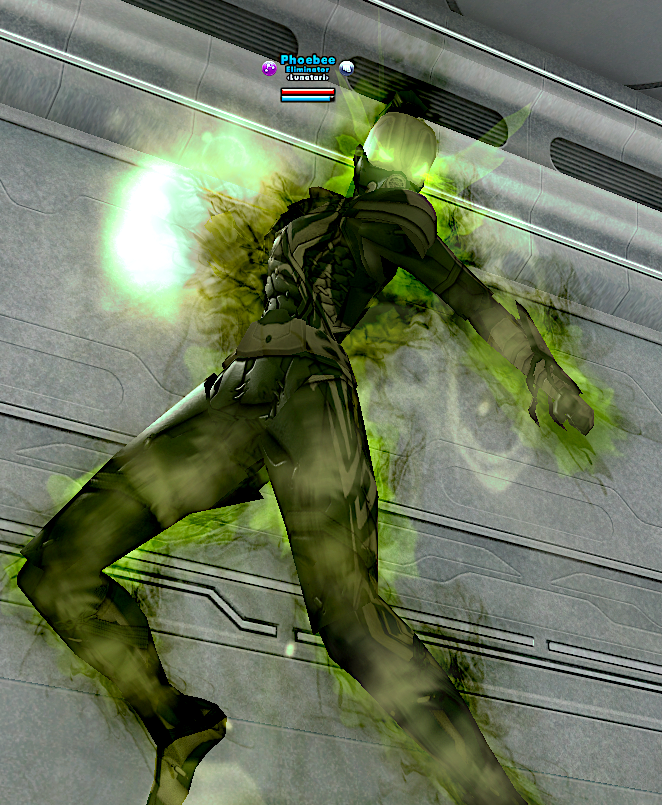
10) Phoebe - Radiation / Dark / Soul
Theme - walking debuff and damage machine / negative damage farmer.
Build: https://mids.app/build/preview/hbEMn7Yn00a.htm
-
1
-
-
Hello, all!
Like many of you, I have a lot of alts. And over these last few years, I've gotten dozens of them to Level 50. All kinds of archetypes and builds. So I decided to have some fun and put together a showcase of fifty of my level 50s over the course of fifty days of playing.
I went through my list of characters and picked out 5 from each of the major ATs that I play and that present a unique or interesting combo (IMHO):
- 5 Blasters
- 5 Brutes
- 5 Controllers
- 5 Corruptors
- 5 Defenders
- 5 Dominators
- 5 Masterminds
- 5 Sentinels
- 5 Tankers
- 5 Miscellaneous (VEATS, HEATS maybe)
No, I didn't forget Scrappers and Stalkers. I don't have any as I don't like their playstyle. Sorry!
Anyway, I'm going to record videos of each of them starting with the concept, followed by the Mids build, then some solo play, and finally some team play. I'll provide my commentary and suggestions throughout. Most of the builds will have a theme or quirk. I don't typically focus on capped Defense or Recharge that a lot of forum builds show. Instead, I put together what I consider to be a fun and focused build that does one or two things really well. They're often experimental and answer the question, "What if?" I try to push the envelope and hopefully give you all something to consider putting together yourself. I think you'll find many of the builds are relatively inexpensive and just about anyone can afford. Of course they're not perfect and I'm sure you can think of improvements and tweaks you'd make or could suggest for me.
So if you're interested in catching a glimpse of my character design process, or want to see how a specific combo works in actual play, or are just looking for some unique builds to try for yourself I invite you to check my YT vids linked below (I'll update as I go). Feel free to share your thoughts below with the caveat that I am not pretending that my builds are the best and only ways to do a combo or that they are the most efficient way to put them together.
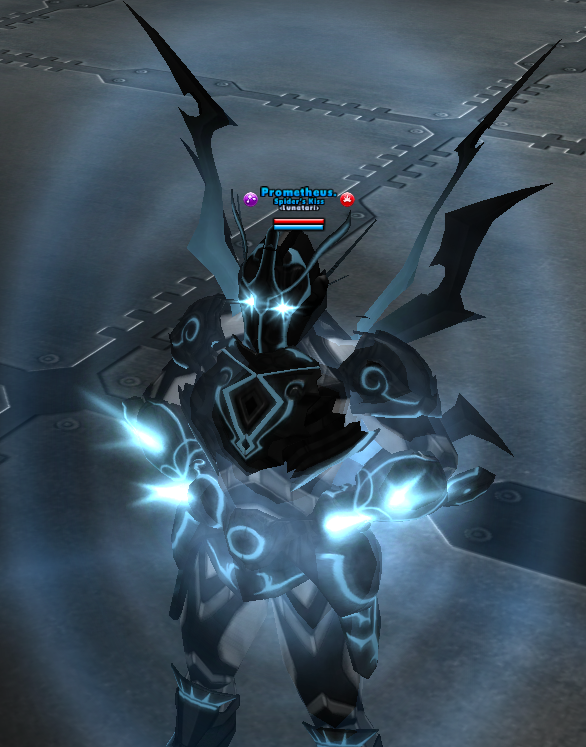
Blasters 01) Prometheus - Dark / Dark / Soul
Theme = To Hit Debuffer
Build: https://mids.app/build/preview/hf6GF65FwNE.htm
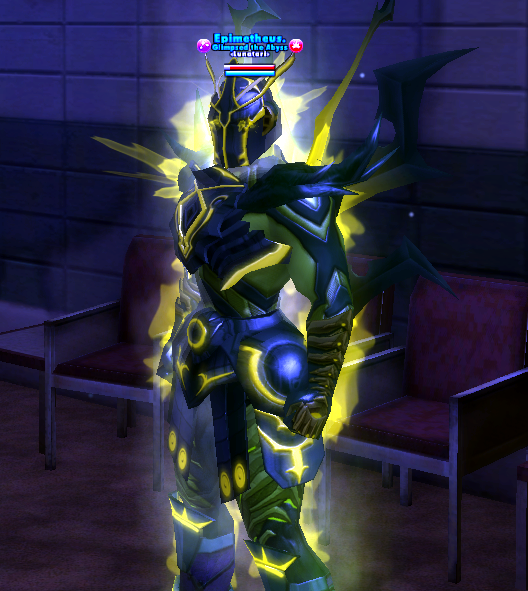
02) Epimetheus - Rad / Plant / Flame
Theme = Def Debuffer
Build: https://mids.app/build/preview/hfMiUVvpR9w.htm
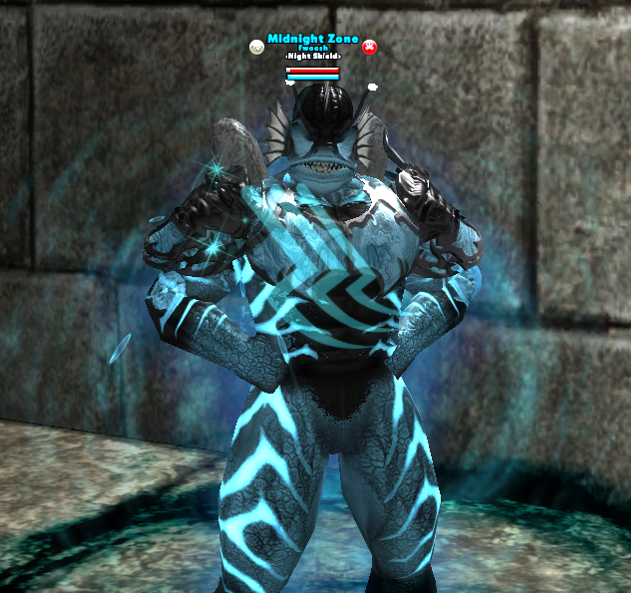
03) Midnight Zone - Water / Temporal / Leviathan
Theme = Speed Debuffer
Build: https://mids.app/build/preview/hfoLf6E9rQy.htm
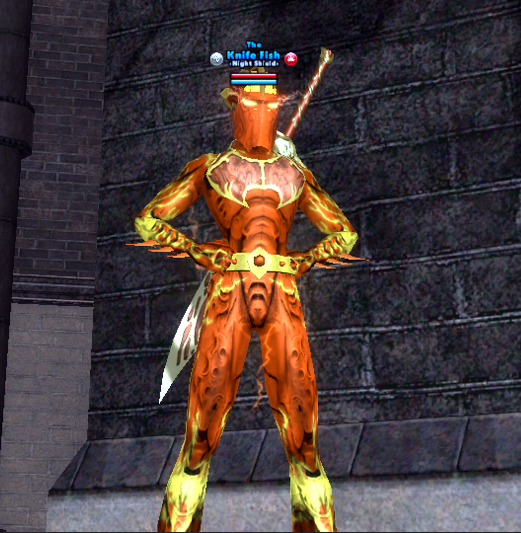
04) Knife Fish - Elec / Ninja / Elec
Theme = Hold Stacker
Builld: https://mids.app/build/preview/he5fBOSpeIS.htm
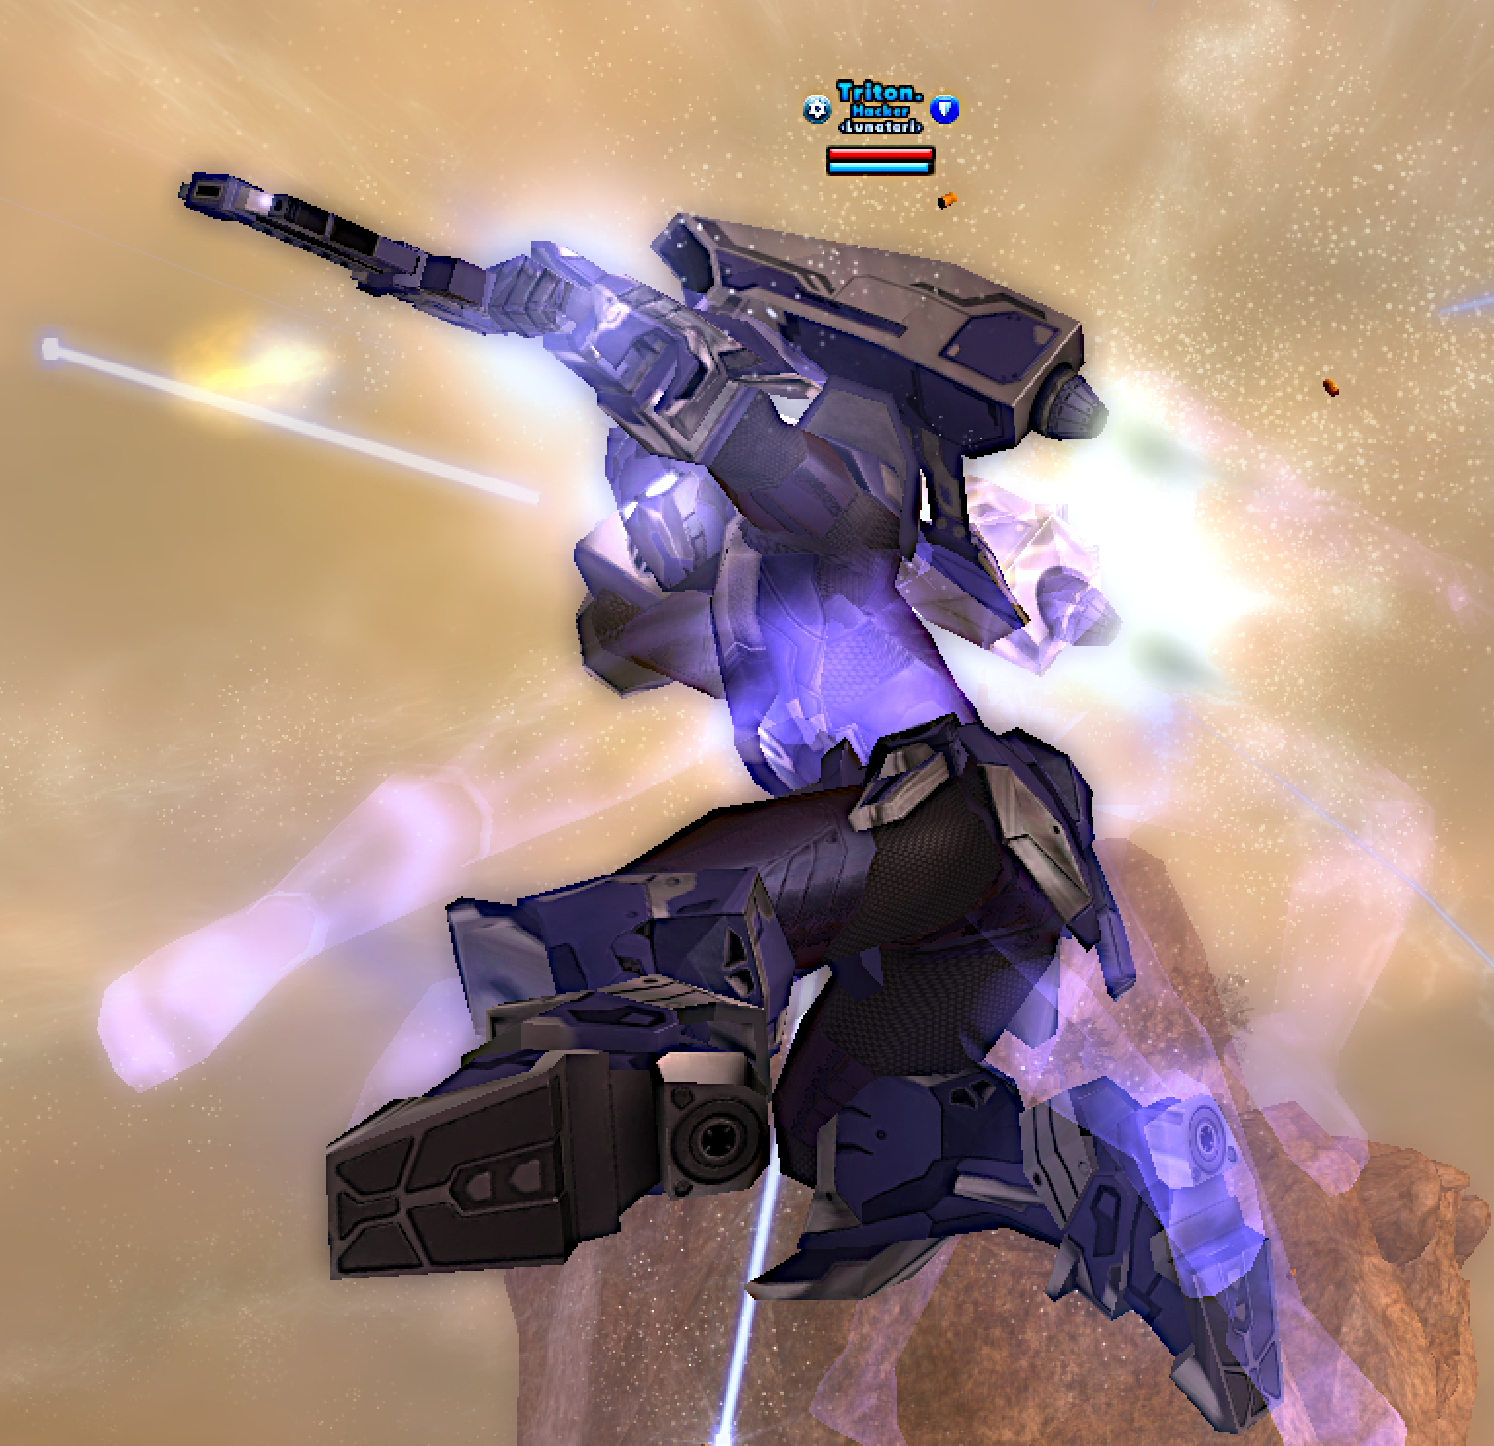
05) Warlok - Energy / Martial / Force
Theme = KB King
Build: https://mids.app/build/preview/heN5f2p399o.htm
-
1
-
On 5/31/2023 at 3:42 PM, PtownRebel said:
This seems like a fun concept and build. Do you have a revised build? I can't load this one into the current version of MIDS but I'll definitely use it as a basis for my own!
Sorry for the delay. Here's the version of the build in the new Mids format. Should be compatible for you.
[/img]
View This Build In MRB -
Built as a dark farmer, Se'khmet has grown into a ferocious beast in all content. I use her extensively to work my negative damage farm, Dark Side Circus (Arc ID 29558), but have broken her out of AE to run some mundane missions in recent days.
As a negative damage farmer, she has extensive amounts of +ACC, +To HIt, and to hit debuff resistance. As a dark armor running 12 toggles, she's also built with massive amounts of End redux and recovery. She needs to be highly mobile so she can reposition mid-combat to leverage her multiple short range cones against as many foes as possible. But these things do not hamstring her as you can see in the recordings of some level 54 missions and a farm snippet below:
Se'Khmet vs 54 Voids
vs 54 Crey
vs 54 Nemesis
54 CoT
Negative Damage Farm
And here's her build for anyone that's interested in looking under the hood:
This Villain build was built using Mids Reborn 3.4.7
https://github.com/LoadedCamel/MidsRebornClick this DataLink to open the build!
Se'Khmet: Level 50 Magic Brute
Primary Power Set: Spines
Secondary Power Set: Dark Armor
Power Pool: Fighting
Power Pool: Leaping
Power Pool: Leadership
Ancillary Pool: Energy MasteryVillain Profile:
Level 1: Barb Swipe- (A) Touch of Death - Accuracy/Damage
- (37) Touch of Death - Damage/Endurance
- (37) Touch of Death - Damage/Endurance/Recharge
- (37) Touch of Death - Accuracy/Damage/Endurance
- (42) Touch of Death - Chance of Damage(Negative)
Level 1: Dark Embrace
- (A) Unbreakable Guard - Resistance
- (3) Unbreakable Guard - Resistance/Endurance
- (3) Unbreakable Guard - RechargeTime/Resistance
- (5) Unbreakable Guard - Resistance/Endurance/RechargeTime
- (45) Gladiator's Armor - TP Protection +3% Def (All)
Level 2: Death Shroud
- (A) Scirocco's Dervish - Accuracy/Damage
- (9) Scirocco's Dervish - Damage/Endurance
- (13) Scirocco's Dervish - Accuracy/Recharge
- (17) Scirocco's Dervish - Accuracy/Damage/Endurance
- (34) Scirocco's Dervish - Chance of Damage(Lethal)
Level 4: Murky Cloud
- (A) Unbreakable Guard - Resistance
- (5) Unbreakable Guard - Resistance/Endurance
- (7) Unbreakable Guard - RechargeTime/Resistance
- (7) Unbreakable Guard - Resistance/Endurance/RechargeTime
- (9) Unbreakable Guard - +Max HP
Level 6: Boxing
- (A) Crushing Impact - Accuracy/Damage
Level 8: Combat Jumping
- (A) Karma - Knockback Protection
Level 10: Obsidian Shield
- (A) Unbreakable Guard - Resistance
- (11) Unbreakable Guard - Resistance/Endurance
- (11) Unbreakable Guard - RechargeTime/Resistance
- (13) Unbreakable Guard - Resistance/Endurance/RechargeTime
- (43) Unbreakable Guard - Endurance/RechargeTime
Level 12: Lunge
- (A) Mako's Bite - Accuracy/Damage
- (23) Mako's Bite - Damage/Endurance
- (25) Mako's Bite - Accuracy/Damage/Endurance/Recharge
- (39) Mako's Bite - Accuracy/Endurance/Recharge
- (39) Mako's Bite - Chance of Damage(Lethal)
Level 14: Tough
- (A) Unbreakable Guard - Resistance
- (15) Unbreakable Guard - Resistance/Endurance
- (15) Unbreakable Guard - RechargeTime/Resistance
- (17) Unbreakable Guard - Resistance/Endurance/RechargeTime
- (45) Steadfast Protection - Resistance/+Def 3%
Level 16: Dark Regeneration
- (A) Multi-Strike - Accuracy/Damage
- (34) Multi-Strike - Damage/Endurance
- (34) Obliteration - Accuracy/Damage/Endurance/Recharge
- (36) Multi-Strike - Accuracy/Endurance
- (36) Touch of the Nictus - Chance for Negative Energy Damage
- (46) Theft of Essence - Chance for +Endurance
Level 18: Spine Burst
- (A) Superior Brute's Fury - Accuracy/Damage
- (19) Superior Brute's Fury - Damage/Recharge
- (19) Superior Brute's Fury - Accuracy/Damage/Recharge
- (25) Superior Brute's Fury - Accuracy/Damage/Endurance/Recharge
- (39) Superior Brute's Fury - Recharge/Fury Bonus
Level 20: Cloak of Darkness
- (A) Reactive Defenses - Defense
- (21) Reactive Defenses - Defense/Endurance
- (21) Reactive Defenses - Defense/RechargeTime
- (23) Reactive Defenses - Scaling Resist Damage
- (42) Shield Wall - +Res (Teleportation), +5% Res (All)
Level 22: Build Up
- (A) Recharge Reduction IO
Level 24: Taunt
- (A) Perfect Zinger - Chance for Psi Damage
Level 26: Quills
- (A) Armageddon - Damage/Endurance
- (27) Armageddon - Damage/Recharge
- (27) Armageddon - Damage/Recharge/Accuracy
- (29) Armageddon - Recharge/Accuracy
- (43) Armageddon - Chance for Fire Damage
Level 28: Cloak of Fear
- (A) Glimpse of the Abyss - Chance of Damage(Psionic)
- (29) Nightmare - Accuracy/Recharge
- (33) Nightmare - Accuracy/Endurance
- (33) Nightmare - Accuracy/Fear
- (46) Cloud Senses - Chance for Negative Energy Damage
Level 30: Ripper
- (A) Superior Unrelenting Fury - Accuracy/Damage
- (31) Superior Unrelenting Fury - Damage/RechargeTime
- (31) Superior Unrelenting Fury - Accuracy/Damage/RechargeTime
- (31) Superior Unrelenting Fury - Accuracy/Damage/Endurance/RechargeTime
- (33) Superior Unrelenting Fury - RechargeTime/+Regen/+End
Level 32: Throw Spines
- (A) Detonation - Accuracy/Damage
- (40) Detonation - Damage/Endurance
- (40) Detonation - Damage/Recharge
- (40) Detonation - Damage/Range
- (43) Detonation - Accuracy/Damage/Endurance
Level 35: Focused Accuracy
- (A) Adjusted Targeting - To Hit Buff
- (42) Adjusted Targeting - To Hit Buff/Endurance
- (46) Adjusted Targeting - Endurance/Recharge
Level 38: Maneuvers
- (A) Kismet - Defense/Endurance
- (45) Kismet - Accuracy +6%
Level 41: Physical Perfection
- (A) Numina's Convalesence - +Regeneration/+Recovery
Level 44: Superior Conditioning
- (A) Performance Shifter - Chance for +End
Level 47: Laser Beam Eyes
- (A) Decimation - Accuracy/Damage
- (48) Decimation - Damage/Endurance
- (48) Decimation - Damage/Recharge
- (48) Decimation - Accuracy/Endurance/Recharge
Level 49: Energy Torrent
- (A) Sudden Acceleration - Knockback/Damage/Endurance
- (50) Sudden Acceleration - Knockback/Accuracy/Damage
- (50) Sudden Acceleration - Knockback/Accuracy
- (50) Sudden Acceleration - Knockback to Knockdown
Level 1: Fury
Level 1: Brawl-
1
-
Combining the power of gravity with the pounding fury of brutal earth assault, I present Miranda, my Level 50 Grav / Earth / Primal permadom. This build has so much ground pounding control it should be illegal. It's the perfect fusion of ranged domination and melee brutality.
Here she is in a kill-most LRSF the other day unloading point-blank thumps on multiple level 54 Heroes:
Part 2 is lost! Forgot to restart the recording!!!
And here's her build for anyone interested in what's under the hood:
This Villain build was built using Mids Reborn 3.4.7
https://github.com/LoadedCamel/MidsRebornClick this DataLink to open the build!
Miranda: Level 50 Science Dominator
Primary Power Set: Gravity Control
Secondary Power Set: Earth Assault
Power Pool: Fighting
Power Pool: Speed
Power Pool: Leaping
Power Pool: Force of Will
Ancillary Pool: Primal Forces MasteryVillain Profile:
Level 1: Lift- (A) Sudden Acceleration - Knockback/Damage/Endurance
- (17) Sudden Acceleration - Knockback/Accuracy/Damage
- (21) Sudden Acceleration - Knockback/Accuracy
- (25) Sudden Acceleration - Knockback/Damage/Recharge
Level 1: Stone Spears
- (A) Decimation - Accuracy/Damage
- (15) Decimation - Damage/Endurance
- (25) Decimation - Accuracy/Endurance/Recharge
- (31) Decimation - Accuracy/Damage/Recharge
- (46) Decimation - Chance of Build Up
Level 2: Gravity Distortion
- (A) Basilisk's Gaze - Accuracy/Hold
- (3) Basilisk's Gaze - Accuracy/Recharge
- (5) Basilisk's Gaze - Endurance/Recharge/Hold
- (5) Basilisk's Gaze - Recharge/Hold
Level 4: Tremor
- (A) Armageddon - Damage
- (31) Armageddon - Damage/Recharge/Accuracy
- (34) Armageddon - Recharge/Accuracy
- (34) Armageddon - Damage/Endurance
- (37) Armageddon - Chance for Fire Damage
Level 6: Propel
- (A) Apocalypse - Damage
- (7) Apocalypse - Damage/Recharge/Accuracy
- (7) Apocalypse - Recharge/Accuracy
- (9) Apocalypse - Damage/Endurance
- (9) Apocalypse - Chance of Damage(Negative)
Level 8: Crushing Field
- (A) Superior Ascendency of the Dominator - Accuracy/Control Duration
- (11) Superior Ascendency of the Dominator - Endurance/Recharge
- (11) Superior Ascendency of the Dominator - Accuracy/Control Duration/Endurance
- (13) Superior Ascendency of the Dominator - Accuracy/Control Duration/Endurance/Recharge
- (13) Superior Ascendency of the Dominator - Recharge/Chance for +Damage
Level 10: Boxing
- (A) Accuracy IO
Level 12: Hasten
- (A) Recharge Reduction IO
- (15) Recharge Reduction IO
Level 14: Stone Mallet
- (A) Superior Blistering Cold - Accuracy/Damage
- (17) Superior Blistering Cold - Damage/Endurance/Accuracy/RechargeTime
- (37) Superior Blistering Cold - Recharge/Chance for Hold
- (39) Crushing Impact - Accuracy/Damage/Endurance
Level 16: Power Up
- (A) Recharge Reduction IO
Level 18: Gravity Distortion Field
- (A) Basilisk's Gaze - Accuracy/Hold
- (19) Basilisk's Gaze - Accuracy/Recharge
- (19) Basilisk's Gaze - Accuracy/Endurance/Recharge/Hold
- (21) Basilisk's Gaze - Endurance/Recharge/Hold
Level 20: Heavy Mallet
- (A) Superior Blistering Cold - Accuracy/Damage/Endurance
- (39) Superior Blistering Cold - Damage/Endurance
- (40) Superior Blistering Cold - Accuracy/Damage/Recharge
- (40) Crushing Impact - Accuracy/Damage/Recharge
Level 22: Tough
- (A) Unbreakable Guard - Resistance
- (23) Unbreakable Guard - Resistance/Endurance
- (23) Unbreakable Guard - Resistance/Endurance/RechargeTime
Level 24: Weave
- (A) Luck of the Gambler - Defense/Increased Global Recharge Speed
- (39) Luck of the Gambler - Defense/Endurance
Level 26: Wormhole
- (A) Absolute Amazement - Stun
- (27) Absolute Amazement - Stun/Recharge
- (27) Absolute Amazement - Stun/Recharge/Accuracy
- (29) Absolute Amazement - Recharge/Accuracy
- (29) Absolute Amazement - Stun/Endurance
- (31) Sudden Acceleration - Knockback to Knockdown
Level 28: Seismic Smash
- (A) Hecatomb - Damage
- (40) Hecatomb - Damage/Recharge/Accuracy
- (42) Hecatomb - Recharge/Accuracy
- (43) Hecatomb - Damage/Endurance
- (46) Hecatomb - Chance of Damage(Negative)
Level 30: Combat Jumping
- (A) Luck of the Gambler - Defense/Increased Global Recharge Speed
Level 32: Singularity
- (A) Expedient Reinforcement - Accuracy/Recharge
- (33) Expedient Reinforcement - Accuracy/Damage
- (33) Expedient Reinforcement - Damage/Endurance
- (33) Expedient Reinforcement - Accuracy/Damage/Recharge
- (34) Sudden Acceleration - Knockback to Knockdown
Level 35: Energy Transfer
- (A) Crushing Impact - Accuracy/Damage
- (36) Crushing Impact - Damage/Endurance
- (36) Crushing Impact - Damage/Recharge
- (36) Crushing Impact - Accuracy/Damage/Endurance
- (37) Crushing Impact - Damage/Endurance/Recharge
Level 38: Fissure
- (A) Positron's Blast - Accuracy/Damage
- (43) Positron's Blast - Damage/Endurance
- (43) Positron's Blast - Damage/Range
- (45) Positron's Blast - Accuracy/Damage/Endurance
- (50) Positron's Blast - Chance of Damage(Energy)
Level 41: Temp Invulnerability
- (A) Unbreakable Guard - Resistance
- (42) Unbreakable Guard - Resistance/Endurance
- (42) Unbreakable Guard - Resistance/Endurance/RechargeTime
Level 44: Energy Torrent
- (A) Sudden Acceleration - Knockback/Accuracy/Damage
- (45) Sudden Acceleration - Knockback/Accuracy
- (45) Sudden Acceleration - Knockback/Damage/Endurance
- (46) Sudden Acceleration - Knockback to Knockdown
Level 47: Explosive Blast
- (A) Sudden Acceleration - Knockback/Damage/Recharge
- (48) Sudden Acceleration - Knockback/Damage/Endurance
- (48) Sudden Acceleration - Knockback/Accuracy/Damage
- (48) Sudden Acceleration - Knockback/Accuracy
- (50) Sudden Acceleration - Knockback to Knockdown
- (50) Sudden Acceleration - Knockback/Recharge
Level 49: Mighty Leap
- (A) Winter's Gift - Slow Resistance (20%)
Level 1: Domination
Level 1: Brawl-
1
-
How'd you guess?
-
 2
2
-
-
Yeah, I chuck that up with my symp / fire / leviathan. Gonna go that route with the new one, too. Force of Will pool has Wall of Force on top of all that.
-
Rolled up a symphony / electric build to compare with. Have an idea about stun stacking with the energy manipulator procs.
-
Let me tell ya, I AM tempted to permadom this dragon. I can definitely imagine what you're talking about. Was keeping this one on the cheap just to monkey with the concept, but it might be worth the investment of some purple sets at some point. Right now, she's really good on teams where I have other targets drawing fire. Otherwise, solo, she takes a beating. Which is it's own kind of fun.
-
Made a couple more vids from some Level 43 radio missions.
I have pretty much no defense, so the build is kill or be killed.
-
On 4/4/2023 at 11:25 AM, Uun said:
- While Distortion Field accepts hold enhancements, slotting a full set of Overpowering Presence is a waste of slots. The power is primarily a slow and the hold only has a 2% chance to occur. Plus the power is auto-hit and doesn't require accuracy. Unless you're slotting damage procs, Distortion Field doesn't require more than 1-2 slots (I slot 1 slow IO and 1 recharge IO).
- Slot Gravity Distortion Field with Unbreakable Constraint or move Will of the Controller to Gravity Distortion Field and slot Wormhole with Absolute Amazement.
- You want KB>KD in Wormhole and Propel.
- Slot the Expedient Reinforcement +res unique.
- Not sure why you've got Tough, but I would slot it with the two +def uniques and use as a mule.
- Vigor is a poor choice for your Alpha. Intuition Radial would serve you better.
- Support Radial is a better choice than Support Core. Singularity is the only pet that would benefit from the doubled values while you and your team would receive a smaller buff.
Thanks for your concerns with the build. As a master of time and space, Bhootakash doesn't seem to have any issues soloing standard 54 x8 missions as you can see in the video linked below. She says she'll stick with her current powers and abilities, but will keep your suggestions in mind should something come up.
-
46 minutes ago, Gobbledygook said:
Not critizing, or saying you're wrong, as everyone is entitled to their opinion, but I have to ask something.
Could most of this not be addressed as Origin, or theme/concept?
Example, I have an Em Scrapper that's mutation allows him to rechannel the energy that he absorbs from his surroundings and converts it to negative energy (Anti-matter) that begins breaking things down on an atomic level, which he uses to protect himself and attack others.
Arcane could be any blast set with a Magic origin. Add Sorcery pool for additional flavor.
Lava could be Water blast recolored orangish, brownish, or redish, add the incarnate that gives fire damage proc to attacks. Or just Fire Blast
Plasma Blast, super heated plasma: Fire, or Energy Blast. Due to the rapid heating at second of impact, it causes a an explosion, knocking them back, while also setting them on fire.
Force, Energy Blast, slot a Forced Feedback +Rech.
It's the secondary effects that matter more than what you can color something.
-
1
-
1
-
-
Put together a build to maximize the amount of cones with a ranged position dominator:
Symphony Control = 4 cones
Fire Assault = 1 cone
Leviathan PPP = 1 cone
Force of Will = 1 cone
Idea is to just spray cones at groups of enemies and stacking oodles of soft control from range.
Here are some sample vids from a Manticore TF I ran with Opal Dragyn from the other day to see how the concept works in the 30s. We were doing a 'kill most' taskforce run vs +2s most of the time. Only deaths I suffered were from the countess, which were not the fault of the build or powersets, but bad positioning in the first death (7a) and then getting range ganked by her on the second (7b).
Here are links to the complete series of vids if you want to check it out in action:
Manti TF Pt 1And if anyone is curious about the current build, it looks like this (not going for permadom, just range and soft control):
This Villain build was built using Mids Reborn 3.4.7
https://github.com/LoadedCamel/MidsRebornClick this DataLink to open the build!
Opal Dragyn: Level 50 Natural Dominator
Primary Power Set: Symphony Control
Secondary Power Set: Fiery Assault
Power Pool: Force of Will
Power Pool: Leadership
Power Pool: Leaping
Ancillary Pool: Leviathan MasteryVillain Profile:
Level 1: Hymn of Dissonance- (A) Gladiator's Net - Accuracy/Endurance/Recharge/Hold
- (5) Gladiator's Net - Endurance/Recharge/Hold
- (5) Gladiator's Net - Accuracy/Recharge
- (7) Gladiator's Net - Accuracy/Hold
Level 1: Flares
- (A) Devastation - Accuracy/Damage
- (7) Devastation - Accuracy/Damage/Endurance/Recharge
- (9) Devastation - Accuracy/Damage/Recharge
- (9) Devastation - Chance of Hold
Level 2: Aria of Stasis
- (A) Ice Mistral's Torment - Chance for Cold Damage
- (11) Ice Mistral's Torment - Accuracy/Damage/Endurance/Recharge
- (11) Ice Mistral's Torment - Accuracy/Damage/Endurance
- (13) Ice Mistral's Torment - Damage/Slow
- (13) Ice Mistral's Torment - Endurance/Slow
- (48) Debilitative Action - Disorient Bonus
Level 4: Fire Breath
- (A) Detonation - Accuracy/Damage
- (15) Detonation - Damage/Endurance
- (15) Detonation - Damage/Range
- (17) Detonation - Damage/Endurance/Range
- (17) Detonation - Accuracy/Damage/Endurance
- (48) Annihilation - Chance for Res Debuff
Level 6: Mighty Leap
- (A) Springfoot - Endurance/Jumping
Level 8: Dreadful Discord
- (A) Glimpse of the Abyss - Accuracy/Recharge
- (19) Glimpse of the Abyss - Endurance/Fear
- (19) Glimpse of the Abyss - Accuracy/Endurance
- (21) Glimpse of the Abyss - Accuracy/Fear/Recharge
- (21) Glimpse of the Abyss - Chance of Damage(Psionic)
- (48) Unspeakable Terror - Disorient Bonus
Level 10: Fire Blast
- (A) Devastation - Accuracy/Damage
- (23) Devastation - Damage/Endurance
- (23) Devastation - Accuracy/Damage/Endurance/Recharge
- (25) Devastation - Chance of Hold
Level 12: Enfeebling Lullaby
- (A) Superior Frozen Blast - Recharge/Chance for Immobilize
- (25) Superior Frozen Blast - Damage/Endurance/Accuracy/RechargeTime
- (27) Superior Frozen Blast - Accuracy/Damage/Endurance
- (27) Annihilation - Accuracy/Damage/RechargeTime
- (29) Annihilation - Accuracy/Damage/Endurance
- (50) Annihilation - Chance for Res Debuff
Level 14: Weaken Resolve
- (A) Shield Breaker - Chance for Lethal Damage
- (29) Shield Breaker - Accuracy/Recharge
Level 16: Embrace of Fire
- (A) Recharge Reduction IO
Level 18: Confounding Chant
- (A) Razzle Dazzle - Chance of Immobilize
- (31) Bombardment - Chance for Fire Damage
- (31) Bombardment - Accuracy/Recharge/Endurance
- (31) Bombardment - Damage/Recharge
- (33) Bombardment - Accuracy/Damage/Recharge
- (50) Bombardment - Accuracy/Damage/Recharge/Endurance
Level 20: Wall of Force
- (A) Detonation - Accuracy/Damage
- (33) Detonation - Damage/Endurance
- (33) Detonation - Damage/Range
- (34) Detonation - Accuracy/Damage/Endurance
- (34) Detonation - Damage/Endurance/Range
- (50) Annihilation - Chance for Res Debuff
Level 22: Project Will
- (A) Devastation - Accuracy/Damage
- (34) Devastation - Damage/Endurance
- (36) Devastation - Accuracy/Damage/Endurance/Recharge
- (36) Devastation - Chance of Hold
Level 24: Maneuvers
- (A) Red Fortune - Defense/Endurance
Level 26: Chords of Despair
- (A) Lockdown - Chance for +2 Mag Hold
- (36) Lockdown - Accuracy/Hold
- (37) Lockdown - Accuracy/Recharge
- (37) Lockdown - Endurance/Recharge/Hold
- (37) Lockdown - Accuracy/Endurance/Recharge/Hold
Level 28: Assault
- (A) Endurance Reduction IO
Level 30: Combat Jumping
- (A) Blessing of the Zephyr - Knockback Reduction (4 points)
- (39) Reactive Defenses - Scaling Resist Damage
Level 32: Reverberant
- (A) Expedient Reinforcement - Accuracy/Damage
- (39) Expedient Reinforcement - Damage/Endurance
- (39) Expedient Reinforcement - Endurance/Damage/Recharge
- (40) Expedient Reinforcement - Accuracy/Recharge
Level 35: Bile Spray
- (A) Detonation - Accuracy/Damage
- (40) Detonation - Damage/Endurance
- (40) Detonation - Damage/Range
- (42) Detonation - Accuracy/Damage/Endurance
- (42) Detonation - Damage/Endurance/Range
Level 38: Blaze
- (A) Devastation - Accuracy/Damage
- (42) Devastation - Damage/Endurance
- (43) Devastation - Accuracy/Damage/Endurance/Recharge
- (43) Devastation - Chance of Hold
Level 41: Shark Skin
- (A) Unbreakable Guard - Resistance
- (43) Unbreakable Guard - Resistance/Endurance
- (45) Unbreakable Guard - Resistance/Endurance/RechargeTime
- (45) Unbreakable Guard - +Max HP
Level 44: Water Spout
- (A) Sudden Acceleration - Knockback to Knockdown
- (45) Sudden Acceleration - Knockback/Accuracy/Damage
- (46) Sudden Acceleration - Knockback/Accuracy
- (46) Touch of Lady Grey - Chance for Negative Damage
- (46) Touch of Lady Grey - Recharge/Endurance
Level 47: Unleash Potential
- (A) Luck of the Gambler - Defense/Increased Global Recharge Speed
Level 49: Consume
- (A) Preemptive Optimization - Accuracy/Recharge
Level 1: Domination
Level 1: Brawl -
Update on my primal goddess. She's level 50 and fully IOd. Ran a couple missions exemplared to the mid-20s for comparison with the above pre-IO vids.
Here they are:
She can hold her own in a fight and create a veritable doorstop for enemies.
This Hero build was built using Mids Reborn 3.4.7
https://github.com/LoadedCamel/MidsRebornClick this DataLink to open the build!
Bhootakash: Level 50 Technology Controller
Primary Power Set: Gravity Control
Secondary Power Set: Time Manipulation
Power Pool: Force of Will
Power Pool: Fighting
Ancillary Pool: Primal Forces MasteryHero Profile:
Level 1: Lift -- Dcm-Acc/Dmg(A), Dcm-Dmg/EndRdx(3), Dcm-Acc/EndRdx/Rchg(3), Dcm-Build%(40), Dcm-Acc/Dmg/Rchg(43)
Level 1: Time Crawl -- TmpRdn-Acc/Slow(A), TmpRdn-Acc/EndRdx(34)
Level 2: Gravity Distortion -- Apc-Dmg(A), Apc-Acc/Dmg/Rchg(5), Apc-Acc/Rchg(5), Apc-Dmg/EndRdx(36), Apc-Dam%(37)
Level 4: Temporal Mending -- DctWnd-Heal/EndRdx(A), DctWnd-EndRdx/Rchg(7), DctWnd-Heal/Rchg(7), DctWnd-Heal/EndRdx/Rchg(37), DctWnd-Heal(37)
Level 6: Time's Juncture -- IceMisTrmt-+ColdDmg(A), DarWtcDsp-Slow%(9), DarWtcDsp-ToHitDeb/EndRdx(9), DarWtcDsp-Rchg/EndRdx(23), DarWtcDsp-ToHitdeb/Rchg/EndRdx(50)
Level 8: Crushing Field -- PstBls-Acc/Dmg/EndRdx(A), TraoftheH-Acc/EndRdx(11), PstBls-Dam%(11), TraoftheH-Dam%(13), ImpSwf-Dam%(13), SprWiloft-Rchg/Dmg%(31)
Level 10: Mighty Leap -- BlsoftheZ-ResKB(A)
Level 12: Weaken Resolve -- ShlBrk-%Dam(A), ShlBrk-Acc/DefDeb(23)
Level 14: Temporal Selection -- DctWnd-EndRdx/Rchg(A)
Level 16: Distortion Field -- SprOvrPrs-Rchg/Energy Font(A), SprOvrPrs-Acc/Conf/Hold/Immob/Sleep/Stun/Fear(17), SprOvrPrs-EndRdx/Rchg(17), SprOvrPrs-Conf/Hold/Immob/Sleep/Stun/Fear/Rchg(21), SprOvrPrs-Acc/Conf/Hold/Immob/Sleep/Stun/Fear/EndRdx(25)
Level 18: Gravity Distortion Field -- BslGaz-Acc/EndRdx/Rchg/Hold(A), BslGaz-Acc/Rchg(19), BslGaz-Rchg/Hold(19), BslGaz-EndRdx/Rchg/Hold(21), BslGaz-Acc/Hold(25)
Level 20: Unleash Potential -- LucoftheG-Def/Rchg+(A)
Level 22: Propel -- Dcm-Acc/Dmg(A), Dcm-Dmg/EndRdx(34), Dcm-Acc/EndRdx/Rchg(34), Dcm-Acc/Dmg/Rchg(43), Dcm-Dmg/Rchg(43)
Level 24: Time Stop -- BslGaz-Acc/Hold(A), BslGaz-Acc/Rchg(40), BslGaz-Slow%(40), BslGaz-EndRdx/Rchg/Hold(46)
Level 26: Wormhole -- SprWiloft-Acc/Conf/Hold/Immob/Sleep/Stun/Fear(A), SprWiloft-Conf/Hold/Immob/Sleep/Stun/Fear/Rchg(27), SprWiloft-EndRdx/Rchg(27), SprWiloft-Acc/Conf/Hold/Immob/Sleep/Stun/Fear/EndRdx(29), SprWiloft-Acc/Conf/Hold/Immob/Sleep/Stun/Fear/EndRdx/Rchg(29)
Level 28: Farsight -- RedFrt-Def/EndRdx(A), RedFrt-Def/Rchg(31), RedFrt-EndRdx/Rchg(31), RedFrt-Def(36), RedFrt-Def/EndRdx/Rchg(46)
Level 30: Boxing -- Acc-I(A)
Level 32: Singularity -- ExpRnf-Acc/Dmg(A), ExpRnf-Dmg/EndRdx(33), ExpRnf-Acc/Dmg/Rchg(33), ExpRnf-EndRdx/Dmg/Rchg(33)
Level 35: Tough -- UnbGrd-ResDam/EndRdx(A), UnbGrd-ResDam/EndRdx/Rchg(36)
Level 38: Chrono Shift -- DctWnd-Heal/EndRdx/Rchg(A), DctWnd-EndRdx/Rchg(39), DctWnd-Heal/Rchg(39), DctWnd-Rchg(39), DctWnd-Heal/EndRdx(46)
Level 41: Power Blast -- Dcm-Acc/Dmg(A), Dcm-Dmg/EndRdx(42), Dcm-Dmg/Rchg(42), Dcm-Acc/EndRdx/Rchg(42), Dcm-Acc/Dmg/Rchg(50)
Level 44: Energy Torrent -- PstBls-Acc/Dmg(A), PstBls-Dmg/EndRdx(45), PstBls-Dmg/Rchg(45), PstBls-Dmg/Rng(45), PstBls-Acc/Dmg/EndRdx(50)
Level 47: Temp Invulnerability -- ImpArm-ResDam/EndRdx(A), ImpArm-ResDam/Rchg(48), ImpArm-ResDam/EndRdx/Rchg(48), ImpArm-ResDam(48)
Level 49: Power Boost -- RechRdx-I(A)
Level 1: Containment
Level 1: Brawl -- Acc-I(A)
Level 1: Sprint -- Clr-Stlth(A)
Level 2: Rest -- Empty(A)
Level 2: Swift -- Run-I(A)
Level 2: Hurdle -- Jump-I(A)
Level 2: Health -- NmnCnv-Regen/Rcvry+(A), Pnc-Heal/+End(15)
Level 2: Stamina -- PrfShf-End%(A), PrfShf-EndMod(15)
Level 10: Takeoff
Level 1: Prestige Power Dash -- Empty(A)
Level 1: Prestige Power Slide -- Empty(A)
Level 1: Prestige Power Quick -- Empty(A)
Level 1: Prestige Power Rush -- Empty(A)
Level 1: Prestige Power Surge -- Empty(A)
Level 4: Ninja Run
Level 50: Vigor Core Paragon
Level 50: Gravitic Core Flawless Interface
Level 50: Support Core Embodiment
Level 50: Cryonic Radial Final Judgement
Level 50: Clarion Radial Epiphany
Level 50: Storm Elemental Core Superior Ally
------------
------------
Set Bonus Totals:- 13% DamageBuff(Smashing)
- 13% DamageBuff(Lethal)
- 13% DamageBuff(Fire)
- 13% DamageBuff(Cold)
- 13% DamageBuff(Energy)
- 13% DamageBuff(Negative)
- 13% DamageBuff(Toxic)
- 13% DamageBuff(Psionic)
- 5% Defense(Energy)
- 5% Defense(Negative)
- 1.88% Defense(Psionic)
- 2.5% Defense(Ranged)
- 9% Max End
- +8.8% Enhancement(Terrorized)
- +16% Enhancement(Sleep)
- +8% Enhancement(Heal)
- +8% Enhancement(Held)
- +93.75% Enhancement(RechargeTime)
- +8% Enhancement(Stunned)
- +24% Enhancement(Accuracy)
- 2.5% Enhancement(Max EnduranceDiscount)
- +8% Enhancement(Confused)
- +21% Enhancement(Immobilized)
- 7.5% SpeedFlying
- 110.6 HP (10.88%) HitPoints
- 7.5% JumpHeight
- 7.5% SpeedJumping
- Knockback (Mag -4)
- Knockup (Mag -4)
- 45% MezResist(Confused)
- 45% MezResist(Held)
- 45% MezResist(Immobilized)
- 45% MezResist(Sleep)
- 45% MezResist(Stunned)
- 45% MezResist(Terrorized)
- 22% (0.37 End/sec) Recovery
- 16% (0.68 HP/sec) Regeneration
- 10.5% Resistance(Smashing)
- 10.5% Resistance(Lethal)
- 6.75% Resistance(Fire)
- 6.75% Resistance(Cold)
- 9.75% Resistance(Energy)
- 9.75% Resistance(Negative)
- 7.5% SpeedRunning


Fifty-Fifty Showcase
in Archetypes
Posted
Thanks for the looks. I spend a good deal of time on costumes when I make a new character. I'm no pro at it, but I like unique looks and try to tie them in with the character's theme. Luckily this game's costume creator is unmatched still even after all these years.
And the screenshots probably are the hardest part of this whole series - getting the right angle, some sort of action pose, moving the camera, editing the pic. The screenies aren't are good as the real things, but they get the idea across for what the character looks like.
Spore King is a hodge-podge of parts from different sets with a lot of the fire/ice elemental pieces. Included a lot of asynchronous pairings. It's hard to make a mushroom looking guy, so I went with this amorphous combo that suggests different types of fungi all fused together.
Head
Hats
Face - fire and ice 1
Hat - resistance
Ears - elf
Detail 1 - cosmic corsair left
Detail 2 - soul patch
Upper Body
Robotic Arm 3
Chest - fire and ice 1
Shoulders - circle of thorns 1
Right arm - fire and ice 1
Chest Detail - fire and ice - ice
Left Glove - organic armor thorny
Belt - fire and ice - fire
Lower Body
Tight
Pants - fire and ice 1
Left Boot - fire and ice 2 - ice
Right Boot - organic armor
Tails - none
Weapons
Bows - cupid
Back Detail
Back Packs - fire and ice 2
Auras - steam jets
Effect - body
Path Aura - none