
Rylas
-
Posts
809 -
Joined
-
Last visited
Content Type
Profiles
Forums
Events
Store
Articles
Patch Notes
Everything posted by Rylas
-

Something i wish we could do with Primary or Secondary sets
Rylas replied to 13th Stranger's topic in Suggestions & Feedback
-
Something i wish we could do with Primary or Secondary sets
Rylas replied to 13th Stranger's topic in Suggestions & Feedback
So you want us to believe that 10 to 11 powersets have come out that just happen to “work better for your character’s concept” and therefore the limited resources of the dev team should be more focused on changing game mechanics to allow rerolling primaries and secondaries? I only wish the devs had the time or resources to have rolled out that many new sets. I find it hard to believe you’ve run into this issue on your toon that many times. Even if your talking about different toons, then clearly you don’t have issues making new toons and getting them up and running if you’ve already done it nearly a dozen times. I’d much rather see more new sets than waste time on a function that may or may not be possible with how the game is already set up. -
Some much appreciated pointers, thank you! Given the feedback I moved a lot of things around. Picked up Phalanx and dropped the Fighting Pool altogether. Thanks again @Psyonico for that clarification and pointing to Chain Induction. The ST/AOE damage is a little more balanced now. And @Zect, your slotting suggestions for Deflection started a domino affect shifting bonuses around. The resists are a lot more rounded out now. I've got AD to perma stacking once Spiritual Core kicks in. Even without it, it's only a 14 second gap, and that shouldn't be that major. I've done what I can to get HP as high as possible since I won't have a heal, as well as recovery. I get the feeling I'll have to pick up Ageless. Telecommuter.mbd
-
Ah, I totally misunderstood the power description. I can drop maneuvers at least and maybe drop Gaussian’s. Thanks for the clarification! With current slotting, SA is about 1/2 of SC, and 3/5 of Lightening rod. But it’s still a good clean up for any small mobs left over. I’ll consider Chain Induction. For me, the stun in Clap is secondary to the KD (KB to KD, that is). Not having a heal, I wouldn’t mind the extra mitigation tool. Still, the at damage is admittedly slim. It’s worth tinkering with.
-
After getting such great feedback for my Elec/Rad tanker (she's been a lot of fun, and is just now getting into the Incarnate realm), I thought I'd see if there weren't some tweaks that can't be made for this Shield/Elec that I've been tinkering with. The Goals: Solid defense, good recharge, and being a TP'ing SOB! Shield Charge and Lightning Rod, sure. But also Spring Attack. And Combat TP. And Fold Space! If I'm not leaping to them, I'm pulling them to me. I'm not as worried as being an absolute boss in Incarnate content, just having a fun game play style for crowd management. My reasoning so far: Considering how often I'll be moving around, I'm leaving Phalanx Fighting off the build. I can't always rely on its defense for alphas, so I've built to keep myself soft-capped without it. All positions are 50 or higher to cushion for Def Debuff. With the near Hasten levels of global recharge, I should be able to keep things moving at a fast pace. I went ahead and grabbed Lightning Clap for some extra crowd control and proc damage. Cardiac Core seems like a no-brainer. It could definitely make use out of end reduction, range and resists. Thoughts? I've tried to minimize slotting/power selection where I could, but I'm sure there's some things I failed to consider. I can always have my mind changed on things like Phalanx Fighting or Lightning Clap. But the teleporting powers are a must. Any thoughts on ways to open power selections or slots up? Missed opportunities for recharge or def or damage? Critique me, senpai! Telecommuter.mbd
-
Any reason it has to be perma-Granite? It's quite possible to have high res and def to almost everything out of Granite as well as having damage slotted in your attacks. I have a Stone/DM tank and he runs through pretty much all content no problem and I never use Granite. If he doesn't have capped res to a damage type, then it's soft-capped on def. But if you absolutely have to have Granite, then maybe consider the Teleport pool. Combat TP, TP and Fold Space would probably be way more useful for movement than trying to max out set bonuses only to negate most of the slotting you've done by running in Granite. Slotting that gets mostly negated so you can run slightly faster in Granite with a Psi hole that gets exploited in a lot of endgame content vs high res and def including Psi, damage in your attacks, and no -recharge to slow down your effectiveness in a team. Which would you prefer?
-
I didn't mean to imply that was your goal, but you made me reevaluate my approach all the same. It'll be a bit before I can implement both, but I'll keep you posted on how it does.
-
I've weighed the pros and cons of Proton Sweep versus Cross Punch and decided to go with PS for a couple of reasons. First, the toxic damage and debuff features of the power along with a wider arc. And second, it made slotting for my goals a little easier. For <30 tanking, I've gone Melee defense (you convinced me, @Erratic1, to give it a go). That and Hasten levels of recharge should help for most content at those levels. Also planning on attuned enhancements to make the most of receiving bonuses and enhancement values at the levels I'll be at. Elec-Rad Lowbie.mbd For everything else, I've maxed out resistance as best I can. One application of SMotT gets me to the cap for all but Toxic, but I was able to get 50% resistance to that from bonuses. High recharge and lots of AoE damage as well. Elec-Rad Endgame.mbd
-
I've been away for a couple of years, so I'm sure you're right 🙂. Duly noted
-
Sounds like the overall consensus that Proton Sweep is just "meh". I'll consider Cross Punch since I'll already have the Fighting pool. And yes, this is Electric Armor. I should have mentioned that, my bad. The only reason I'm that far over the resist caps is that I was trying to plug up Neg/Psi/Tox as best I could and there's a lot of overlap I wasn't able to avoid (and a 6th wasted bonus at one point) to get there. But these were first passes for 2 different approaches, so I'll revisit that to see if I can't tweak those better. The ol' Type vs Positional debate. 🙂 I base it on AT. Blasters? Go ranged and stay out of range. Most powers have a positional attribute, so in that instance, you're pretty safe going for Positional. Melee ATs? I go typed, because 1) range still hits you and 2) a majority of attacks are tied to a smash or lethal. Shields and SR being a separate issue. Based of this, and everyone else comments on DDR and end game, I think I'll be going for both builds. I enjoy tanking for lowbie teams and TFs, where DDR isn't quite as prevalent. I can leave the capped res build for higher levels and end game. Thank you all for the input and advice!
-
My in-game experience with Proton Sweep has felt lackluster. Even with improvements to Tanker AoE, I don't feel like it lands a lot when mobs are clustered around me. Compared to something like Shadow Maul, it seems to underperform. I was hoping to have a bit more AoE with my build, but maybe I should just find a more functional power instead. How do most people feel about Proton Sweep? Additionally, what performs better? Capped resistance to most types with moderate defense to all, or soft-cap S/L slightly less resistance? Pics for refernce:
-
PATRON POWER POOLS HAVE BEEN ADDED!
-
ANCILLARY POWER POOLS HAVE BEEN ADDED! Whew! Let me tell you, Ancillary Powers took a lot of time. I struggled with figuring out how to organize the powers when adding them to the opening post and eventually just gave up on trying to make sense. Why? Because they're a mess! Now, this isn't Homecoming's fault. They inherited this mess. Based off of what I can tell from the Homecoming wiki (a la Historical section notes) I think they tried to do what they could with how things already existed. Unlike Patron Powers (coming next) and Primary/Secondary Powers, Ancillary Power icons are all over the place when it comes to consistency. Invulnerability icons? Doesn't matter what AT you are, they have the same color scheme. Fire Melee? Same across all ATs. Same for any control set, patron set, whatever. But Ancillary icons can't make up their damn mind! Hell, even how they're presented in the wiki is chaotic compared to Patron powers. No hate or blame directed at those that keep up the wiki; they probably cried when tasked to manage those particular pages. As an art director, this rustles some jimmies. My undies are bunched. So, to whomever at Homecoming I should direct this offer to; I'm happy to recolor ancillary power icons to be consistent across the board. Whether that's picking one of the existing color schemes, or making new ones so that they aren't sharing color schemes that already exist in primary/secondary sets. For my own sanity, pretty please, let me do it?
-
ARACHNOS WIDOW SETS ADDED: Presence Night WIdow Training Fortunata Training Teamwork Widow Teamwork Fortunata Teamwork

-
Great news for those who have been patiently awaiting it. I've finally put together a zip file of all the icons, and you can find the link in my signature. As I update and add to the icons, I'll make sure to also update the zip.
-
Unfortunately things like accolades and badges are quite a bit more complicated and detailed to try and take on. Power set icons aren't terribly complex, and so recreating them from scratch isn't difficult to do while remaining as true to the original art as possible.
-
POWERS POOLS ADDED: Concealment Experimentation Fighting Flight Force of Will Leadership Leaping Medicine Presence Speed Sorcery Teleportation Also, Acid Arrow has been updated to its current icon. Arachnos Widow powers are next on the list.
-
SETS ADDED: Seismic Blast Storm Blast Dual Blades Spines Electrical Affinity Marine Affinity Also, Chain Induction was updated to match the chaining border that has been introduced:
-
Hello all! It's been some time since I've been able to even think about CoH, let alone play or work on icons. Over the past couple of years, people have IM'd me with similar questions or requests. So I'd like to address those here. First and foremost, I want to make it clear that while this has been a personal passion project, I claim no ownership over the images that have been produced. Many people ask for permission to use these icons on personal or other CoH related projects. I made these for the community and because this was how I could add to CoH. So please use them; as you like, where you like, how you like. You do not need my permission ❤️. It's been a gift seeing them go to use by fellow fans of the game. I only ask that you don't use them for profit. I'm pretty sure that's a big no-no and Homecoming doesn't need the risk by association. Second, the time has come that I probably pass this on to someone else who has the desire to continue it. While I have time to dabble here and there with playing the game and making comments in the forums, I can't count on being able to work on icons as quickly as people might like. I used Photoshop and Illustrator to do everything you've seen. I can package the files up and I'm happy to walk through them with anyone who wants to take them on. And lastly, I want to thank everyone for the help in making these as best I could. Letting me know when I missed a set or an icon was a big help, because I sure as hell don't do an adequate QA on my own 😅. Using these icons here in the forums. Taking them and creating mod files with them. I just wanted better resolution icons; that was it. I had zero expectation of them going to use, or that there would be demand for more. It means a lot that they would be appreciated. So again, a deeply felt thanks for all that shared an interest in this project. Humbly, Rylas
-
When it comes to what they enhance and what they boost, Taunt sets fall a little flat. Sure, their bonuses are comparable to other good sets out there, and I'm not suggesting that those bonuses need to be improved. But look at what they enhance. Taunt, recharge, taunt, some range, and taunt. Oh, and a smidge of Accuracy. Did I mention they enhance taunt? If you're slotting them into Taunt itself, this is mostly wasted. Taunt as a power is so strong, that enhancing the taunt aspect itself does very little for the majority of a Tanker or Brute game play. The best the power gets out of it is recharge and some range, and that's not bad. But Taunt outside of PVP needs no accuracy help. And Tankers and Brutes do more than just spam Taunt to be good at their job, so all that recharge isn't exactly necessary. If we can't touch an existing set for "cottage house" reasons, then let's introduce a few new sets. Suggestion: introduce more accuracy and some damage to existing sets. Not a lot. Around one SO's worth to a set as a whole. Here's an example using Perfect Zinger: Perfect Zinger Now: Enh % at 50 Perfect Zinger New: Enh % at 50 Taunt 42.4 Taunt/Acc 26.5/26.5 Taunt/Rech 26.5/26.5 Taunt/Rech 26.5/26.5 Taunt/Rech/Range 21.2/21.2/12.75 Taunt/Range 26.5/15.9375 Acc/Rech 26.5/26.5 Dam/Rech/Range 21.2/21.2/12.75 Taunt/Range 26.5/15.9375 Taunt/Acc/Dam/Rech 18.55/18.55/18.55/18.55 Proc 3.5 PPM Proc 3.5 PPM Pre-ED Totals: 116.6/26.5/74.3/28.6875 Pre-ED Totals: 98.05/45.05/39.75/66.25/28.6875 Why: Tankers and Brutes can benefit from taunt enhancement in their actual attacks. At least, more than they can by enhancing the absolute taunting powerhouse that is Taunt. But as they stand now, taunt sets are largley wasteful in an attack power, which should at least have fairer accuracy enhancement to be reliable. Balance maintained: Sets that enhance 5 aspects of a power might be rare, but it's been done. Synapse's Shock enhances 5 aspects and was brought in to address the same reasoning here; more diversity in slotting attacks that have secondary effects. It enhances for a total of about 9 SOs. The above suggestion comes just shy of that (I'm not suggesting all sets enhance 5 aspects). Even if someone's trying to maximize bonuses with frankenslotting 2, the above example would still require trade-offs for the 2-4 slotted bonuses. TL;DR: Let's do what was done for endurance modification sets, and bring more diversity to taunt sets.
- 1 reply
-
- 3
-

-

-

-
The only time I'm on the red side is when I need to get my PPP unlocked, so I'd be ill-suited for finding the best route to get the badges there. That said, if someone wants to work on finding a good path, I'd be happy to build out the map and write up the step-by-step. I'll update the post to reflect that this is blue side only.
-
Hey Thanks! Great catch on item 3. My familiarity with popmenu's is minimal. What exactly were you thinking?
-
Oooh, the tram hadn't even occurred to me. Great idea. I'll test that out; the tram would still outpace using a portal for that stretch.
-
It's a brute I'm considering making a tanker as well, but Rad melee pairs for some fun synergy. The two damage auras are pretty juicy and if you put a -res proc in Irradiated you'll have some nice bonus damage here and there.
-
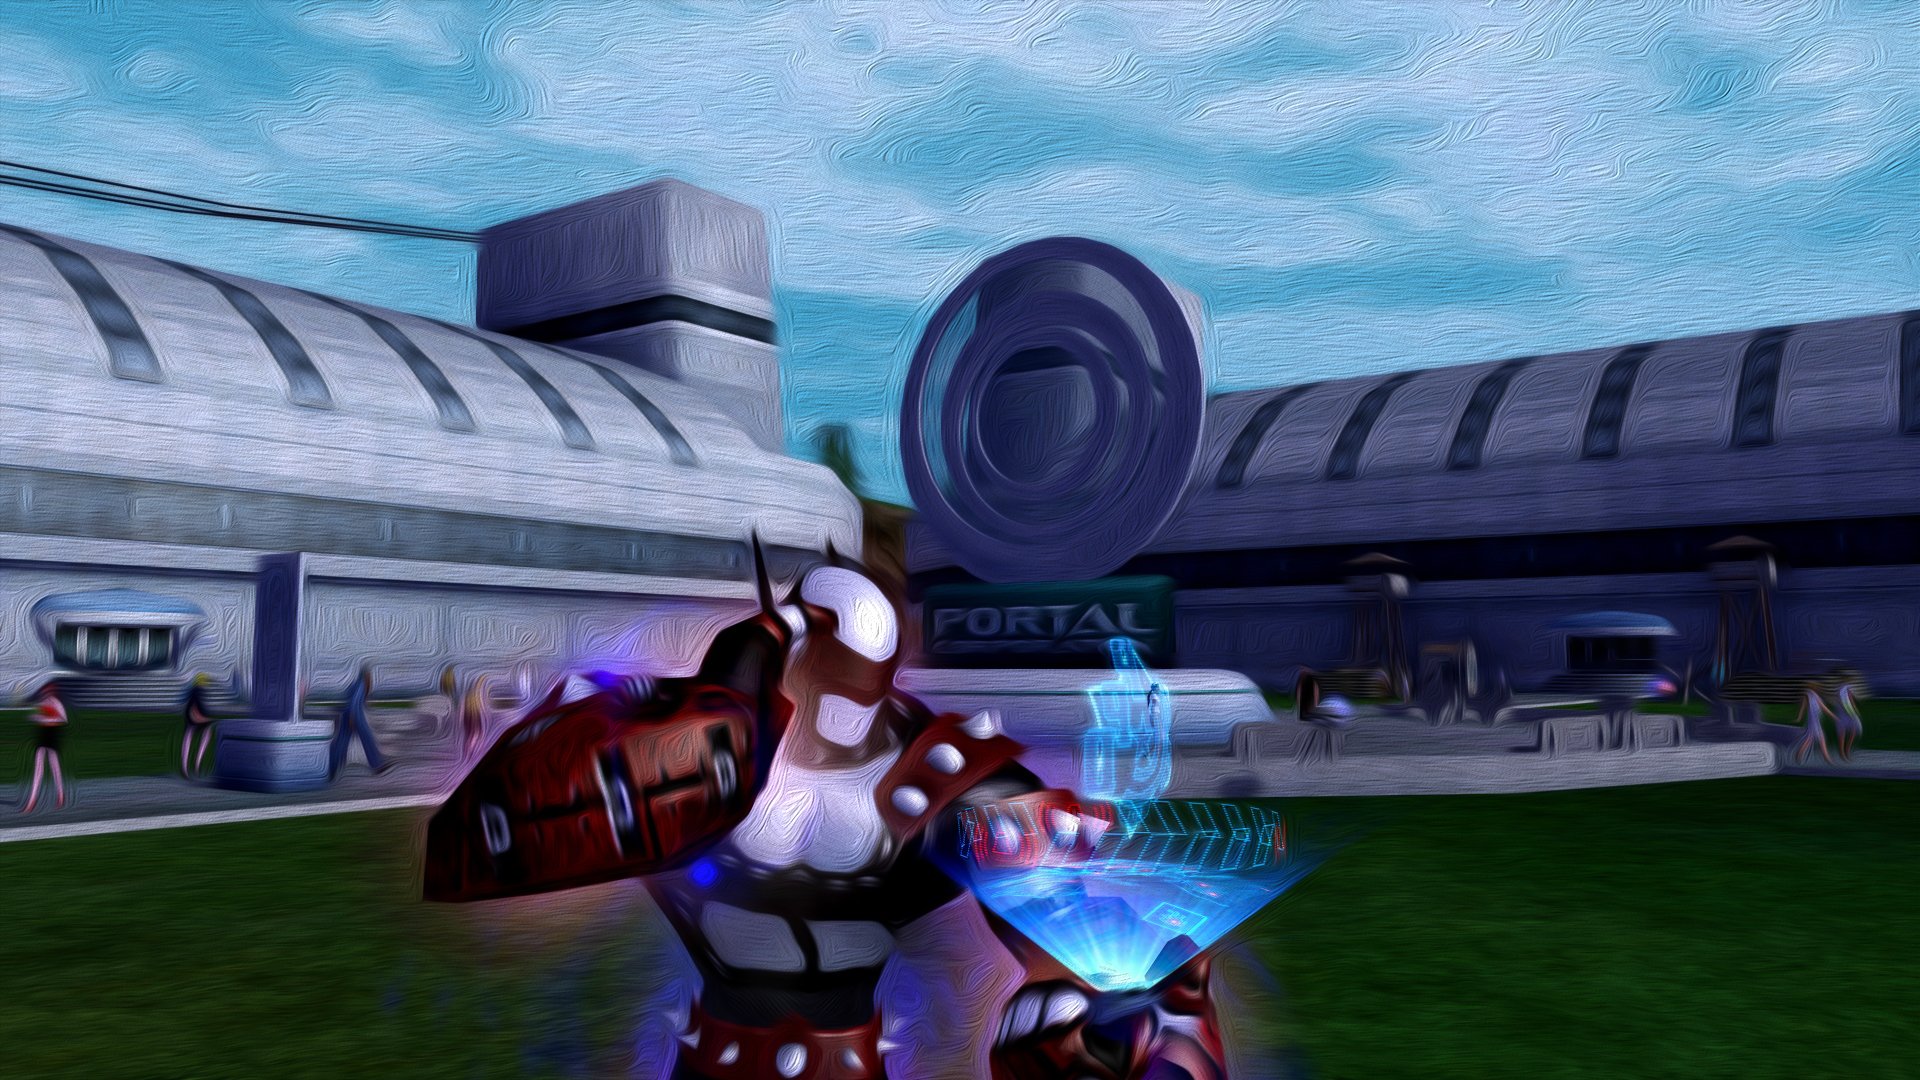
Hello fellow accolade junkies! If you're like me, you like to grab your passive accolades as quickly as possible for your toon (Atlas Medallion, Freedom Phalanx, TF Commander and Portal Jockey). One of the ways I like to make this go more quickly is to grab the exploration and history badges for all of these at once. Below is a map I follow to collect these badges in one quick trip around Paragon City. What this guide is not: This not a fully comprehensive guide to collecting ALL the badges required for all 4 accolades. Mission related achievements and hunt badges will not be covered here. This is also not a guide for how to collect these badges on the villain-side (though if someone wants to collaborate on that, I'm open to working up the map for that). What this guide is: This hero-side guide will show you a fast and streamlined path for collecting exploration badges and reading plaques, with as few trips through Ouroboros or base portals as needed. In fact, just having the Ouroboros badge is all one needs (and perhaps a travel power). Useful items: Having a travel power will help with getting through this course as quickly as possible. Depending on your travel power, it's possible to get all the badges in just over 13 minutes. Other things that can help will be temp powers such as the Jump Pack (if you're using Super Speed), and stealth abilities if you're trying to run through high end zones at a low level. The Map: The Step by Step (refer to map for locations): Start: Get yourself to Brickstown by taking the train there or using a base portal. You'll be dropped off at pretty much the same spot, so either works. 1. Head south to the first Scholastic plaque. 2. Head to the southeast corner of the zone for your next Scholastic plaque. 3. Use Ouroboros to travel to Founder's Falls and make a very short trip north for the third and final Scholastic plaque. Congratulations! You've already completed the Scholastic badge. 4. Hop on the train to King's Row and travel southeast to the power lines for the Keen Sighted badge. 5. Go southwest to the middle bottom of the map to find the Summoned badge. 6. From there, head northwest a bit for a Pupil plaque. 7. Then head far north for another Pupil plaque. 8. Go through the Independence Port tunnel, and just southwest on top of a building is the Vigorous badge. 9. Shortly northwest of there is an Authority plaque. 10. Further northwest on the bridge is another Authority plaque. 11. Travel down the bridge and into Terra Volta and travel south (speedsters will want the jump pack for fastest results) for your third Authority plaque. 12. Another Ouroboros quick trip to Talos Island will get you the fourth Authority plaque by the Talos statue. 13. After going through the Skyway tunnel, head to the northeast corner for the Purifier badge. 14. Take the tunnel to Altas Park and get to the top of the Atlas statue for the Top Dog badge. 15. Northwest of there, you'll find the third Pupil plaque. 16. Head into Perez Park, then go west by southwest for the fourth Pupil plaque. 17. Travel north to Steel Canyon, use the southern tram station to quick hop over to the norther tram station and then west for the Nimble Mynx badge. 18. Go to Boomtown, head north by northwest for the Regal badge (inside a tunnel) 19. Use Ouroboros to get to Echo: Galaxy City (portal behind the main building), travel east and read the last Pupil plaque. 20. Southeast of there, on top of a building, is the Brawler badge. 21. Head back to the Ouroboros portal and go to Echo: Dark Astoria. Travel east and read the final Authority badge. And there you have it! All exploration badges and plaques you need for your passive accolades are done. Why not just use base portals for all of these? Good hypothetical question, hypothetical reader. I tested using a route like this against using the base portals, and the amount of load times, reliability of a portal power being up, and/or using a mix of base and Ouroboros portals was just not as fast. Even when the base portal exploit was available it still wasn't faster. By avoiding loading screens as much as possible, this has been the fastest route I could find (so far) that allows for Ouroboros portals to recharge between uses and not backtracking to areas you've already travelled. Thanks for reading! I hope some of you will find this as helpful as I do in cutting down the grind for accolades. If anyone decides to find a more efficient path, please feel free to share it and I'll be happy to make updates. Special Thanks! @GraspingVileTerror for a huge time saver on the route. You knocked off a good chunk of time. @AboveTheChemist for catching a graphic error. Special Special Thanks! @AboveTheChemist for creating an amazing pop menu tool for running the route. This is especially helpful for learning the route on one's first few attempts, keeps track of what you've done, and makes everything all that much easier to accomplish. Make sure to check out his post further down the thread.
- 11 replies
-
- 17
-
-

-


