Dark Current
-
Posts
305 -
Joined
-
Last visited
-
Days Won
1
Content Type
Profiles
Forums
Events
Store
Articles
Patch Notes
Everything posted by Dark Current
-
Do you have a build you're working with?
-
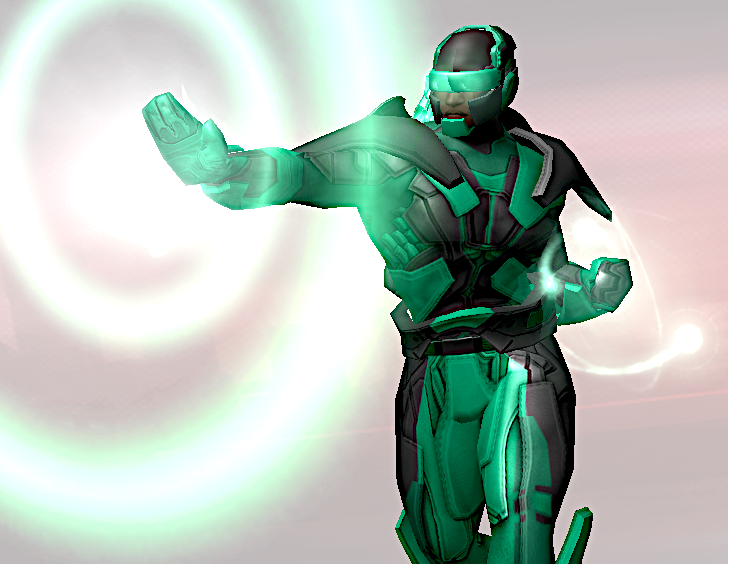
16) Kherberus Psi / Will / Dark Concept: Power suit-amplification of a cerebite crystal allows Kherberus to focus his thoughts into devastating psionic blasts and defend himself with the force of his will alone. Mids Build: Kherberus - Sentinel (Psychic Blast).mbd Videos Pt 1. Build Discussion Pt 2. Solo Strategy Pt 3. Team Tactics

-
Does Illusion Control work for the concept? Ill / Dark / Dark dominator or controller.
-
Watch out! It's the Sentinels! 15) Kaldron Water / Fire / Electric Concept: Master magician who summons the elements to do his bidding. Mids Build: Kaldron - Sentinel (Water Blast).mbd Videos Pt 1. Build Discussion Pt 2. Solo Strategy Pt 3. Team Tactics
-
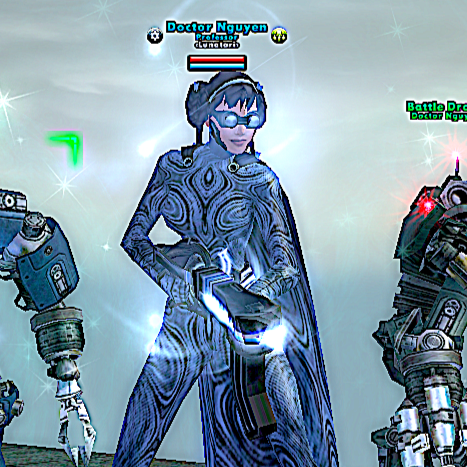
Guess what time it is? Time for another Mastermind! 14) Doctor Nguyen Robotics / Time / Mace Concept: a spin on Dr. Who... Dr. Nguyen (When) is a roboticist from the future journeying along the timestream to various times in the past to correct errors anomalies in the chronosphere. She is currently in present day Paragon and Rogue Isles investigating a proliferation in powerful beings calling themselves 'incarnates'. Mids Build: Doctor Wen- Mastermind (Robotics).mbd Videos Pt 1. Build Discussion Pt 2. Solo Strategy Pt 3. Team Tactics
-
Until you get your endurance issues under control (more slots, higher level IOs, set bonuses, permadomination, incarnates, etc.), I'd use Hot Feet sparingly as a click rather than a toggle. It has little to no control value, does so-so damage, and draws a ton of aggro. So I'd only fire it up when I've popped Cinders or tossed Flashfire and I'm in melee range with 3 or more targets to hit with it, and preferably have the imps with me chipping in damage. If the enemies are uncontrolled or I'm at range or there's only a couple targets, I'd shut it off.
-
13) Dread Skulltula Demons / Cold / Leviathan Mastermind Concept: Shield the demons, stay at mid-range in bodyguard, and start attacking / debuffing. Buffs provide solid defenses and resistances for entire team. Betcha can't catch me! MIDS build Dread Skulltula - Mastermind (Demon Summoning).mbd Videos Pt 1 - Build Discussion Pt 2 - Solo Strategy Pt 3 - Team Tactics
-
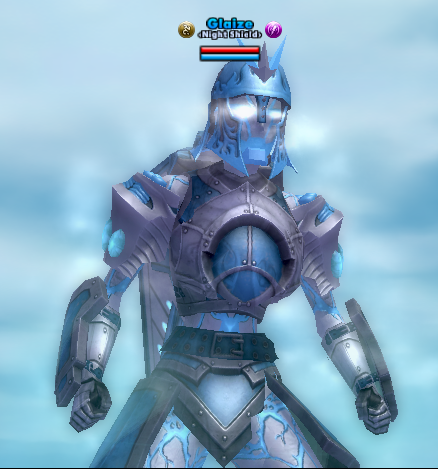
The dominating will continue until morale improves! 12) Glaize Ice / Psi / Ice Dominator Concept: magical armored construct powered by a mystical icy essence that can floor your recharge in seconds while confusing you into submission. Mids 'assisted' permadom Build: Glaize - Dominator (Ice Control).mbd Alternate 'pure' permadom Build (gets 140 exactly, but risky if any sort of -rch debuff hits; I have not built or tested this one)Glaize permadom - Dominator (Ice Control).mbd Videos Pt 1 - Build Discussion Pt 2 - Solo Strategy NSFW: The revamped Council / hyper-galaxy nonsense finally sends me into an expletive-laden tirade in the middle of the 53x7 mission. Pt 3 - Team Tactics Tonight's primetime release! Watch the last mission as I execute my first /Kick of the series against some juvenile troll pulling a malicious train maneuver against the unsuspecting team. https://youtu.be/PffrndPGCmo
-
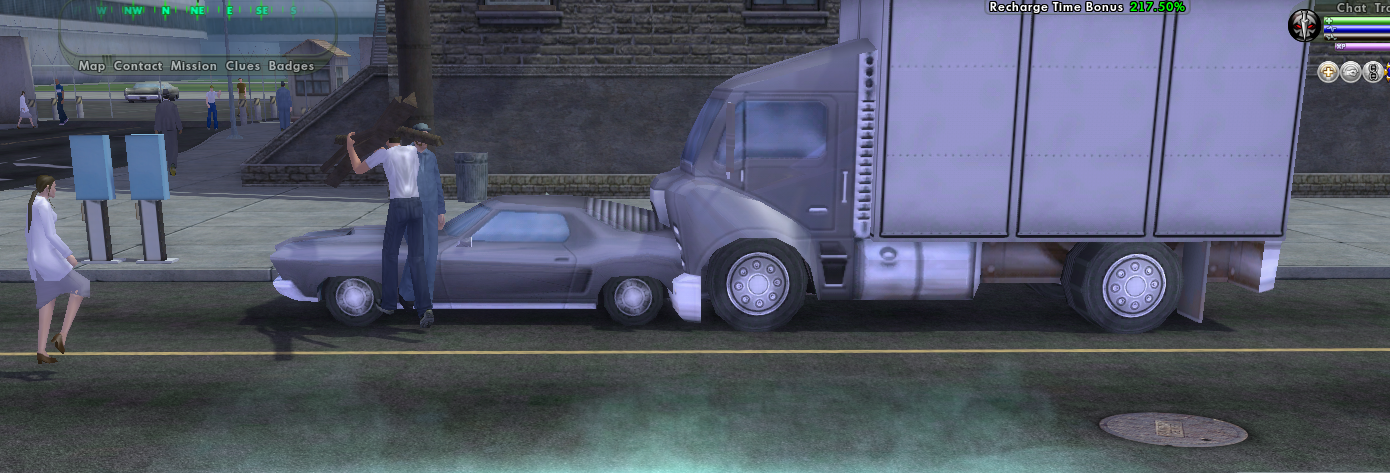
That truck is pushing that car all around PI looking for somewhere to fill up.
-
Are there no gas stations in Peregrine?
-
Time to dominate your A! 11) Bewitcher Mind / Thorn / Mace Dominator Concept: alluring magician whose beauty allows her to get inside your head and make a sandwich. Mids Build: Hasten-free Permadom build Bewitcher - Dominator (Mind Control).mbd Videos Pt 1 - Build Discussion Pt 2 - Solo Strategy Pt 3 - Team Tactics
-
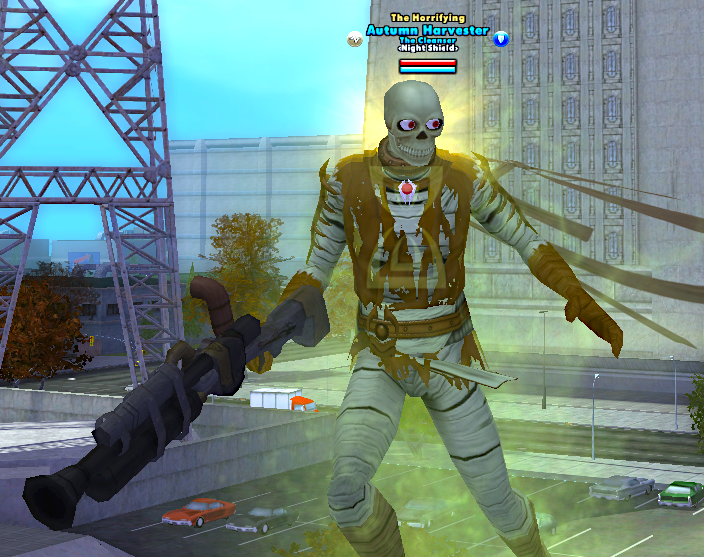
10) Autumn Harvester Poison / Assault Rifle / Soul Defender Concept: Ancient Egyptian / Pirate spirit awakened from his tomb to harvest the souls of evil-doers (inspired by Ghost Rider). Mids Build:Autumn Harvester - Defender (Poison).mbd Videos Pt 1 - Build Discussion Pt 2 - Solo Strategy Pt 3 - Team Tactics
-
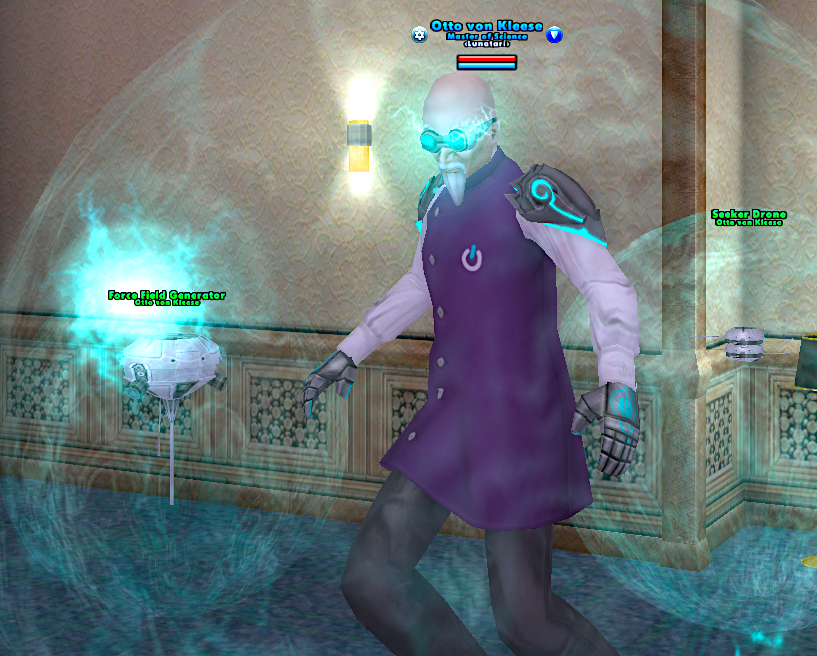
09) Otto von Kleese Traps / Electric / Energy Defender Concept: Super Scientist who has mastered electromagnetic forces with wondrous inventions. Mids Build: Otto von Kleese - Defender (Traps).mbd (includes changes discussed during Team Tactics video to Seeker Drones' slotting and swapping Short Circuit for Trip Mine). Videos Pt 1. Build Discussion Pt 2. Solo Strategy Pt 3. Team Tactics
-
OORAH?
-
@Deathevn I have one and did a video of the build, solo strategy and team tactics for my 50/50 showcase last year:
-
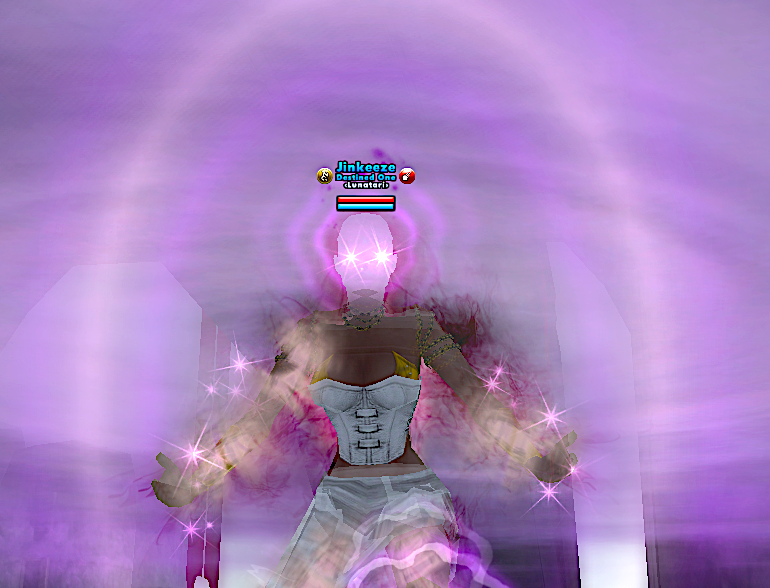
Jinkies, another mysterious build! 08) Jinkeeze Seismic / Storm / Dark Corruptor Concept: Elemental sorceress leveraging knockdowns, mobility debuff and area denial. Mids Build: Jinkeeze - Corruptor (Seismic Blast).mbd Videos Pt 1. Build Discussion Pt 2. Solo Strategy Pt 3. Team Tactics
-
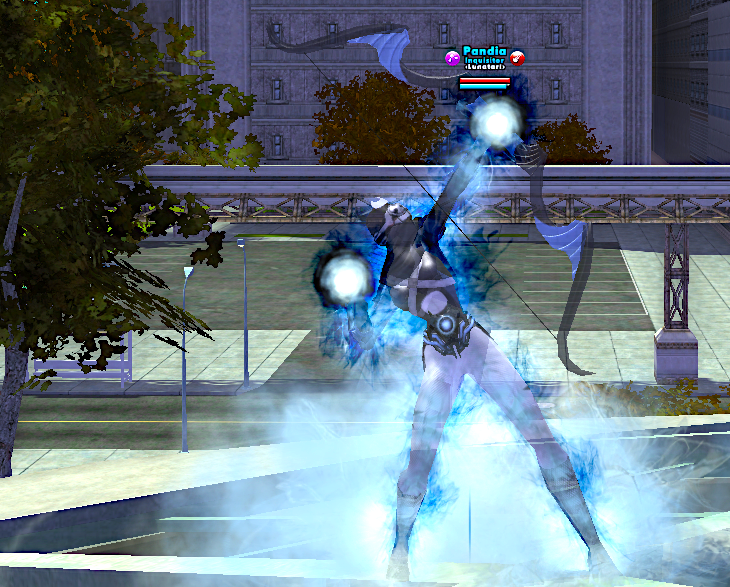
07) Pandia Arch / Dark / Dark Corruptor Concept: You'll be Raining Men, Arrows, and Stuns. Port-pulling into a stun-for-all garbage disposal. Mids: Pandia - Corruptor (Archery).mbd Videos Pt 1. Build Discussion Pt 2. Solo Strategy Pt 3. Team Tactics
-
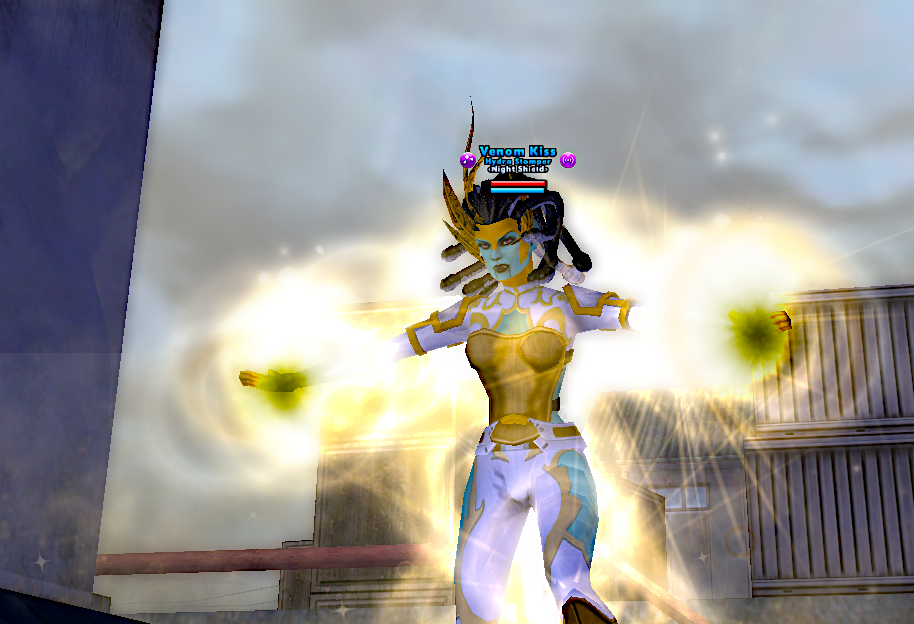
06) Venom Kiss Ice / Poison / Psi Controller Concept: PROC-Troller Debuffery. So much -RCH, she'll make enemies run in reverse! Plus, so many procs, your head will spin counting them all! Mids Build: Venom Kiss - Controller (Ice Control).mbd Videos Part 1. Build Discussion: Part 2. Solo Strategy: Part 3. Team Tactics:
-
Time to roll it back yet again! Controllers are up!! 05) Phobohs Dark / Dark / Soul Controller Concept: Total neutering of enemies with combo of controls, to hit debuffs, and pet'pocalypse! Mids Build:Phobos - Controller (Darkness Control).mbd Videos Part 1. Build Discussion: Part 2. Solo Strategy: Part 3. Team Tactics:
-
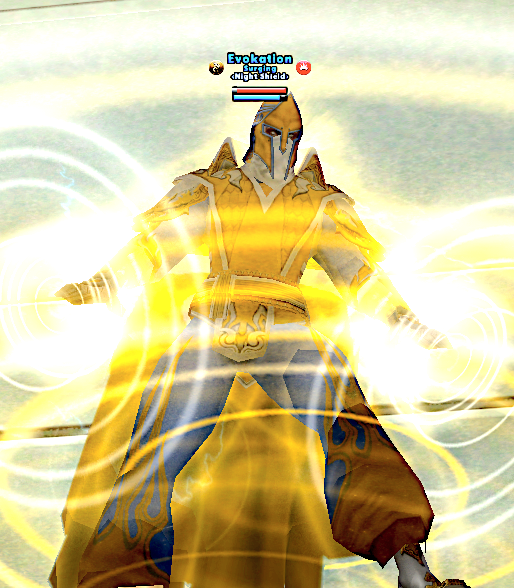
On to the next... 04) Evokation Elec / Son / Mu Blaster Concept: Blominator... Mag 35+ of Holds! Mids Build: Evokation - Blaster (Electrical Blast).mbd Videos Part 1: Build Discussion - creating a Blominator! Part 2: Solo Strategy - 52x6 and 53x8 Council tests to measure the build's capabilities and showcase strategies Part 3: Team Tactics - RUNNING AMOK... too much BDE for their own good!
-
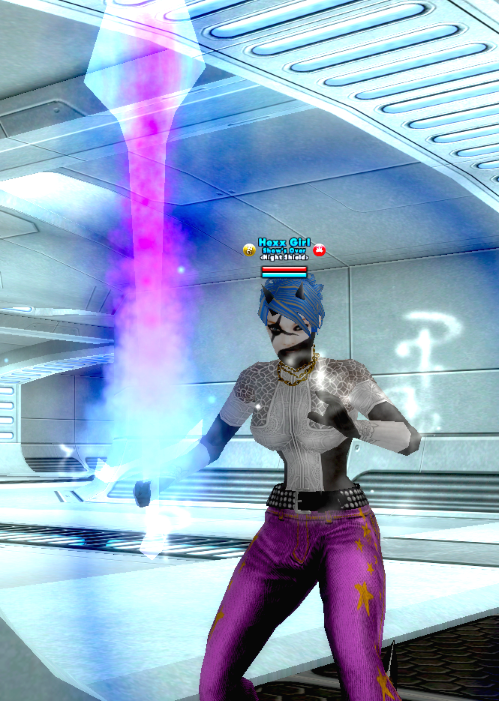
03) Hexx Girl Psi / Fire / Fire Blaster Concept: Melee PBAoE Blaster - High Damage, High Risk - NOT solo-friendly! MIDS Build: Hex Girl - Blaster (Psychic Blast).mbd Videos Part 1 Build Discussion Part 2 Solo Strategy Part 3 Team Unmanaged Aggro
-
Thank you! Next vids are live today for you.
-
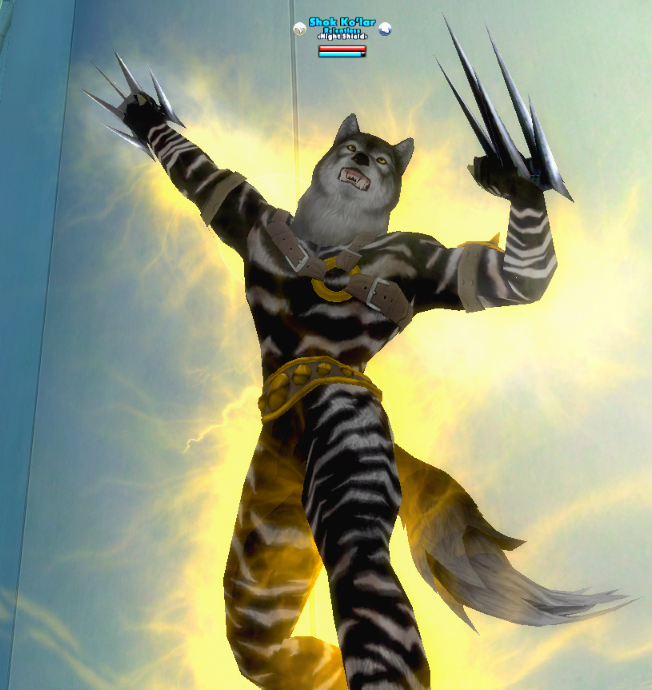
Next up... Awoo! Werewolves in Paragon! 02) Shok Ko'lar Claws / Elec / Mu Brute Concept: Old school CEBR Electric Damage Farmer Mids Build: Shok Ko'lar - Brute (Claws).mbd Videos Part 1 Build Discussion *Errata on my live build - I was using Degenerative Core interface over Preemptive Core due to my electric farm focus with EBs. But I have both built. Part 2 Solo Strategy Part 3 Team Shok 'n' Klaw... (subtitled "Why I Hate Dimension Shift")
-
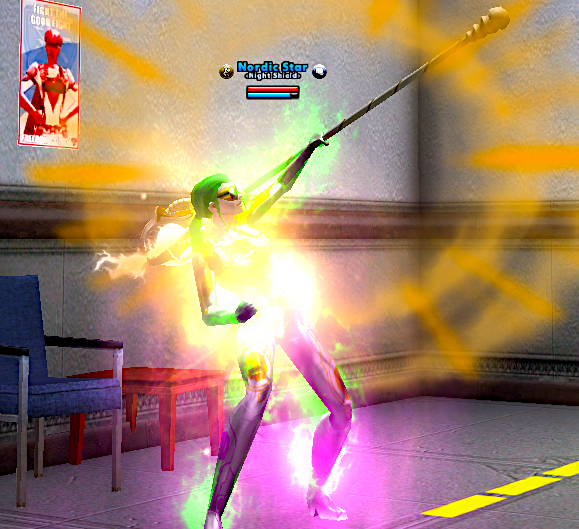
01) Nordic Star Staff / Energy / Fire Brute Concept: harnessing the power of the aurora, this Scandinavian super takes down heroes and villains with equal brutality. Mids Builld: Nordic Star 1 - Brute (Staff Fighting).mbd Videos Part 1 Build Discussion Part 2 Solo Strategy Part 3 Team Aurora Brutalis
-
Welcome to the 20 / 20 Rewind! One year ago, I embarked on a grand effort to showcase FIFTY different Level 50 builds from my stable of Heroes, Vigilantes, Rogues and Villains I play on the Excelsior Shard: After wrapping up that series last week, I felt hollow and rudderless. So what's a poor altoholic to do? Start up another series of course! I therefore present to you the 20 / 20 Rewind! A look back at the level 50s I could've showcased, but never did. So the plan is, an additional 20 Level 50s from each of the main ATs I play: everything EXCEPT scrappers and stalkers... and I don't have any more Epics to show, either. For each character, I will present 3 videos. The first is the Build Discussion where I present my 'on paper' character using the awesomeness of Mids Reborn (thanks to the developers of that tool!). The second is the Solo Strategy where I run a pair of Council paper / radio missions set first to +2 x6 and then to +3 x8 and show my tips and strategies of how to use the build in a 'typical' scenario. Finally, the third video showcases the build on a set of 3-4 team missions set at +4 x8 against a variety of foes that appear on tips and radios/paper missions. The idea here is to progress from a theoretical discussion of a build to how it works in reality in both solo and team scenarios. Is the build as good in practice as it is on paper??? Watch the series of videos and decide for yourself! First up (because I can't remember alphabetical order), are 2 more Brutes!