Erratic1
-
Posts
3039 -
Joined
-
Last visited
-
Days Won
13
Content Type
Profiles
Forums
Events
Store
Articles
Patch Notes
Everything posted by Erratic1
-
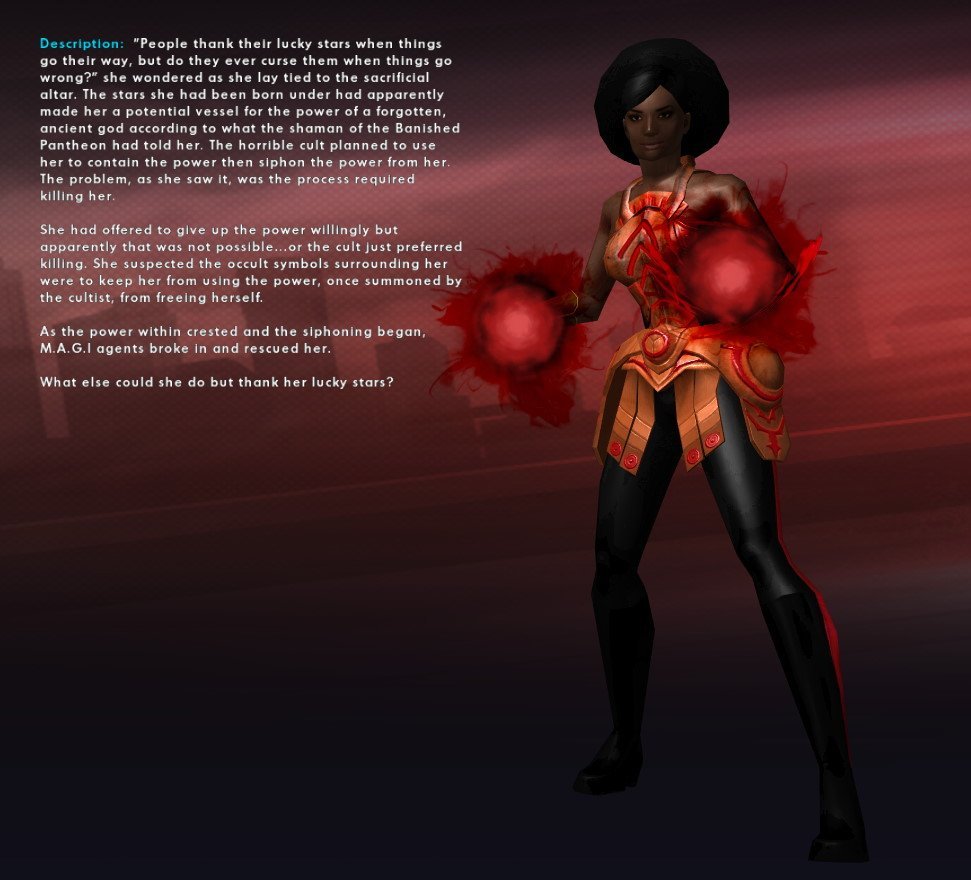
Ebonblaze, my Fire/Dark controller:

-
While their strength was comparable in the 70s, Cage has be upped to be at 50 tons currently. Of course in the comics strength varies as needed by the storyteller and raw strength does not necessarily win as Spider-Man has shown he can take down Juggernaut and strengthwise Spider-Man does not come remotely close.
-
Don't own a copy of it, but by the magic of Google I can confirm Spidey's strength was Incredible. So too Armadillo. By comparison Loki was Amazing. So similar scaling there.
-
With the Power Cosmic, Aunt May could punch the Hulk into orbit. Spider-Man is 25 ton on the Marvel strength scale. That puts him ahead of the average Eternal (15 tons) and on par with Man-Beast and Armadillo and slightly behind Loki (30 tons).
-
If SS just plain comes with a +80% damage bonus, always on, baked in, no effort required.... ,,,you really think that is going to fly?
-
Ninjitsu backdoors the crit from stealth mechanism of Stalkers to Scrappers. Perhaps backdooring a toned-down version of Fury via Super Strength would not be horrible a horrible thing for Tankers.
-
1 stack no debuff, 2 stack debuff vs debuff regardless....its a clear gain. Why would anyone complain about that?
-
Another vote for either Scrapper or Stalker since at various times the various characters have approached situations from either standpoint. Arguably that suggests StJ/Nin if you go scrapper for the, "I'm taking you out but not revealing I'm here" angle if you go Scrapper so you can emulate the sneaky, non-revealed attack. Stalker could go with either StJ/Nin or StJ/SR and just walk into combat for those straight up, "I'm here to hurt you all" moments. But maybe having a StJ/Nin scrapper has biased me some.
-
KB->KD strikes me as a missing ingredient.
-
Well clearly that did not work. I literally had to go to City of Data to confirm there being a Def and Eng hit because on my Brute I never noticed. But this thread has had repeated people going on and on about how they cannot use Rage because it threatens their very existence. Whose scere'd? 😛
-
It may be more worthwhile to figure out the builds where the Rage crash is going to least impact you. As I noted, on my SS/Bio brute the only part of it I notice is the damage hit. But I run him in Efficient stance so he's basically never low in endurance and so the hit isn't dangerous. Likewise Bio has layered defenses so the Defense hit is inconsequential since there is regen, absorption, and resistance to fall back on. I have never played Willpower but I imagine it might be a good candidate for minimizing the Rage crash. So too Invulnerability if you could build to having enough endurance to never be low.
-
I have a SS/Bio Brute and for 10s I don't do any damage when the crash hits. Other than that I don't notice it.
-
Per City of Data: -20% Base Defense for 10s after 120s (self only) for 10s after 120s -25% Endurance after 120s (self only) after 120s -9990% Damage (All) Strength for 10s after 120s (self only) for 10s after 120s
-
This is a quick and dirty retreat to sanity. Does not reach the previous level of +Recharge but gets must better +Melee. When I get a chance I'll test it out on the test server. Hasten has 12s downtime on its own. If you pop Adrenal Booster after popping Hasten, Hasten will recharge before it runs out the first time. Eventually hit a cycle where it will be down though. If I have not screwed up the math this means Adrenal Booster is up every 175.68s working in concert with Hasten. Energize, without Hasten or Adrenal Booster cycles every 47.52s With Hasten that drops to 37s. All this to say is I think you should be good with the most weaker Recovery. But I will try to work in time to test it and report back here.
-
So I went to the test server and tested the build. TLDR: DO NOT DO THIS! I have managed to avoid defeat at +4x8 but just barely and not a few times by running away. And I am talking about against Arachnos, CoT, and Council...not the hard foes. I shudder to think what an ITF would feel like. It is so bad I am hopping back on my Elec/Rad for a comparison.... ...and its not even a remote comparison. Same roughish resistance numbers (well, Toxic and Psionic are lower) but with 42.46% Defense to melee and my health does not move for the most part as opposed to the sudden sinking like you've stepped into an elevator shaft without the car being there. Heck, I could probably there and type a sentence or two in chat if I had to with no great worries whereas the Elec/SS build above you'd best be keeping an eye on your health and uttering prayers to as many divine entities as you can think of. I did not expect the Defense to be that meaningful and I know I've done ITF on my Elec/Rad before with all the nastiness of defense debuff that can muster. So I will go back to the drawing board, try to keep perma-Hasten and short cycling Energize but aim for decent Melee defense at the very least.
-
Thanks for letting me know how poorly it performs. Its there for the set bonus and the healing was at best icing. Guess that means no icing.
-
EDIT: Skip the following post which follows this, because what comes below DID NOT WORK. I admit I am thinking outside the box...like from where you cannot see the box any longer...perhaps orbit. So I would SERIOUSLY suggest testing this on the test server if you find the build that follows remotely interesting. For purposes of comparison I have toggled off Rage, Force Feedback, and powers whose effects are not close to or actually at being up all the time (Hasten, Energize, Adrenal Booster). So what follows is a somewhat arguable comparison. Your build has Hasten down for 22s between uses. My build has Hasten down for just under a second. Fairly, your downtime could come while moving between missions or groups of opponents and even being down, the situation may not henge on having it up. But when Hasten is down for you Energize is on a 59.35s recharge cycle, and 44s while Hasten is up. For my build Energize is pretty much going to stay right around 34.5s--just a few seconds more than its duration. So while the picture below is not completely true, it is not trying to sell you land in a swamp either. In the realm of a picture being worth a thousand words we have: Resistances are comparable with my suggestion having a hair more F/C, a hair less N, double the T (though nothing to write home about) and capped P. Recovery is lower on my suggestion but so is expenditure. The gap between them is larger on my side: 1.78/s vs 1.45/s. Regen is higher on my side by roughly 100% due to Energize being up near permanently. OMG...where did the Defense go in my build??!?! Yeah, I ignored Defense. Did not even bother to boost Melee or Smash/Lethal. No, Defense is not meaningless on a resistance set...at least in any situation where your Defense is not being debuffed. Remember the opening lines of the post about testing things on the test server? There is a certain amount of safety that comes from opponents within melee range being subjected to Foot Stomp every 6 seconds, having an extra 10 HP/s rolling in (the difference in the build's Regen values), and a 49% heal coming in every 34.5s but in the realm of near equal level opponents who do not debuff defenses your guy is going to be tougher as goes S/L M/R/A. But once the levels start getting turned up and foes have an easier time hitting or facing things which debuff defenses I think things will become more even or possibly swing my way. We could probably theorycraft it out but far easier to slot up a build on the test server to be sure. A couple quality of life things in my build: Speed of Sound comes with Jaunt, which gives you verticality Super Speed does not have Adrenal Booster is up for a minute out of roughly every three. That is +43% to both To-Hit and Damage. And that before considering Rage gives you +20% To-Hit and +80% Damage. So when you really want to hit and damage something you can be at +63% To-Hit and +123% Damage. Did I forget to mention is also grants +43% Recharge? I have not tested Power Transfer: Chance to Heal but the wiki says it averages 3 procs per minute for 5% health.
-
First off, bless you for including a data chunk. I like Electrical Armor. No, its no Invulnerability or Stone/Granite, but it has its perks. If I had not already had an SS/Bio Brute I might have made an Elec/SS Tanker instead of the Elec/Rad I ended up with. Aside from the basic tanking abilities that most armors are going to give you, it seems to me there is a spectrum between Energize and Power Sink where you will camp your build. You went more on the Power Sink end of things whereas I pushed as far as I could into the territory of Energize. What sold me on Energize over Power Sink was that Power Sink gets you more endurance to spend while Energize reduces your expenditure, heals you, and boosts your regen. You have to find your own comfort zone too, but with the notion that my costs were going to be lowered I did not focus so much on upping my Recovery, relying instead on making use of Power Sink slotted with a single Endurance IO in it to refill my bar periodically. So the routine is staying mostly stable on endurance while Energize is up, losing endurance while it is down, recovering endurance if the fight goes long by using Power Sink. I should seriously consider revising the build for perma-Hasten as that and the slotting I would use for Energize would allow for it to cycle every 38s, giving only 8 seconds down time as opposed to the 14.5s down time I actually have. I would have worked out a build to include in this post for Elec/SS but I was up late last night due to work and am headed to bed. I will see what I can come up with in the morning. For now I will include my Elec/Rad build because it might give you some ideas. But do keep in mind it also relies on the behavior of Rad Melee, and the ability to proc healing by using Radiation Siphon against Contaminated foes. With SS as your secondary that probably strongly argues for going the Energize route--for the healing and regen.
-
That's in my signature. It was not directed at you specifically. If it didn't work for you, there are plenty of other things to go try. I have a very long list of failed attempts myself.
-
Controllers do not get Sonic as a primary ability set, so I'd guess Corruptor.
-
The OP does ask why one finds a particular combo to be "worst" and fairly you and others have pointed to Sonic's damage as being an issue. I am not sure if the OP was being deeply insightful in asking for the why or not since I think some chunk of the opposition to Sonic and possibly some builds mentioned here come from failure to meet expectation. I have long struggled to find Blaster builds I like. I have started a lot of blasters but only taken two to 50, with the second one making it there this past weekend as a Sonic/Tactical Arrow. What turns me off to blasters is not their supposed fragility but rather dealing damage at range, unless solo, feels like watching paint dry--I push a sequence of buttons against something which for the most part is distracted by others or is going to die before it gets much of a chance to do much back to me. Its a window dressing complaint because I enjoy melee and yet let's be realistic...most times the things you're fighting at as a melee AT do not have much chance either. But on a melee there is the up close interaction. Blaster feels like shooting fish in a barrel for me and so I tend to get bored of them in their 30s and move on. I knew going in Sonic was supposedly* lower damage. But my goal with Sonic/TA was to be more Corruptor lite--I debuff targets I am hitting and have secondary tools which add control without the added duty of either buffing or healing others. So while other dislike Sonic because it does not meet their damage expectations, I am getting what I expected out of it. * Not sure Sonic is quite as craptastic as all that given the following video composite of two different characters--one Fire, one Sonic--on the test server taking on one yellow and one white opponents of the same level and starting and finishing the damage dealing process at the same time: https://imgur.com/jvjBu5A. But that is a discussion best held elsewhere.
-
Oddly, I am inexplicably pulled to my Elec/Rad Tanker. But I don't use the glacially slow Devastating Blow, taking Cross Punch instead. And yeah, endurance was an issue until I got Energize to the point where its up every 45s (which as an upside means healing every 45s as well). It is a subjective thing, but I would not call the combo the worst ever or even a contender for it. That Assault Rifle/Poison corruptor I had on live however..... He was "fun" to play in the sense of, "What can I manage to work my way through with him which other players would breeze through?"
-
No Snarky Spice?
-
 For most of my characters the situation is more like getting to know someone and then making the decision if we are going to stick together for the long term or not. But that character that does not perform exactly to expectations or to the level you want, but which still occupies your thoughts and makes you want to play them? That character chose you.
 -
In practical terms, the Blaster. In more abstract, theoretical terms.... A Blaster is ranged damage scale 112.5%, so right there out ahead of either the Corruptor or Defender when simply looking at raw blasting. But both the Defender and Corruptor can debuff target's damage resistance via Tar Patch--the Corruptor by 22.5% (Mid's incorrectly says 30%) and the Defender by 30%. So in theory, with Scourge, the Corruptor is looking at 97.5*1.225=119.44%. However dropping Tar Patch takes time, foes do not have to stay in it, and it has a 90s base recharge. Moreover a Corruptor also tends to find other things to occupy their time in group play than strictly blasting. And its not like Blasters do not have secondary sets, some of which would up their damage too. I have a Water/Darkness Blaster and Soul Drain gives you a nice 30s damage boost, even though getting it is generally more risky than using Tar Patch.