The Beta Account Center is temporarily unavailable
×
Frozen Burn
-
Posts
1243 -
Joined
-
Last visited
-
Days Won
6
Content Type
Profiles
Forums
Events
Store
Articles
Patch Notes
Everything posted by Frozen Burn
-
Perhaps there was a smaller league of at least 10 people elsewhere in the zone and he spawned near them - and since he spawns as a GM and does TONS of damage, perhaps that smaller league was overwhelmed by him and stacked vengeance and they could not defeat him in the remaining time. ....only thing I can think of as to why that happened.
-
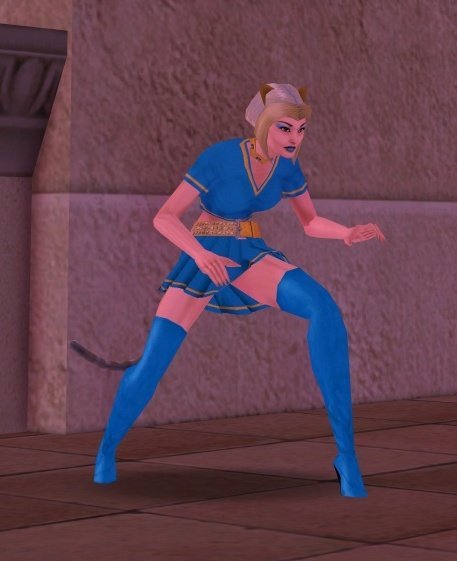
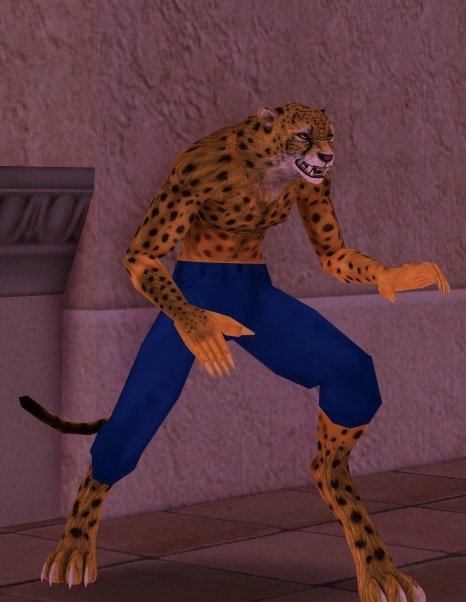
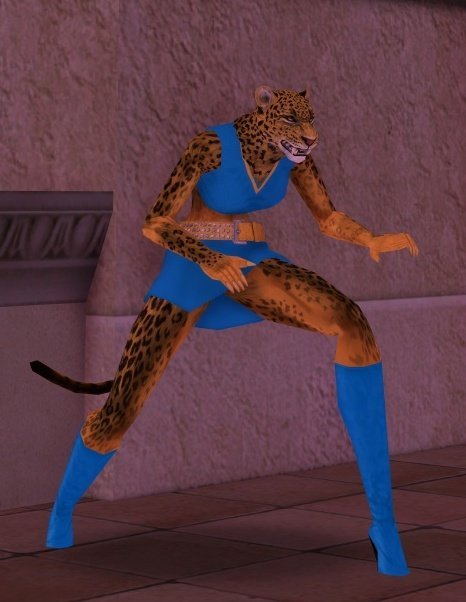
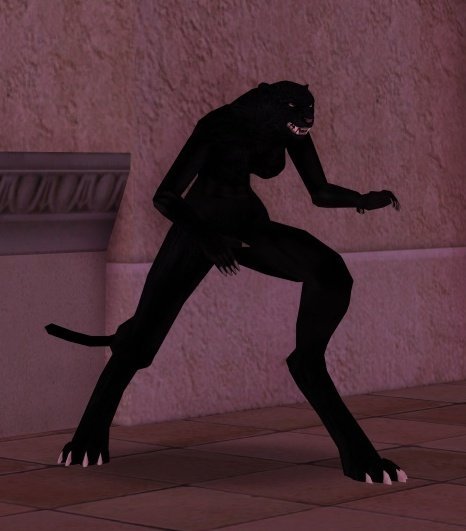
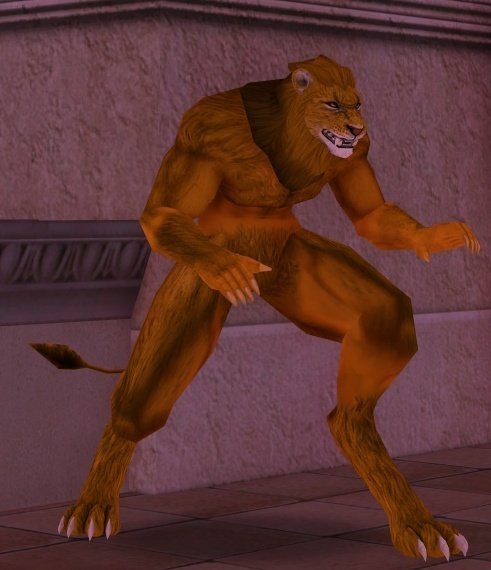
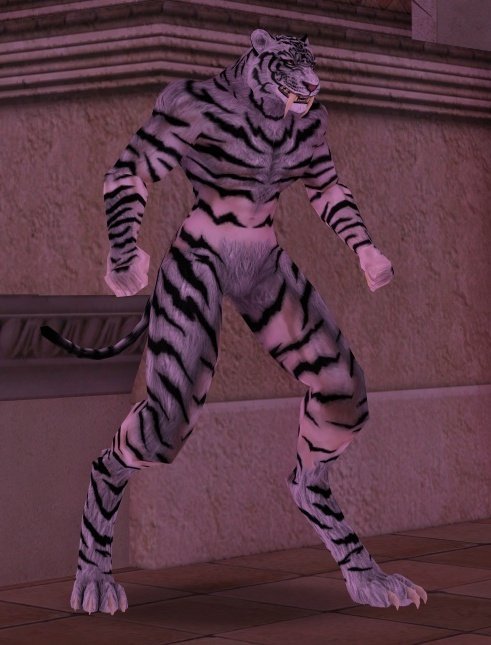
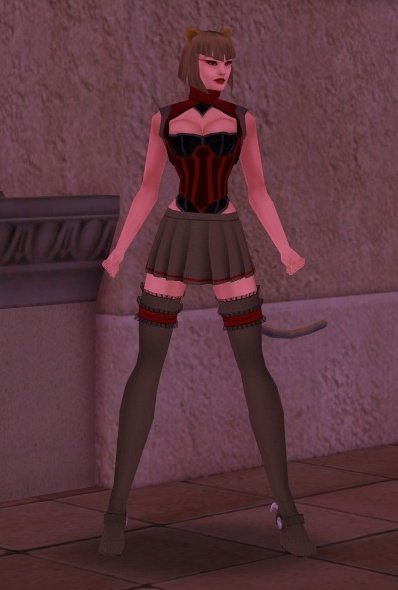
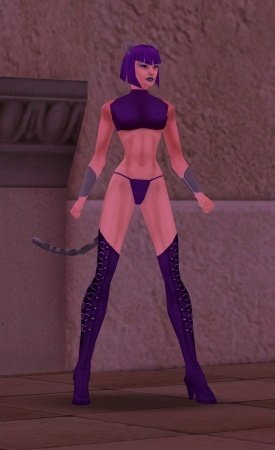
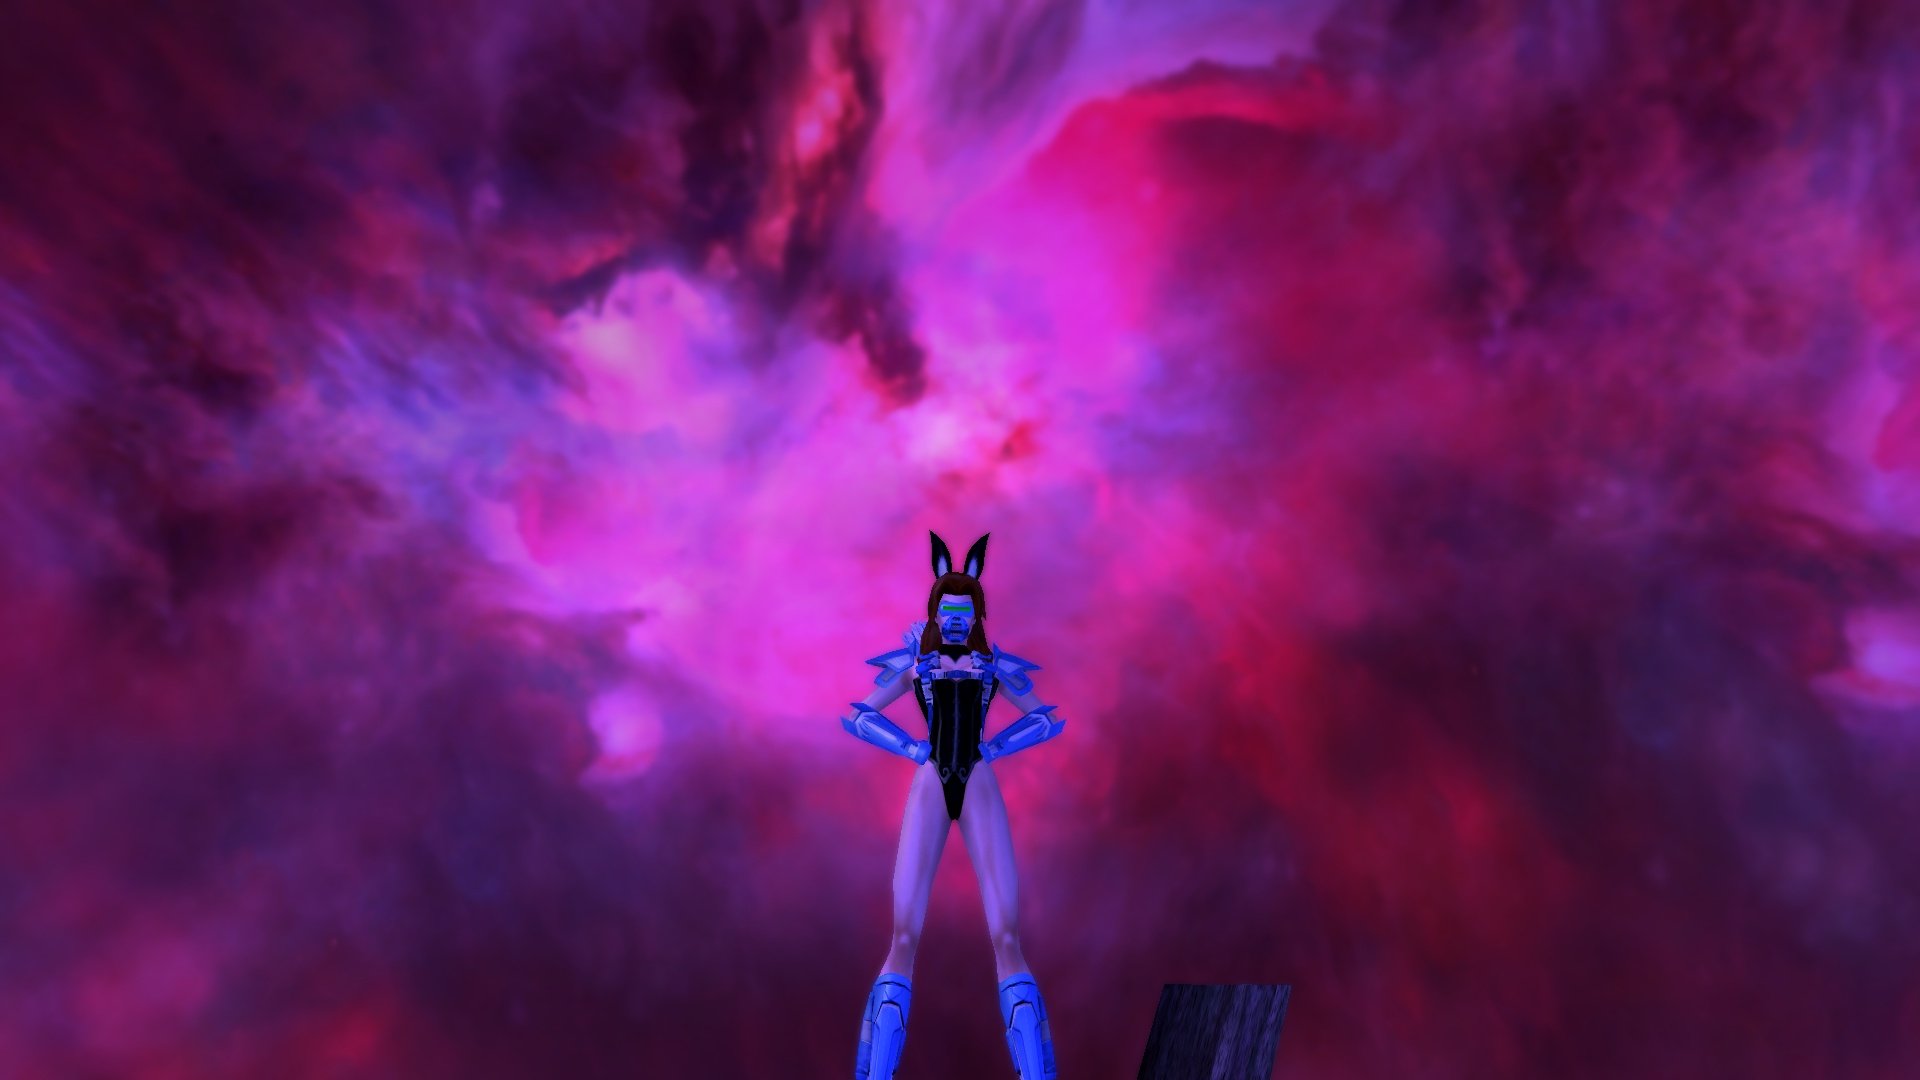
I also have my kitty-kat toon... Meowsie (Sav/Bio Brute). Meowsie is a human/cat hybrid that can shape-shift into any feline (male or female) depending on the need / what she is fighting. Obviously, the larger cats make her grow in size too. Normal look (smallest size possible)... A Linx... A male Cheetah.... A Leopard.... A Panther... A male Lion... A male White Tiger (largest size possible)... And of course, any shape-shifting feline needs to turn into a Cougar to prey on young cubs... 😄 And even though cats hate water, she needs a swimsuit.... And she obviously needs club wear for dancing at Pocket D or Studio 55....

-
So many GREAT fox costumes and characters! So here is mine... although she is more humanistic... Cobalt Fox (KM/SR Scrapper)
-
Proposed Changes for Mind Control
Frozen Burn replied to Frozen Burn's topic in Suggestions & Feedback
Old and archaic arguments. Plant and Electric control both get AOE confuse powers AND a pet(s). I'm not trying to say mass confusion sux... I'm trying to highlight that Mind Control is weaker than other control sets damage-wise and needs to be re-evaluated / tweaked. -
What should we do with Psychic Blast?
Frozen Burn replied to oedipus_tex's topic in General Discussion
My vote: Set is fine as is... leave it alone. -
Archery/Devices is a great combo and plenty of AOE. Mine is one of my favorite blasters. Archery is a fast set inherently and maxing your recharge rate (if you can) makes it wicked fast and lots of DPS.
-
I've reported this in another thread somewhere too. I've crashed several times after loading into a zone and then changing costumes shortly after (within ~5secs of loading) - and yes with an emote attached to the change. This is definitely a bug.
-
And still, not every AT and powerset combo lends itself to good or viable solo building for +4x8. But obviously, we will not agree on this and we are off topic.
-
Yes, you are correct, that is "soloing." That is the technical definition of the term. However, in practice and in game play, "soloing" takes on another meaning and connotation. Not everyone has an unlimited time to die repeatedly and whittle away through +4x8 group after group in a single mission. While they may be solo -- the only one on the map -- they still may not be able to finish the task in the time they have due to the increase of mob level and size -- thus, they can't really "solo."
-
Righter there... you said it... "with caveats... and worst combos ever may struggle..." This means you are acknowledging there are sub-optimal powerset combos for soloing +4x8. ...which is what I was stating. This is all about the definition of "soloing." Can any toon with Barrier Destiny stand in front of a mob of +4x8 and survive? Probably. But that's not soloing. You have to be able to defeat them too. And how long does it take to get through that +4x8 group? To me, soloing is not about standing in front of a single group and slaving away at it for a long period of time even if I survive. If it takes too long to get through a reasonable map... that isn't soloing. For example, my Ice/Ice controller... can't kill a thing reasonably fast enough to do anything productive even with IOs and my Incarnates. I am generally wiped to the floor by large upper level groups when solo because partly, the sets and bonuses for my primary and secondary do not lend to "ideal" soloing stats. If I do survive, it takes SO long to kill a single group, and it take SO long (and TONS of awakens) just to get through a map that it's not worth soloing. +2x4 is about all this toon can do for reasonable soloing. And even then, it takes a while at +2. At +4x8, I may survive for a bit using inspires (including my incarnates), but I will fall in the end. If by chance I do survive, I have to exit the map, get more inspires, and trudge along again to the next mob. This isn't "soloing" imo. Yes, I could also gimp my toon and remove all team buffs and take more power pools to only benefit me, but even still, it would take a long time to kill the mobs in a reasonable amount of time for "soloing." ...and then I'm gimped for teaming. So again, not all toons / powerset combos can solo +4x8.
-
Correct, it does not work as awesome as you might think in the rain powers. Once in a while, it does it proc on initial casting and occasionally it will proc after about 10s. I never see more than 1 or 2 of the mobs fall down. It is definitely better to slot in Fireball. On a side note... I also tried the proc in Caltrops. It works better there since the power is auto-hit and lasts 45s. It more targets to KD when it procs and I can usually get a few to fall down again on subsequent procs. Because my Caltrops recharge in 10s, I can overlap them and increase the chances. I LOVE my Caltrops-of-Tripping! 😄
-
@Sirius.Games... No, just no. It appears you have very little experience or history with this game. Tell us of your experience and what toon(s) you're playing. Did you power level to 50? Or did you play all content up through the levels? Did you start Hero-side where lower level mobs are easier compared to villain-side and in praetoria? It's not that the game is easy... the game CAN be easy, if you choose it... but it can be hard too. Some ATs and/or powerset combos cannot solo and if they can, not all can even do so at +4x8. So if you find the game too easy... try rolling a different character that might challenge you? (Like @PeregrineFalcon suggested.) First of all, the game is intended to be a progression from newbie hero/villain/praetorian to being an incarnate (where we're supposed to be "gods"). The lore of the game has Statesman, Lord Recluse, and Tyrant (and others) as incarnate gods that can walk through anything.... and we players are on that journey to become just like them. So the game itself leans towards making it easier for us to do existing content as we become incarnates. And remember, there was supposed to be even more incarnate powers coming our way before the game was taken away from us. Run the first mission of Mender Ramiel's arc in Ouro where the player is introduced to being an incarnate -- all regen, recovery, defenses, resistances, to-hit, damage and etc are all capped -- it shows us what we were supposed be like with the incarnate system. However, the other side of that coin was that we were also supposed to fight the Battalion in the "The Coming Storm" -- this is story content that was never realized in the game due to the shut down. But that content would have been challenging even for our god-like incarnate status. (...because why make a game that is only easy.) With the Global Defense Nerf (GDN) we had (which was back during Live), the Devs realized the chaos and uproar it created. They eventually implemented the Invention Origin enhancement system, set bonuses, and crafting and they admitted this was a way for us to recover some of what we lost with the GDN. So IOs are as intended and are also not part of the problem. I can see why you might think it's easy. And i can understand the reasoning behind your request. But as others stated above and all the reasons given, it will not work. The current Dev team has stated numerous times that they do not want to be "museum-keepers" and only keep the game as is. They DO have plans to add more and significant content. The new challenge system with the Aeon SF is the tip of the iceberg. There will be more content coming our way that will challenge our incarnate god-like toons. The problem you are facing (and many others too), is that we do not yet have the end-game content we were promised before the game went down. It's not the Devs fault... it's NCSoft's fault for shutting us down and stopping the Devs from realizing their dream and us being able to play that content (which I am sure would have been awesome). It's not that the game is easy, or that IOs ruin anything... it's that we (players and devs) are not done on our journey in the CoX-Universe, and after a 7-year hiatus and slow legal diplomacy, it's taking time to get traction to get things up and going again. But it's coming.... ...all I can say is... be patient -- your challenges will come. And in the meantime, roll a different toon and find other ways to challenge yourself with the existing content -- those challenges do exist in-game currently.
-
Happy to give some advice. @ZorkNemesis has some good advice too, but slotting for ranged defense only is only good for those blasters that stay at range. However, even a ranged blaster gets overwhelmed by melee mobs and some secondaries lean towards being in melee range anyway where a more robust build is required and you'll need to also focus on melee and AOE defenses and/or typed defenses -- primarily smashing, lethal and energy (and others, if you can). Yes, CJ, Tough, Weave, Maneuvers, Scorpion Shield, Hover, ...anything you can use to get more defense is good... but I also do not believe in sacrificing key primary and secondary powers just to take a ton of pool powers, either. (Only you can decide which powers are key to you and your playstyle.) Some builds, I slot for resistance over defense -- sounds, crazy, I know! --and use a resistance shield from the epics. But this is generally due to themes, but you can be just as survivable with a resistance build and lower to moderate defense. Don't feel like you HAVE to be soft capped on defenses -- if you can, great! If not, get as close as you can. Don't feel bad about using inspirations! 1 or 2 (depending) small purple insps generally will fill in defense gaps. Same with oranges for resistances, especially to survive defense debuffing. A big thing that most people ignore in their builds is +HPs. I cannot tell you enough how getting max or close to max (1847 HPs) is. It can allow you take a couple extra hits when your defenses fail (and they will -- thank you 5% rule! 🙂); it also gives you more time to eat some inspirations; gives another chance for your Preventative Medicine +Absorb proc to fire; or give you a chance to click one of those "OH SH*T" powers like Rune of Protection, Hibernation, Force of Nature, or etc. Generally, after a battle and I see my fallen brothers' and sisters' empty HP bars and I'm still standing... I see they're at max 1400-1500 HPs, while I'm generally at 1750-cap (1847). Alpha strikes are key, kill as many as you can quickly with AOEs, use control powers (including KB) to keep things off you and control pesky bosses and LTs. Cycle between targets keeping 1 boss mezzed while you work on another. Many will also skip either a T1 or T2 attack in their primary to get a more efficient attack chain, higher DPS, or for slotting a pool power, or etc. I always take both T1 and T2 attacks because when I do get mezzed and I'm out of break frees, that extra attack can be the difference between life and death -- and it has saved me over other blasters at times. To make a Blaster survivable, it is not just about the build and capping a defense area... Again, you don't have to be capped at anything... A well-rounded blaster (Def/Res/+HPs) and using techniques like kiting, controlling, and ambushing -- and a few insps here and there -- will make you extremely survivable. ....To each their own. There are other philosophies out there. But these are some of mine and they haven't let me down yet. Hope this helps some!
-
I would say, in no particular order: Scrapper, Brute, Sentinel, Tank, Widow, Operative. These, you really don't have to worry about TOO much to keep them alive and can just focus on "wrecking stuff" like you want. Stalker could be an option, but they have fewer AOEs compared to the above so that's why I left them out. Sentinels do lower damage out the above, but they're good for chill playing and survivability, if you want to shoot stuff as opposed to punch stuff. If you are leveling up and doing story content, Tankers may FEEL like they're going slow given their offense powers are secondary. As for "Fun" builds.... There are Blaster, Controller, and MM builds that I think are fun, but I don't think they would meet your "chill" requirement as these ATs tend to take a little more work to stay alive compared to the above listed. ...but that's the "fun," for me at least - in addition to story content and wrecking havoc. Blasters - I'd ALWAYS rather be playing a blaster over any AT and I build them to survive and play them as the offensive juggernauts they are (I hate Sentinels - even though I have an incarnate one - but again, they do provide a "chill" blasting experience, but you trade off damage output for that). Blasters are MY goto when I want to just do random stuff, street sweep, solo content... well, do all the stuff you listed. But not everyone is like me. 🙂 Most (not all) Controllers would be difficult to solo until you get higher level and even then, some will just take forever to kill anything. MMs can be fun and there are many great builds out there, but again, you may have to do some work to keep them and your pets alive.
-
Some alternate methods for some of these.... Some of the PVP badges - use an alternate account and you can get some of the PVP badges where you need to defeat X number of opponents and other basic badges that you only need 2 people to get. (obviously, the tournament badges, you will need more people - or many many accounts.) Being Mezzed badges - Sapper missions kept crashing / kicking me out after about 10 mins of being AFK. So instead, I again used my alternate account with a toon that has a hold... went into the arena and just let it perma mez me with the hold on auto-fire. Got all badges in 1 or 2 overnight AFK sessions while I slept. Damage taken badges - I had trouble with the Mercy Island fires killing me after being AFK a bit. Again, I wanted to be able to have this go overnight while I slept. So I went into a Carnie Ouro mission and let a minion Fencer wail on me while I rested and had Rebirth RADIAL (for the +regen) on auto-fire. I had to try a couple initial attempts to see if even-con or +1 or +2 was the right level to give as much damage to me without killing me in the long haul (can't remember where I ended). I'm a blaster with not much resistances from sets, so after about 2 overnight sessions while I slept, I had all damage taken badges. If you have a lot set bonus resistances or auto resist powers (like Invulns), rest won't drop them completely so you may need to have higher level foes and/or multiple foes wailing on you. Just work to find what you can handle without them overpowering your regen while resting and you'll have the badges in no time.
-
^^This! ...But also have the holsters and scabbards should become "empty" when the weapon is drawn. Currently, this is an in-game function with Maelstroms' dual pistols. His pistols live in his holsters when not in use, but when he draws them to attack, his holsters are empty until he puts his guns away. The holsters in the current editor are static and even though we draw our guns, you can still see them in the holsters. 😞 Doing something similar where the sword(s) disappear from the scabbards when they are used and return when not would be great. However, arrow quivers should remain exempt from this as we seem to have an unending supply of arrows. 😄 But we definitely need more types of quivers other than "Tech Knight!"
-
Correct, you can escort an NPC to a clickable object by setting the "Destination" to the object. However, yes, YOU (the player) still has to click the object after the escort. So perhaps story-wise, you can have the NPC "instruct" the player how to download the info -- this is kind of stronger choice for your story anyway, as it helps the NPC start to "trust" and gain some "rep" for the player by having you do it instead of them. Maybe the NPC can be like..."Let's see how well you can follow instructions on how to enter this complicated sequence to download this info. Good! You're not useless after all." 😄
-
Yes, maneuvers would be a better choice here since the "invis" component of Stealth is not needed here.
-
If you're going to be in melee, you're going to want to focus on building your S/L/E and melee defenses and +HPs as best as you can. Yes, building ranged defense is good too, but neglecting S/L/E (the most common damage types) will be brutal when the mobs are in melee mode -- this is also where having a lot HPs (and any resistances you can eke out) will help. Since you are going Munitions -- i.e. not getting Scorpion Shield -- this will be harder to achieve the S/L/E softcap, but still you should be able to get a viable melee blaster. You may have to chew on a Luck inspiration frequently (which is OKAY, in my book!). Your extra slots in Stamina are wasted -- Kuji-In Toh will give you all the end you need: Slot the Perf Shifter proc in Stamina and KIT with Perf Shift E, EA, ER, and then Heal set (Prev Med or Numis) of H, HE, HR to maximize both recovery and regen and good +HPs bonuses. Health then only needs a Numi or Panacea special and the Prev Medicine +Absorb proc (this can save your life! ...it has mine on several occasions). Your extra slots in Stamina, put into Tough and build up your S/L resistances Slot Devastations, Apocalypse, and Shield Walls where you can for max HPs. If you can work in the Superior Winter sets, that is great too as you can get some really good defense set bonuses there too. And of course, slot your Superior Blaster sets (Blaster's Wrath and Defiant Barrage). Stealth is a wasted power. You can achieve invisibility with SS and a Celerity +Stealth IO in Sprint. Plus, Stealth's defense suppresses in combat, so you're not gaining anything with it. Then maybe you can take Aim much sooner than at the end of your build. And then perhaps pickup Choking Powder -- it does good damage and is a hold which can help keep pesky minions and lieutenants from debuffing you or whatnot.
-
VidiotMaps for Issue 24 and Beyond
Frozen Burn replied to Blondeshell's topic in Tools, Utilities & Downloads
I also appreciate the Manual installation method. Even though I used the default install settings for COH on my new computer, the modder still didn't work for some reason. I tried it several times and all attempts unsuccessful. However, I was able to get it done manually without any trouble. I also appreciate you listing the superfluous files that were no longer needed -- was easily able to just delete them. THANKS! -
I made something silly: a strange kind of stunning brute/controller
Frozen Burn replied to Darkir's topic in Brute
But all Brutes / Tanks can keep their teams safe with 1 power... Taunt! If they're looking at you, they're not looking at your team. 😄 Glad you're having fun with this. Keep on! -
These are on Torchbearer.
-
Ah. Thank you for further clarifying. Then this seems OP / broken / exploit'ish, especially if MM pets also increase the chance rate -- a team of MMs who all had this would really be OP! lol
-
I agree with @Psyonico's slotting advice.... max recharge first, then layer in some Acc with Damage being the rest -- whether through straight up IOs/SOs, sets, or franken-slotting. You really want PA to be perma or as close to it as possible. When they're up, the aggro is on them and not on you! (mostly) 😄 Global recharges help here too, obviously, so be sure to work towards that as well.
-
@Generator, don't forget that there are also all the Hero/Vigilante story arc badges you can get through Ouro -- including the Vigilante-specific arcs that award different badges for taking the different options.