The Beta Account Center is temporarily unavailable
×


Auroxis
-
Posts
771 -
Joined
-
Last visited
Content Type
Profiles
Forums
Events
Store
Articles
Patch Notes
Everything posted by Auroxis
-

The Philotic Knight's Buff Force Fields 1.0!
Auroxis replied to _NOPE_'s topic in Suggestions & Feedback
It would lower the proc chance from 72% to 41% (on Defender), and make it less consistent. The end result would be about the same DPS if you use it when it's up, but less reliability. To explain my reasoning: Bomb can fit 3 damage procs, a -res proc and an FF proc. Let's also say the power's damage is increased by 100% with buffs and a damage IO. And on a high recharge build, 30s is reduced down to around 7.5s while 16s is reduced to around 4s. Add the 3.3s cast time and you have: For 30s recharge: 36.15 * 2 + 71.75 * 3 * 0.72 = 227.28 damage, more reliable 7.5 + 3.3s = 10.8 227.28 / 10.8 = 21.04 AoE DPS For 16s: 36.15 * 2 + 71.75 * 3 * 0.41 =160.55 damage, less reliable 4 + 3.3 = 7.3 160.55 / 7.3 = 21.99 AoE DPS -
Two Fire/Time corruptors gel extremely well together from the start, with 2x Time's Juncture and 2x Rain of Fire+Fireballs absolutely trivializng the majority of content. At the end-game you have constant nukes going on thanks to 2x Chrono Shifts, overcapped defenses with 2x Farsight, and capped resists+cc protection with a high uptime Rune of Protection (thanks to the 2x Chrono Shifts). The only problem I see is endurance before Chrono Shift, but 2x Victory Rush takes care of that nicely while leveling.
-
Human-form PB: my single target DPS is awful
Auroxis replied to Extor Prime's topic in Peacebringer & Warshade
Achilles' Heel doesn't proc any differently, you just need to avoid placing procs into fast recharging powers like Glinting Eye and Gleaming Bolt if you want to make the most out of them. Radiant Strike and Gleaming Blast are good candidates for Achilles' Heel. -
The Philotic Knight's Buff Force Fields 1.0!
Auroxis replied to _NOPE_'s topic in Suggestions & Feedback
The 30s recharge is what enables it to be a proc machine. If there's anything that shouldn't be touched in Repulsion Bomb, it's the recharge. -
The damage is unchanged, at 22% ToHit you deal the same damage as before.
-
The snipe patch is now live, which means the build is easier to level with. No need to take Tactics or wait until Clarion Farsight in order to insta-snipe. Updated the OP.
-
Empathy is great at higher levels if you use it correctly and pair it with Sonic Attack to help deal with its lack of resistance/regen debuffs. I suggest you take a look at my guide, here:
-
I created a build to prove you wrong but alas, as of yesterday Justin is now closed for those kinds of tests as I can't easily incarnate/accolade/gloom it out. Not sure what "Pro advice" you were given either since 20 minutes is ridiculously low. Here's the build anyway: Hero Plan by Hero Hero Designer 2.23 https://github.com/ImaginaryDevelopment/imaginary-hero-designer Click this DataLink to open the build! Level 50 Magic Tanker Primary Power Set: Invulnerability Secondary Power Set: Energy Melee I already made my point. No need to repeat it ad nauseam.
-
I chose Void for the -50% 20s damage debuff.
-
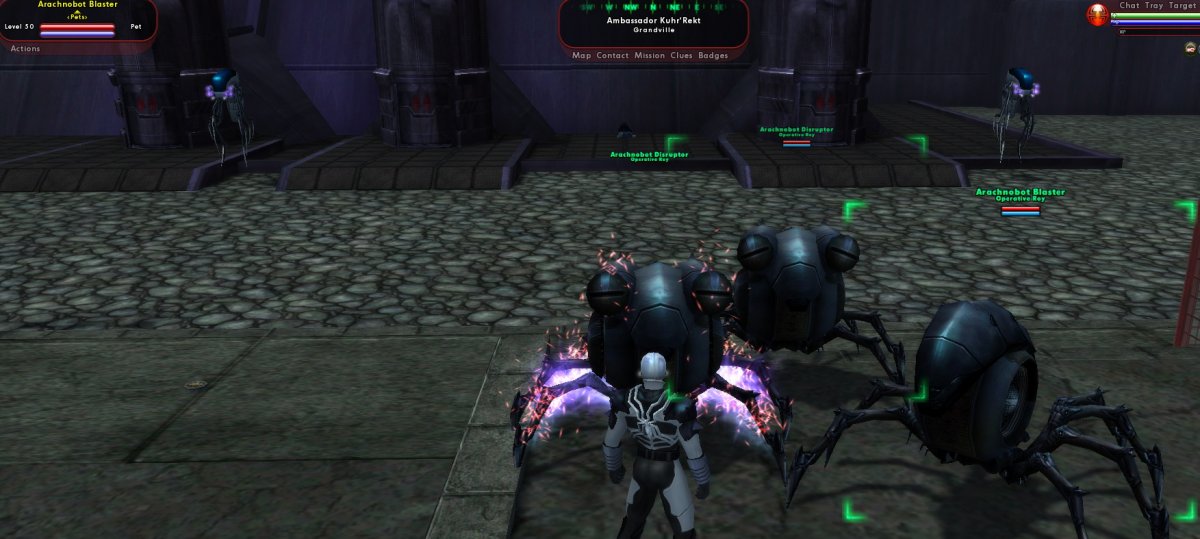
The Endgame Bane - S/L Hardcapped, Farm-Friendly, Good DPS
Auroxis replied to Auroxis's topic in Arachnos Soldier & Widow
Bane should have a bit more DPS outside of scenarios where pet levels don't matter (like against pylons and Monsters/GM's) -
There is probably room for improvement, the optimal chain should be Radiant Strike-Incandescent Strike-Radiant Strike-Cross Punch-Gleaming Blast with 4 or more procs in each attack.
-
Quoting myself from earlier in the thread:
-
Human-form PB: my single target DPS is awful
Auroxis replied to Extor Prime's topic in Peacebringer & Warshade
Gleaming Bolt isn't effective for procs due to its fast recharge time, i'd just leave it behind after leveling. No need to slot it. -
The most OP combos are often the ones mentioned in the pylon killing thread, both for tankers and other classes. And it's not like TW is that far ahead of other primaries, I assure you that with smart use of procs and attack chains you could get close to the same times on other combos. And your tanker takes 20 minutes for a single pylon? I'd say that has more to do with the build than the class.
-
The difference is far less than you make it out to be. When a tanker is posting scrapper-level pylon times, you can't just say "buffing tanker damage must happen". There are lots of ways to make tankers more desirable, buffing their damage when they're already decent enough on that front isn't the way to go IMO.
-
@ZeeHero Why do you keep pushing the "Tankers deal less than half of brute damage" argument when I've given you numbers AND pylon times that prove otherwise?
-
Human-form PB: my single target DPS is awful
Auroxis replied to Extor Prime's topic in Peacebringer & Warshade
For a Human PB you have four key attacks: Radiant Strike, Gleaming Blast, Incandescent Strike, and Cross Punch. All four attacks are decent DPA (for a PB) and can fit lots of procs (including four purple procs). -
Stalkers scale better in teams due to the inherent. You have more base crit and often your recharge will be buffed high enough to run the CI-JL-AS chain.
-
I'd grade each set combined with the best secondary (Sonic Attack) on Offensive and Defensive Support, then tally up the score on a 10/10 basis: Tier 1 (8-10) Time/Sonic: 5/5 defense 4/5 offense Nature/Sonic: 4/5 defense 5/5 offense Empathy/Sonic: 5/5 defense 3/5 offense Thermal/Sonic: 3/5 defense 5/5 offense Dark/Sonic: 3/5 defense 5/5 offense Tier 2 (6-7) Cold/Sonic: 2/5 defense 5/5 offense Rad/Sonic: 2/5 defense 5/5 offense Kinetics/Sonic: 2/5 defense 5/5 offense Pain/Sonic: 3/5 defense 3/5 offense Storm/Sonic: 2/5 defense 4/5 offense Tier 3 (4-5) Sonic/Sonic: 1/5 defense 4/5 offense Force Field/Sonic: 3/5 defense 2/5 offense Poison/Sonic: 1/5 defense 4/5 offense Traps/Sonic: 1/5 defense 4/5 offense Trick Arrow/Sonic: 0/5 defense 4/5 offense
-
Updated the build in my original post here.
-
OK, so I made the above character on Justin and tested it out. Worked out better than I expected: Radiation Melee/Bio Armor Scrapper T4 Musculature Radial Paragon T4 Degenerative Radial Flawless Interface T4 Ageless Core Epiphany Hybrid Off: 1:48 1:47 2:11 2:17 1:55 Peaked at 1:47, 486 DPS Hybrid On: 1:25 1:40 1:27 1:52 1:48 Peaked at 1:25, 579 DPS So, yeah. Rad Melee's pretty good, Moonbeam is pretty good, and procs are pretty good. Nice thing about Rad Melee is that it offers great AoE as well, I suspect this character could farm quite nicely.
-
Best alpha slot choice for elec/shield stalker
Auroxis replied to Midnight Mystique's topic in Stalker
If you're slotting the full Gaussian set into Build Up (which you want on SD for the defense), picking Agility or Spiritual will cause its proc rate to go well under 90%. Considering that the bulk of our damage is in the BU+LR+SC combo, and the Stalker ATO which refreshes BU, it's important to have the Gaussian's BU proc at or near the max proc rate of 90%. If you're interested in the exact cutoff, it's in over 70% enhanced recharge when your chance to proc starts going below 90%. -
Thanks for the shout-out @nihilii I happened to run some StJ/Bio Scrapper tests myself over the weekend on Justin and reached similar results. The snipe has great synergy with sets that put most of their DPA into single attacks like StJ (Maybe it can boost Elec up to decent standards?). I wonder how a Rad Melee/Bio Scrapper would do? 6x procs (including 2x -res) into Irradiated Ground (procs every 5 seconds), Moonbeam, and procced out regular attacks (thanks to the -def typing) should be a nice way to showcase proc and snipe power. Hero Plan by Mids' Reborn : Hero Designer 2.6.0.1 https://github.com/ImaginaryDevelopment/imaginary-hero-designer Click this DataLink to open the build! Level 50 Magic Scrapper Primary Power Set: Radiation Melee Secondary Power Set: Bio Armor
-
The Endgame Bane - S/L Hardcapped, Farm-Friendly, Good DPS
Auroxis replied to Auroxis's topic in Arachnos Soldier & Widow
The Patron pets are +0 (for VEAT's at least), I just tested it on Justin.
-
The Endgame Bane - S/L Hardcapped, Farm-Friendly, Good DPS
Auroxis replied to Auroxis's topic in Arachnos Soldier & Widow
S/L is very common damage, and the ability to reach 85% with it is something a scrapper/stalker can't do, not going for an achievable goal like that seemed like wasted potential. +4x8 S/L comic-con farm w/bosses is different from other farms, 85% S/L is really helpful there on a Bane which only has Rebirth as a self heal. Two -1 summons seem harder to keep alive than one +0 summon, and damage against +4 enemies seems to favor the +0 a bit. Though it's hard to test.