Sovera
-
Posts
4905 -
Joined
-
Last visited
-
Days Won
2
Content Type
Profiles
Forums
Events
Store
Articles
Patch Notes
Everything posted by Sovera
-

page 3 [FOCUSED FEEDBACK] New Melee Set - Sonic Melee
Sovera replied to The Curator's topic in [Open Beta] Focused Feedback
Accuracy matters for both upfront and each DoT's tick, damage increases the DoT's damage, and encurance some since it's a toggle. Recharge is the only thing not needed since it recharges in 2 seconds. If you find it behaves differently please report to the devs. -
I see a distinct lack of answers. Did you manage to figure things out?
-
page 3 [FOCUSED FEEDBACK] New Melee Set - Sonic Melee
Sovera replied to The Curator's topic in [Open Beta] Focused Feedback
I've been mentioning this as well. Stalkers/Scrappers have been getting good numbers (IMO, under 1:30) with pylons, but Brutes have been steady at 3 minutes on pylons. Which could just be my crummy builds too. I've tried taking the T1 and the T2, procbombing both, then Attune and Earsplitter. I've tried taking the T2, and Sandman's Whisper, proccing both, then Attune and Earsplitter. All 3 minutes with his version a good 20 second slower (3:13 where the above got 2:55 on average). Maybe taking all five ST powers is required so that Attune is booming with both T1 and T2 and then using Sandman's and Earsplitter, but I can't fit five ST attacks, nor do I even want to. -
page 3 [FOCUSED FEEDBACK] New Melee Set - Sonic Melee
Sovera replied to The Curator's topic in [Open Beta] Focused Feedback
Attune is annoying to reapply but it does do upfront damage (not a lot though, around 40 damage as a level 50). The upfront damage does compensate for the reapplying since it is the same as just hitting the target, and then each subsequent hit is boosting the DoT. The problem with DoTs is the quick nature of the game. We rarely go into a group of enemies and take more than 30 seconds to lay them all down between BUs and AoEs. So, outside of pylons where we place the toggle once and don't need to re-apply the quick nature means having to reapply all the time on low HP enemies like anything under a boss. Perhaps to make it more interesting the upfront damage needs to be increased and make it more of an attack. That said in regular play we usually focus on a boss while AoEing the rest so I can see how Attuning the boss will be something done once or twice per group rather than picking one minion at a time to re-apply. But I had already predicted in CB that in a team setting the quick nature of the game will probably have people not fussing with Attune. Which is... okay, I guess? We don't have damage meters, and if the mobs are dying that fast then what are we complaining about? But as it is right now, soloing on a Brute, the damage feels great while leveling but falls off at max level. On a Brute, I insist. Stalkers have had some really good pylon times. But I don't find 3 minutes, with procbombs, to be decent, and I say this as someone who doesn't play with Glooms and such. All my times tend to be with characters who only use the skills in their power sets so that's what I'm comparing with. -
page 3 [FOCUSED FEEDBACK] New Melee Set - Sonic Melee
Sovera replied to The Curator's topic in [Open Beta] Focused Feedback
Ran few pylon tests on a Brute. T1, T2, Attune. Earsplitter: average of 3 minutes (2:54, 2:55, 3 minutes). Rotation of Earsplitter, T1, T2, T1. Both T1 and T2 had 4 procs trying to get more damage. T2, Sandman's Whisper, Earsplitter: 3:14. Rotation of Earsplitter, Sandman's Whisper, T2. Both T2 and Sandman's Whispers had four procs out trying to get more out of them. In my opinion the ST damage is a tad low and we're not rewarded enough by Attune's jank. But it levels really well as the early Attune DoT damage is great, but it doesn't scale in the end game. Suggestion, boost Attune's dot to get more oomph from Fury, and maybe allow it to crit for the other ATs?? Or just buff the numbers a bit since I tested neo Spines with the same setup and had consistent 30 seconds less (2:30 on average) and Sonic is supposed to be a ST centric set while Spines has better ST now but is still meant to be the AoE set. -
Lets goooooooooooooo!
-
Yes.
-
-
Ah, hello again, Dian.
-
I routinely receive them with questions about builds, so something's amiss.
-
I did wonder why I was being included in this conversation. But yes, most things look good on paper but don't actually add much. Look at damage auras. Anyone running a damage meter will see how much they added to the total damage. But if a mob needed two AoEs to be arrested then those five interim ticks of the damage aura added nothing as a second hit was still required. But those five ticks spread over 10 mobs inflate how valuable it is. I've why I never found -res procs to actually shave much time if at all during regular mission tests.
-
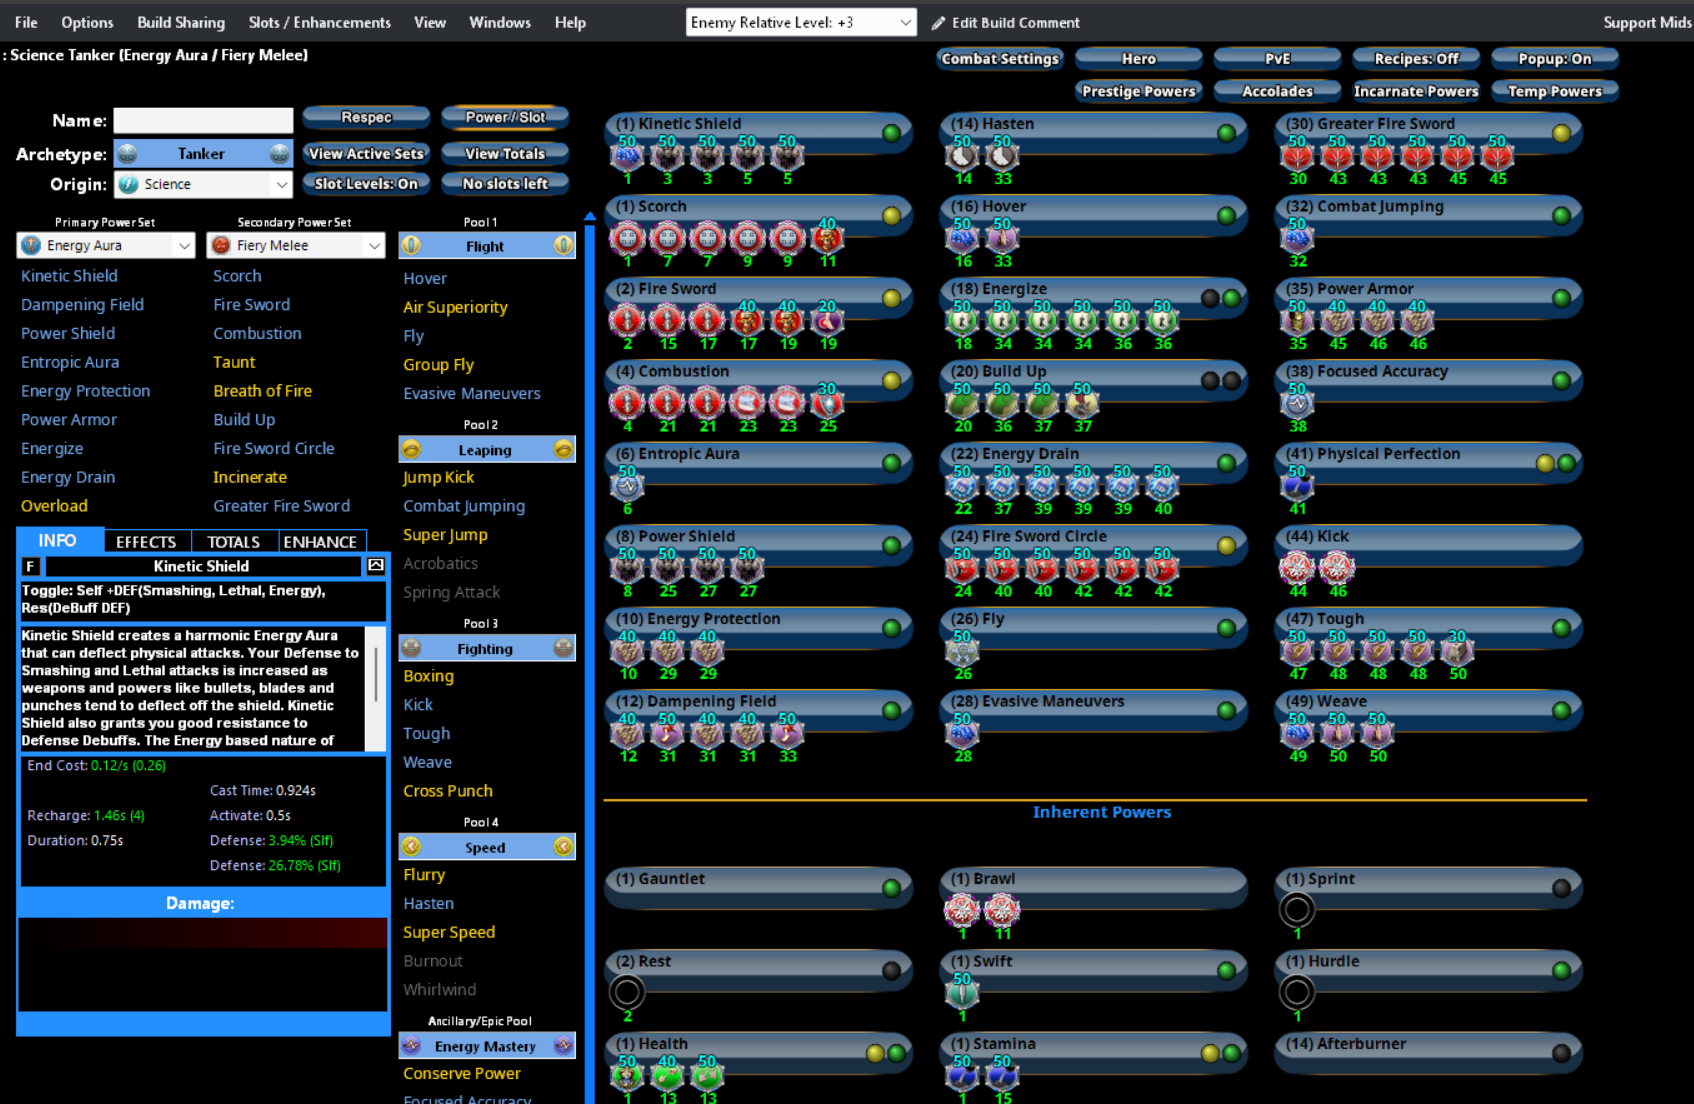
Things changed, but you were right. I dug into the options and one the export tabs had the option to do it by text. Hero Tanker Build plan made with Mids Reborn v3.7.14 rev. 3 ────────────────────────────── Primary powerset: Energy AuraSecondary powerset: Fiery MeleePool powerset (#1): FlightPool powerset (#2): LeapingPool powerset (#3): FightingPool powerset (#4): SpeedEpic powerset: Energy Mastery ────────────────────────────── Powers taken: Level 1: Kinetic Shield A: Luck of the Gambler: Defense/Increased Global Recharge Speed3: Shield Wall: +Res (Teleportation), +5% Res (All)3: Shield Wall: Defense5: Shield Wall: Defense/Endurance5: Shield Wall: Defense/Endurance/Recharge Level 1: Scorch A: Superior Might of the Tanker: Recharge/Chance for +Res(All)7: Superior Might of the Tanker: Damage/Recharge7: Superior Might of the Tanker: Accuracy/Damage/Recharge9: Superior Might of the Tanker: Damage/Endurance/Recharge9: Superior Might of the Tanker: Accuracy/Damage/Endurance/Recharge11: Touch of Death: Chance of Damage(Negative) Level 2: Fire Sword A: Superior Gauntleted Fist: Accuracy/Damage15: Superior Gauntleted Fist: Accuracy/Damage/RechargeTime17: Superior Gauntleted Fist: Damage/Endurance/RechargeTime17: Touch of Death: Chance of Damage(Negative)19: Touch of Death: Accuracy/Damage19: Achilles' Heel: Chance for Res Debuff Level 4: Combustion A: Superior Gauntleted Fist: RechargeTime/+Absorb21: Superior Gauntleted Fist: Damage/RechargeTime21: Superior Gauntleted Fist: Accuracy/Damage/Endurance/RechargeTime23: Superior Avalanche: Accuracy/Damage/Endurance23: Superior Avalanche: Recharge/Chance for Knockdown25: Eradication: Chance for Energy Damage Level 6: Entropic Aura A: Invention: Endurance Reduction Level 8: Power Shield A: Shield Wall: Defense/Endurance25: Shield Wall: Defense/Recharge27: Shield Wall: Defense27: Shield Wall: Defense/Endurance/Recharge Level 10: Energy Protection A: Reactive Armor: Resistance/Endurance29: Reactive Armor: Resistance/Recharge29: Reactive Armor: Resistance Level 12: Dampening Field A: Reactive Armor: Resistance31: Titanium Coating: Resistance31: Reactive Armor: Resistance/Endurance31: Reactive Armor: Resistance/Endurance/Recharge33: Titanium Coating: Resistance/Endurance Level 14: Hasten A: Invention: Recharge Reduction33: Invention: Recharge Reduction Level 16: Hover A: Luck of the Gambler: Defense/Increased Global Recharge Speed33: Reactive Defenses: Scaling Resist Damage Level 18: Energize A: Preventive Medicine: Heal34: Preventive Medicine: Heal/Endurance34: Preventive Medicine: Endurance/RechargeTime34: Preventive Medicine: Heal/RechargeTime36: Preventive Medicine: Heal/RechargeTime/Endurance36: Preventive Medicine: Chance for +Absorb Level 20: Build Up A: Adjusted Targeting: Recharge36: Adjusted Targeting: To Hit Buff/Recharge37: Adjusted Targeting: To Hit Buff/Endurance/Recharge37: Gaussian's Synchronized Fire-Control: Chance for Build Up Level 22: Energy Drain A: Synapse's Shock: EndMod37: Synapse's Shock: Damage/Rechage39: Synapse's Shock: EndMod/Recharge39: Synapse's Shock: Damage/Recharge/Accuracy39: Synapse's Shock: Damage/Accuracy/Endurance40: Synapse's Shock: EndMod/Increased Run Speed Level 24: Fire Sword Circle A: Armageddon: Chance for Fire Damage40: Armageddon: Damage/Endurance40: Armageddon: Recharge/Accuracy42: Armageddon: Damage/Recharge/Accuracy42: Armageddon: Damage/Recharge42: Armageddon: Damage Level 26: Fly A: Winter's Gift: Run Speed, Jump, Flight Speed, Range/Endurance Level 28: Evasive Maneuvers A: Luck of the Gambler: Defense/Increased Global Recharge Speed Level 30: Greater Fire Sword A: Hecatomb: Chance of Damage(Negative)43: Hecatomb: Damage/Recharge43: Hecatomb: Damage/Recharge/Accuracy43: Hecatomb: Recharge/Accuracy45: Hecatomb: Damage/Endurance45: Hecatomb: Damage Level 32: Combat Jumping A: Luck of the Gambler: Defense/Increased Global Recharge Speed Level 35: Power Armor A: Gladiator's Armor: TP Protection +3% Def (All)45: Reactive Armor: Resistance46: Reactive Armor: Resistance/Endurance46: Reactive Armor: Resistance/Recharge Level 38: Focused Accuracy A: Invention: Endurance Reduction Level 41: Physical Perfection A: Performance Shifter: Chance for +End Level 44: Kick A: Superior Blistering Cold: Accuracy/Damage46: Superior Blistering Cold: Damage/Endurance Level 47: Tough A: Unbreakable Guard: Resistance48: Unbreakable Guard: Resistance/Endurance48: Unbreakable Guard: +Max HP48: Unbreakable Guard: Resistance/Endurance/RechargeTime50: Steadfast Protection: Resistance/+Def 3% Level 49: Weave A: Luck of the Gambler: Defense/Increased Global Recharge Speed50: Reactive Defenses: Defense50: Reactive Defenses: Defense/Endurance ────────────────────────────── Inherents: Level 1: Gauntlet Level 1: Brawl A: Superior Blistering Cold: Accuracy/Damage/Endurance11: Superior Blistering Cold: Accuracy/Damage/Recharge Level 1: Sprint (Empty) Level 2: Rest (Empty) Level 1: Swift A: Invention: Flight Speed Level 1: Hurdle (Empty) Level 1: Health A: Panacea: +Hit Points/Endurance13: Miracle: +Recovery13: Numina's Convalesence: +Regeneration/+Recovery Level 1: Stamina A: Performance Shifter: Chance for +End15: Performance Shifter: EndMod Level 14: Afterburner Level 1: Special Set Bonuses
-
Not sure how to post in written form other than manually writing every single IO by hand. Perhaps a screenshot will serve instead:

-
Defense debuffing is not something a Sentinel ought to worry about much, just like accuracy debuffing. Which is the opposite of a meleer who should worry about both depending on the faction. My current favorite remains the Water/Bio. ST is better than the Elec which was, at the time, my best damage dealer, and it oozes AoE on top of two sources of FF procs. If anything I might consider Water/Stone but in my experience Stone can't keep up with the endurance demands which aren't much of a worry for Bio what with Inexhaustible and Absorb DNA.
-
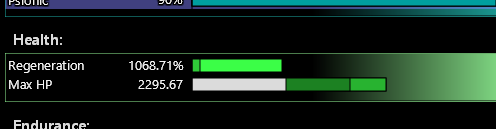
About 1 mph. I tested most of these things. Not too sure about what Ukase is trying to say since the caps are visible if we open the combat attributes. As is my flight speed is 84 mph with Evasive Maneuvers. With the Steam Pack it caps out at 87.9. With Afterburner this caps out at 102 without the need for the Steam pack. Without Evasive Maneuvers it goes down to 72 mph. With the Steam pack it once more caps out at 87.9. With Afterburner it caps out at 102 as well without the need for Evasive Maneuvers. So Mystic Flight can be capped out with the Steam Pack as a poor man's Afterburner.
-
Complete re-make would be too much, but upscaling the textures seems doable. I've see nteh difference in games like Titan Quest 1 and Grim Dawn, even Star Wars knights of the old Republic, and the upscaling breathed youth into those games. I'm not sure what it entails but a single person was capable of upscaling the textures for those games so it can't be that problematic.
-
I mean, I just did. Not everyone is building towards 4 star content so advising as if prepping for a M+23 key doesn't jive.
-
Ignore person above. Sentinels are fine and I'm having a blast with the Water/Bio. Also, what are we talking about?
-
To counter Aura of Madness is a... well, an aura. A Sentinel is a ranged character. You should rarely be in melee range (most of the time). It's great for CC when mobs do get close to you though. I found Psi Armor a bit too busy on the melee characters but pretty solid for survival. I have no idea how familiar you are with Water Blast but I recently leveled one and considered it top notch. It's a Water/Bio a few posts down which ought to have some tips on slotting in case you feel you'd need them. Bottom line: don't trust Mids and what the damage it says Water Blast does 😄
-
Most resistance armors on a Tanker will reach 90% (unless it's specifically their weakness like Cold is for Rad) and even those who are defense can get resistance pretty high, like Stone who walks around with 70% to most with one stack of the ATO, 76% with two, and 81% if just using Barrier on CD (not specifically advised as it should be a panic button). Rad's strength lays more on the absorb shield since it is rarer to find from support classes. It really depends on what is done though. Most level 50 normal content doesn't require peak gaming, as you've pointed out, and anything organized we then start entering chained Barriers.
-
What is the best soloing AT combination for hard content?
Sovera replied to FFFF's topic in Archetypes
If you want to start early then a Tanker. Depending on the flavor and twinkage tankers will start soloing at 0x6 by level 4-6 and 0x8 by level 8-10 which, so far, I've not been able to replicate with other ATs. Once at 50 nothing changes except they will slowly whittle away at durable enemies such as AVs (not uncommon to spend 6-7 minutes hitting one in the face) but this is not particularly felt (though spreadsheets show it) during regular missions since low HP mobs combined with Build-up (+Gaussian) allows to keep things moving. Because of this being particularly felt during leveling they actually solo faster at the difficulties I'm talking about. If strictly at level 50 then maybe a Scrapper, in particular if not shy about using inspirations. Bonus if picking up a secondary with an agro aura. Brutes are sturdier than a Scrapper (especially with inspirations in play) but can't match that brutal crit sequence. Mind you this means knowing how to leverage a Scrapper's crits. Stalkers will match a Scrapper's output but further benefit from 90% of the time deciding when and where to start combat. The stealth allows to pinpoint the target that has to go first. But they have no agro auras which will slow everything once it comes to strict mission clearing. Sentinels play well with the initial burst of Aim (+Gaussian) and then unloading nukes and AoEs since that usually murders 3/4 of a group. Especially the hover using Sentinel who then fights from the air. I'd want to say that, about, 15 seconds into the fight the Sentinel has bursted in a way a Scrapper can't match. But after the 15 seconds-ish the Scrapper handily catches up. Further, Sentinels also don't have agro keeping so runners will run even though being ranged mitigates partially. A well built Sentinel can do pretty decent ST damage matching Brutes and outpacing Tankers but still behind Scrappers. To be fair everything is behind Scrappers, even Scrappers not following a rigid build and epics and slotting. Simply picking a Scrapper and expecting big damage is not how it works and double this during leveling. -
They have Consume Psyche with 10 stacks, you had with 0. With 10 stacks yours is
-
Maybe this should be moved to the roleplay section of the forums?
-
Adding to what I said it's not just squishy ATs that survive on overwhelming power. It's pretty much how every AT can make life easier for them. I had my big phase of playing with Fire Armor and I can tell you that I went 0x8 early (except when soloing Posi 1 and 2 because screw Vahziloks and their toxi and -recharge spam, so 0x6 for them) and the difference between melting a spawn and moving on or dying in five seconds... could be those five seconds. Jumping into a group and doing nothing for five seconds could be death against Vhaziloks due to their exotic damage. But, if in those five seconds I did Build-up + Burn + whatever AoE then they melted and I emerged healthy. Semi related if you feel like playing something sturdy and still doing good damage there's the old reliable Fire Armor/Ice Melee Tanker. Frost is phenomenal and available at level 4 (which had me going at least +0x4 right there and then), at 18 there's Burn to help it, and at 20 Ice Patch serves as a mini panic button. Even though Brutes are demi-gods under level 20 the Tanker is a plodding steamrolling machine, and unlike other games it doesn't have a leadership onus to it if playing in a team.