EnjoyTheJourney
-
Posts
888 -
Joined
-
Days Won
1
Content Type
Profiles
Forums
Events
Store
Articles
Patch Notes
Everything posted by EnjoyTheJourney
-
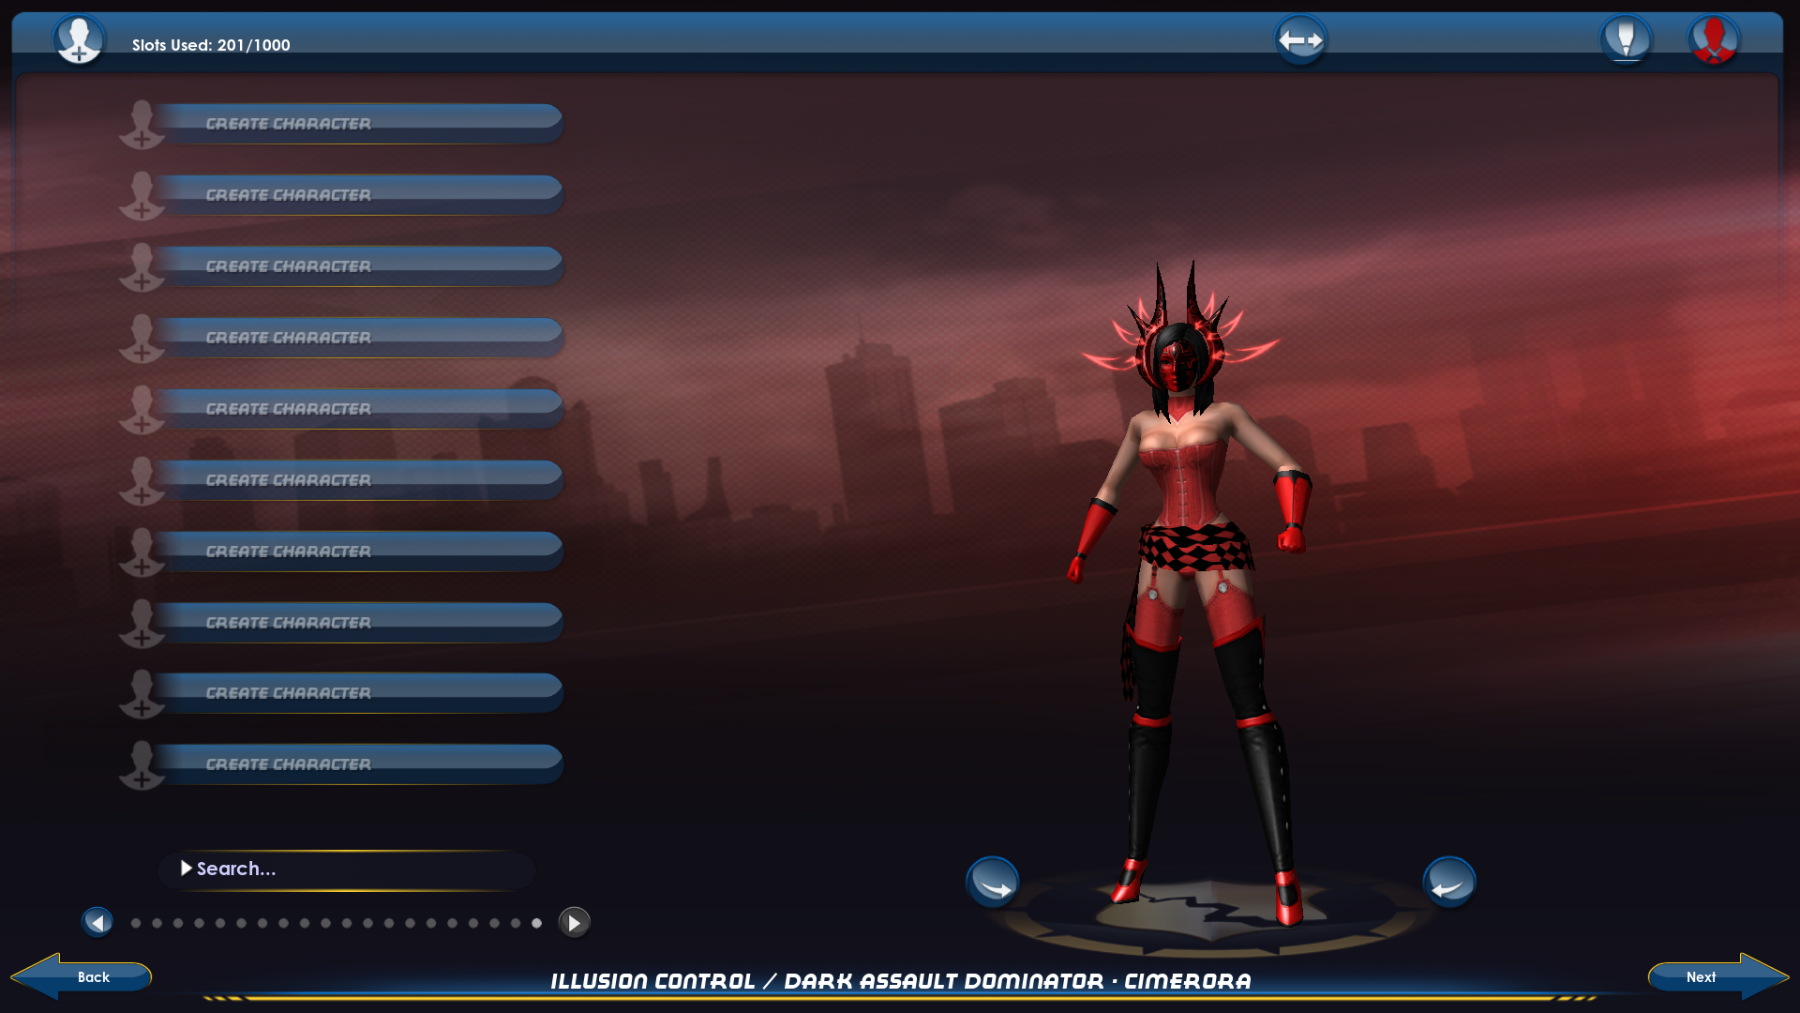
Run Type: pylon test, dominator pylon time contest entry Archetype: dominator Primary Powerset: illusion Secondary Powerset: fiery assault Time in seconds: 64 (727 DPS) - adjusted to 63 (736.5 DPS), see next post Burst: sustained Hybrid: assault radial, activated (also offense amplifier activated) Number of Runs: 2, first run was extremely inefficient Version: Open beta version (sleet already nerfed) Notes: see below Build: attached Notes: The pylon tested against was an "unleveled" pylon, meaning purple patch effects are probably not present. Thus, no adjustments for pet damage seem likely to be needed? Also, this build is a "pylon build" that wouldn't do well in-game. Was interested to see how high damage could be pushed by going all out to increase it. This pylon test was done on the test server. FWIW, the coming nerf to sleet has definitely already taken place there. Not sure how or whether to adjust testing results for that. Leaning toward "leave as is" instead of trying to extrapolate a higher value, given the number of variables involved. Also, began timing as soon as phants were cast, which doesn't fit the "start at first damage" criteria. Not sure whether to deduct all or part of the 3 second cast time for phants when calculating time. Personally leaning toward leaving the timing at 64 seconds because in the past I've seen the earlier-arriving phants start attacking things almost immediately after being cast. I've tried Carnifax's calculator before, but found it hard to use. If there are concerns about this run then I'd be fine with having Koopak or somebody else watch this happen. My chances of winning the dominator pylon test are probably zero anyways, as there are plenty of higher-achieving pylon testers than me. Dominator (Illusion Control - Fiery Assault - Ice Mastery),PylonContest.mbd
-
If you prefer to fight mostly in melee then you've got a number of good choices to consider. Fire / psi and plant / psi are both very good suggestions. Other good primary / secondary pairings include, but are not limited to ... fire / earth (endurance would need to be managed carefully, but very solid combination) plant / fire (this works best mostly from range, but it's really strong for clearing spawns) earth / savage (earth slows things down or immobilizes them and savage provides good mobility options) illusion / dark (very strong single target damage if procc'd up and very survivable) ... Basically, you have lots of good choices. Perhaps you can suggest some thematic combinations you'd likely find particularly interesting and share the kind of content into which you'd like to bring your dom(s).
-

Focused Feedback: Arsenal Control
EnjoyTheJourney replied to The Curator's topic in [Open Beta] Focused Feedback
Agreed, on reflection. On beta I only tried arsenal control paired with arsenal assault. There are anti-synergies there and I muffed the build by not including KB to KD IOs. Didn't really see arsenal control at its best that way. But, arsenal control can work well with either a ranged assault set like fiery assault or the more melee-focused assault sets (which is most of them). On the controller side, one potentially good pairing is probably poison. Getting a /poison troller safely into melee range to get venomous gas applying to mobs is made noticeably easier with smoke canister. -
Focused Feedback: Arsenal Control
EnjoyTheJourney replied to The Curator's topic in [Open Beta] Focused Feedback
It's good policy to not make a lot of last minute changes to a set. Totally understandable point of view. Glad to see that the hold was swapped to T2, that was a helpful change. Arsenal control seems likely to land as a set that could use some love, in the future. Hopefully that idea can be borne in mind, going forward. -
Focused Feedback: Arsenal Control
EnjoyTheJourney replied to The Curator's topic in [Open Beta] Focused Feedback
Illusion control on doms? -
Focused Feedback: Arsenal Control
EnjoyTheJourney replied to The Curator's topic in [Open Beta] Focused Feedback
Doing a bit of theorycrafting for arsenal / poison ... Smoke canister to start, reduce mobs' vision. Start jumping into the center of the spawn with venomous gas activated. Cast envenom while jumping into the spawn. Land, and drop a procc'd up poison trap to damage mobs and trigger confusion. Drop liquid nitrogen for a bit more damage, to make mobs trip and fall, and to debuff their movement so it's hard for them to run away. Fold space when it's available to keep the area filled with mobs. Perhaps other primaries can make this kind of gameplay work better. But, mitigating the alpha by reducing mobs perception range seems like it could mechanically work fairly well. -
Focused Feedback: Arsenal Control
EnjoyTheJourney replied to The Curator's topic in [Open Beta] Focused Feedback
Come to think of it, my last storm controller that I played for a fair while was illusion / storm. That was a solid endgame build and that character did just fine. It's true that containment isn't required for storm to work well. Still, not sure what arsenal control / storm brings to the table that would be meaningfully better than plant / storm (roots FTW!). Shinmagmus does have a point in that /storm tends to be noticeably more damaging when paired with sets that have containment. -
Focused Feedback: Arsenal Control
EnjoyTheJourney replied to The Curator's topic in [Open Beta] Focused Feedback
I haven't played storm on a controller for a couple of years and had totally forgotten that key point. You are correct. A controller secondary that can provide at least some measure of containment, like TA, might be a better fit for arsenal control. That's a pretty narrow niche, though. -
Focused Feedback: Arsenal Control
EnjoyTheJourney replied to The Curator's topic in [Open Beta] Focused Feedback
Liquid nitrogen and smoke canister work well from range, which makes arsenal control a much better fit for a fiery assault dom than ice control could ever be. Also, because of endurance concerns for ice control arsenal control might be easier to match with endurance heavy secondaries such as storm or poison. Considering storm, for example, with KB to KD in place mobs would tend to stay in the liquid nitrogen / smoke canister / freezing rain zone and get defeated by multiple tornadoes and lightning storms. The set that arsenal control would probably compare relatively poorly to would be plant control. Seeds plus creepers is hands down better than smoke canister plus liquid nitrogen. The synergy from pairing two controls together at the start of many battles is also in a way a drawback of arsenal control, as for plant control creepers are usually already pre-cast and are following the caster, leaving just seeds to be cast on point of contact with a new spawn. Edit: Fold space could be really attractive with arsenal control matched with traps, storm, and poison. Once setup has been done just use fold space to keep inviting more mobs to the party. -
Focused Feedback: Arsenal Assault
EnjoyTheJourney replied to The Curator's topic in [Open Beta] Focused Feedback
Did a bit of back-of-the-napkin math a while back, comparing PbAOEs for melee-oriented doms versus cones such as unkindness. Jumping out of melee, aiming, correcting if a bad target gets selected or the pre-selected target dies or moves unexpectedly, finally casting, then jumping back into melee, then re-starting the melee attack chain can turn a 2 second casting animation for a cone into 6 or 7 seconds of time being used up. Thus, the "on paper" DPA from a cone, which as Sovera points out is usually not great anyways, can turn into 1/3 or less of that amount. Generally not a great use of in-combat time to do that. This math doesn't factor in the lost efficiency due to cones sometimes misfiring in a way that substantially reduces the number of targets hit. Given how cones make my doms less effective at helping out teammates, cone attacks do not make my melee-oriented doms move into and out of melee because for those doms cones do not exist. For my plant / fire dom fire breath was taken and it sees a lot of use. Combustion is not taken for that dom because hopping into and out of melee to use it would mean several less seconds of blaze and blazing bolt (a big single target DPS loss). So, for assault sets that can work well from range the logic flips and then it's PbAOEs that become bad choices. Basically, jumping back and forth between melee and ranged to use a single AOE attack tends to be a bad bargain. Not sure why the devs think we want to do that. -
Focused Feedback: Arsenal Control
EnjoyTheJourney replied to The Curator's topic in [Open Beta] Focused Feedback
Ah, got it. Thank you for clarifying. -
Focused Feedback: Arsenal Control
EnjoyTheJourney replied to The Curator's topic in [Open Beta] Focused Feedback
Reviewing the power suggests that it overpowers on 5% of the opportunities to do that and domination activates 25% of the time that confusion activates. Smoke grenade is a confuse-based-analogue to volcanic gasses, which doesn't ever activate domination. Technically, it's a step up on how most pseudopets function to consider overpower or domination mechanics at all. -
Focused Feedback: Arsenal Assault
EnjoyTheJourney replied to The Curator's topic in [Open Beta] Focused Feedback
I do as well, although not for a cone attack. There are usually ways to build around having a cone attack and still get decent AOE; that choice will be more effective and efficient than spending time repositioning just to use a (usually mediocre) cone attack. Less annoying, as well. -
Focused Feedback: Arsenal Assault
EnjoyTheJourney replied to The Curator's topic in [Open Beta] Focused Feedback
If the devs' conception of doms is that they're mostly melee / ranged hybrids, then "mission accomplished", but not necessarily because of cone attacks. Melee oriented doms (most doms?) tend to stay in melee unless there's a survival-based reason for doing otherwise, they're aiming to take out a key enemy away from the main battle (ie: a surgeon on a hard mode ITF), or they're assisting an ally from afar with dispatching a mob that may be defeated before they repositioned to help out in melee. Or, they may back out to survey the scene and decide if and where controls may be used if a battle seems to suggest more control might be helpful. These scenarios happen a fair amount. So, plenty of things other than cone attacks already lead doms to move in and out of melee. For melee-oriented assault sets, at least for me, cone attacks are empty spots in the assault set that are consistently ignored when picking powers. So, at least for me "mission not accomplished" if the goal is to get me jumping in and out of melee to maximize the value of a cone attack. There are plenty of posts on the dom forums that align with that way of thinking, so I'm probably not alone in this. The main exception is that I'm willing to play a melee-oriented assault set with plant control because seeds isn't cast frequently enough to make using it a bother. The same is true for mind control. But, using a cone attack that is available every several seconds isn't worth the time spent repositioning that could have been spent attacking instead. Also, often while repositioning on a fluid battlefield a cone attack will end up hitting few targets because mobs are frequently moving or dying. If there was one power type in melee-focused assault sets that may with many players earn the title "most irrelevant power in the set" it would be the cone attack. -
It seems underappreciated. In case you're looking for a "template" build or two for some ideas about how to make your own build, two sample builds are attached. The builds are not perfect. But, they have a fairly quickly animating single target attack chain. Single target attack chain DPS should be in at least the high 300s or thereabouts, depending on execution and luck. Even without devastating blow the heal activates fairly often and the heal helps to take care of chip damage. The fire mastery build is more focused on being part of hard mode content, so defenses aren't given as much weight and leadership powers are taken. The psi mastery build is intended to provide better defenses for PUG teams and to ramp up damage that can be done to mobs that are wormholed basically on top of your dom (or on top the the team's tank, which you would probably be standing close to at the time). Hopefully these prove helpful. Dominator (Gravity Control - Radioactive Assault - Fire Mastery)Domper,SelfRez,MeltArmor.mbd Dominator (Gravity Control - Radioactive Assault - Psi Mastery),Vigor alpha.mbd
-
Focused Feedback: Arsenal Control
EnjoyTheJourney replied to The Curator's topic in [Open Beta] Focused Feedback
I tried out an arsenal control / arsenal assault / mu dominator on the test server for about an hour or two. The very early levels (1 - 6) went well with the hold taken at level 1 and the AOE sleep taken at level 2. Story arcs in AP and radio missions and a safeguard in KR were done with only set powers, vet attacks, and the free low level IOs from P2W. It was quite fun. After auto-leveling to 50 endgame IOs were put into this dominator and incarnates were taken. The two arsenal control powers not taken were the T1 single target sleep and the T8 AOE hold. A pylon test was done, an office mission in the AE was done (+0x8), and a PI radio mission featuring the newly revised CoT was completed (+4x8). Thoughts about each power taken follow, with some overall notes at the end ... T2: cryo freeze ray - Quite like the animation. It's a single target hold and it does its job. T3: sleep grenade - This seems like it may be a clone of flash freeze from ice control. Mobs will sometimes strike the caster shortly before going to sleep. This skill was given the call of the sandman healing proc and that was it. Very useful when soloing, especially at low levels. Did not use it after turning 50. Could also be useful for over-aggro situations. T4: liquid nitrogen - It's almost as if bonfire and ice slick got merged and the result was a knockdown patch that slows mobs and does some damage. Very helpful, well worth taking. Good synergy with smoke canister (explained further down). T5: cloaking device - It provides stealth at the same level as superior invisibility, it seems, it offers a bit of defense, it accepts a LoTG increased global recharge IO, it provides a good amount of to hit buffing, and it provides resistance to "to hit" debuffs. Only needs its base slot to offer all of these benefits. Very worthwhile to take this. T6: smoke canister - This is a unique approach to confuse powers. Domination may or may not activate, it seems, and overpower has only a small chance of activating. But, since it applies a large perception debuff to mobs it can be useful even for bosses or others to whom the confuse doesn't apply. The "when damaged" condition for making mobs confused is fairly easy to meet, at least for most mobs, by first dropping smoke canister and then dropping liquid nitrogen into the same area. Mobs are less likely to leave the confusion area that way. T7: flash bang - Seems to function pretty much as expected. Worked just fine. T9: gun control - The pet is a bit of a mixed blessing. On the one hand, the gun drone is quite tough and it has a taunt, which can take aggro away from its summoner. On the other hand, because it stays at range when it taunts up to 4 mobs at once those mobs tend to swarm the gun drone. Thus, mobs taunted by gun drone can end up physically separated from the rest of their allies. That can make it take longer to defeat larger spawns. Overall notes ... This set offers effective control options across the full level range, which is good. As a mid-game to endgame feature, the synergy between liquid nitrogen and smoke canister was quite helpful at reducing incoming damage. Not having an AOE immobilize is fine by me, as the set has strengths that can be built around. I will probably explore putting together one or more "arsenal control" builds to try out as a candidate for play on live. Will probably avoid pairing up arsenal control and arsenal assault on live, at least as they now stand; there are currently anti-synergies between those sets. -
Focused Feedback: Arsenal Assault
EnjoyTheJourney replied to The Curator's topic in [Open Beta] Focused Feedback
Tried out an arsenal / arsenal / mu dom for about an hour or two. Tried leveling as a newer player to see how the early part of that experience might go, getting to level 6 with no XP bonus or IOs beyond the freebie IOs and the vet attacks from P2W. Did story arcs and a little street hunting in AP and then switched to radio missions and a bank safeguard mission in KR. Set missions to +0, 1 player, bosses OK. The hold, AOE sleep, and buttstroke worked well together. No defeats for my dominator, but careful play was needed at times to bring that about, especially when street hunting some red clockwork and an ambush came up from behind. Overall it was quite fun, and also nostalgic because many of my characters followed that path in their early leveling (or the hollows route) back when the game was live. After that, this dominator was auto-leveled to 50 and given endgame IOs. With fairly defensive slotting for incarnates (barrier core destiny, cardiac core alpha, melee core hybrid) a pylon test following the usual parameters yielded 324.5 DPS (195 seconds). For DPS the pylon test was in the top 1/3 or thereabouts for doms for which I do pylon tests. As a bit of a caveat, for most of my dom builds there's no pet from the primary. In this case, though, the arsenal control pet was used for the pylon DPS test. Those who execute attack chains better and who lean heavier toward maximizing damage would undoubtedly be able to get higher DPS than that. In short, single target DPS seems to be reasonable overall, neither wildly higher or wildly lower than most other sets. The office mission in Koopak's clear speed leaderboard post (23868 on the test server AE) was cleared in about 10 minutes. The relative slowness of the run had much to do with three main things: lack of familiarity with the sets, knockback, and fear effects from ignite. Regarding ignite, damage seemed to be quite good. But, it repeatedly chased mobs out of areas that were affected by AOE controls and mobs that ran didn't always come back soon afterward. Regarding knockback, the melee knock magnitude was surprisingly high given the nature of the attack. There's already a lot of knocks in the set. So, it would help to have the melee knock turned into a knockdown effect. On a related note, at the level at which I took trip mine the KB was listed as 0.75 magnitude and I didn't check to see if it changed later. Either knock magnitude for trip mine scaled with level or there's an error in the KB magnitude listed. I would have paid the slot tax to put a KB to KD IO in trip mine if I knew it would undermine efforts to efficiently clear missions. Really, though, hopefully the number of knocks in the set and their magnitudes will be re-considered; if a set has 1 slot tax for knockback then that's easier to accept than if it has multiple slot taxes for knockback. Overall, the number and magnitude of the knocks and the fear effect in ignite makes arsenal assault challenging to pair with control sets that rely on AOE patches and don't have an AOE immobilize. That's unfortunate because the most thematically obvious pairing would be Arsenal control, which has multiple AOE control patches and no AOE immobilize. This late into the design process it's not clear what the remedy might be. But, hopefully there can be a way to get arsenal control and arsenal assault to work together better. Edit: Knockback and fear effects were still an issue in a subsequent PI radio mission featuring CoT and run at +4x8. -
EDITED-UPDATED - Doing challenging content with Dominators
EnjoyTheJourney replied to Voltak's topic in Dominator
It wouldn't be surprising if Frosticus was able to solo part 4 of the ITF at +4x8 without any insps, temps, amps, or defeats. One obvious strategy would be to clear trash out the whole area near Rom and then bring in Imperious, put a well buffed spirit ward on him, use the taunt-using earth pet as a distraction if and when Imperious gets into trouble, use drain psyche to reduce Rom's regen, and beat Rom down. It might take a few runs to get a sense of how to best organize that. But, that's a matter practice and patience, and eminently doable. With the use of lore pets that tactic would become even easier. -
A possible solution to the kheldian revamp
EnjoyTheJourney replied to FlammeFatale's topic in Peacebringer & Warshade
If getting people to use the forms is a goal, then instead of having the forms mostly just co-exist, make them synergize better. First, eliminate the inherents (cosmic balance, dark sustenance) that focus on providing buffs based on team composition. That was always conceptually odd. The current other-focused inherents are also of limited value because the buffs received will tend to be hard to predict; most teams will not be organized around providing specific buffs to kheldian team members. The current inherents are also essentially passive, allowing for no active management other than teammate selection based on maximizing some aspect of their inherent. Regarding conceptual oddness, mez protection benefits can come from outside your kheldian body, but only from teammates, and even more specifically, only from teammates who are into controlling enemies. A powerful level 50 tank could be next to your kheldian and their solid mez protection would not help your kheld's mez protection in any way. Huh? Plus, unless that level 50 tank is on your team you won't get any buff from their presence nearby. But, put a level 1 controller or tank or any other AT on the team who is standing 10 feet further away than the level 50 tank and suddenly your kheld gets a buff from those level 1 teammates. Say what? Instead of other-focused buffs for kheldian inherents, provide synergistic benefits across the forms as the kheldian inherents. For example, taking dwarf form provides a small bonus to most resistances in other forms (say 3-5%), low resistance to certain debuffs, and mez protection. Having access to nova form provides a small buff to ranged damage and to recovery across all forms, with the strongest default buff to ranged damage and recovery accruing while in nova form. As a further layer of synergy, spending time in a specfic form improves the extent of the buffs from that form for a fairly significant period of time. Being in human form for a while moderately strengthens controls, buffs, and debuffs. Being in dwarf form for a while modestly increases melee damage, healing, regeneration, resistance to most damage types, and resistance to certain debuffs. Being in nova form for a while could modestly increase range, recovery, and ranged damage for a while. Alternatively, instead of time it could be a kind of "power usage" mechanic that determines buff levels, meaning that as you use a form more you unlock the buffs associated with that form at a certain point (kind of like domination, perhaps, but maybe less binary in nature). Conceptually it makes sense that aspects of each form might provide a measure of help to the other forms, while all have a connection to the same person and the same body. Inherents based on the forms would put new variables under the control of the khelds themselves, something that can be actively managed to help their kheld perform better. In the end that's probably more conducive to having fun playing a kheld than variable and passive buffs provided others. -
EDITED-UPDATED - Doing challenging content with Dominators
EnjoyTheJourney replied to Voltak's topic in Dominator
Adding to the good information provided by Voltak, when it comes to completing hard content Frosticus has done quite well with an earth / psi / psi dominator. The pet is very sturdy, Frosticus supports it well with IOs and skills, and the built-in taunt that animate stone has makes hard content much more doable. That dominator has taken down a fair number of AVs while soloing. You can find relevant threads in this forum by Frosticus and others to learn more, if you'd like. For hard mode play quicksand is really good with an auto-hit, hefty defense debuff and a substantial slow movement debuff as well. For the upcoming LGTF hard mode TF perhaps animate stone will be a good pet to bring along because he is immune to psychic damage. It's also possible that the earth control pet will just get one-shot repeatedly by rikti chief soldiers, just as many players are likely to see happen to their characters. Ice / psi / psi is another powerset combination that players posting in this forum have indicated they use to solo AVs. Not sure how difficult the AVs downed tend to be and I can't recall any specific builds being posted. But, it's being mentioned in case you'd like to explore forum posts and try to piece together some information on how that has been done. -
Challenge Bounty Posted: 2 Billion up for grabs.
EnjoyTheJourney replied to Koopak's topic in Dominator
Thank you for the opportunity to earn some inf and to have a bit of a friendly competition in the month of February. -
I'm quite pleased with what was available, it fits this character quite well. Thanks again for the help.

-
This seems good enough. And, being a real costume it should function just fine. Thank you for taking the time to put it together.
-
Thank you! This character ends up bringing together powers connected to illusion, dark energy, and fire through a poorly administered scientific experiment that went badly wrong. Her powers are a kind of mixture of different carnival of shadows members (master illusionist, dark ring mistress, and seneschal) for ... reasons I haven't worked out yet. Carnie lore pets fit this concept best, at the end of the day.
-
A possible solution to the kheldian revamp
EnjoyTheJourney replied to FlammeFatale's topic in Peacebringer & Warshade
One useful change from a while back was to allow the lowest level human blasts to be useable in different forms. Another helpful change would be to let certain effects of forms become global, instead of only specific to one form. Possible examples ... 1. When you choose dwarf form you get mez protection in all forms. Yes, this means mez protection being constant, just as for VEATs, after attaining dwarf form. It doesn't close the power gap between HEATs and VEATs, not even close. But, it would make it easier and more fun to play a HEAT. 2. Add a small-to-moderate amount of across-all-forms debuff resistances once dwarf form has been selected. Resistance to slows and recovery debuffs would really help VEATs. 3. Slightly improve the melee attack modifiers for human form once dwarf form has been taken. Add one dwarf single target melee attack to the human attack chain. 4. The better single target blast from the nova form becomes available in human form. 5. Slightly improve the damage modifiers for human ranged attacks after taking the nova form. Given how strong an optimized peacebringer single target attack chain can be, care would probably need to be taken to keep whatever changes are being made from becoming completely off-the-chain.