The Beta Account Center is temporarily unavailable
×

Murcielago
-
Posts
824 -
Joined
-
Last visited
Content Type
Profiles
Forums
Events
Store
Articles
Patch Notes
Everything posted by Murcielago
-
Super strength is the vanilla of primaries, everyone wants to play it at least once, only then to realize it's boring. But it still needs to be ported to Scrappers.
-
Rage is basically getting nerfed and it sucks because outside of Rage Super Strength isn't all that super.
-
Being there is a million page thread about Rage changes on the test server "Pineapple" it looks like the devs are maybe possibly getting ready to port Super Strength to other ATs ala Scrappers?
-
 This isn't a good idea for the exact reason you posted. I'd much rather get occasional hints and then have an Issue dropped on us and we all scream like school children in excitement.
 -
k
-
A four page thread disagrees with you.
-
-
I enjoy the ITF
-
I prefer mine grass fed and finished. I usually sell mine to rich Irish landowners.
-
issue 26 Patch Notes for September 10th, 2019
Murcielago replied to Leandro's topic in Patch Notes Discussion
-
I should add a poll to this thread, it seems like the general consensus is: Normalize the range and AoE cap Change Opportunity somehow. Less agreed on: Increase damage
-
-
Shield Defense is always the answer.
-
Playing an Archery/SR Sentinel I really have not had a hard time playing this character, it's been a smooth but slow ride. I cannot help but feel that Sentinels were undertuned for fear of them being OP from the gate. Range + mitigation has a recipe to be the Titan Weapon/Bio of ATs. So if you were part of the homecoming team, how would you buff, if at all, Sentinels? For starters I would like to see them have their range brought closer to Blaster level and have the same AoE cap.
-
Whats Peeps thoughts on Regen with a Scrapper?
Murcielago replied to Kid Durin Danark's topic in Scrapper
I wish it were like the old less click version -
I love that this thread will not die.
-
Considering how subjective game play is I'd argue that asking for opinions is completely arbitrary. Out of the people who have responded two have said Brute, one of which is vague at best, the other a stalker so I wouldn't call those opinions extremely helpful. OP can get first hand experience on Pineapple and play the game there rather than hoping to get a well thought out response here.
-
Whats Peeps thoughts on Regen with a Scrapper?
Murcielago replied to Kid Durin Danark's topic in Scrapper
Regen and SR are winners in PvP btw. Mix in a little phase shift and watch your opponent burn with frustration. -
I wouldn't try soft capping on a resistance set. I'd aim for around 30% to all positions or s/l/e and call it a day. Mixed damage mitigation secondaries are strong and pretty.
-
Anything Bio is an outlier on almost any AT e.g. TW/Bio scrappers are monsters.
-
You can download Pineapple and try them all with minimal effort.
-
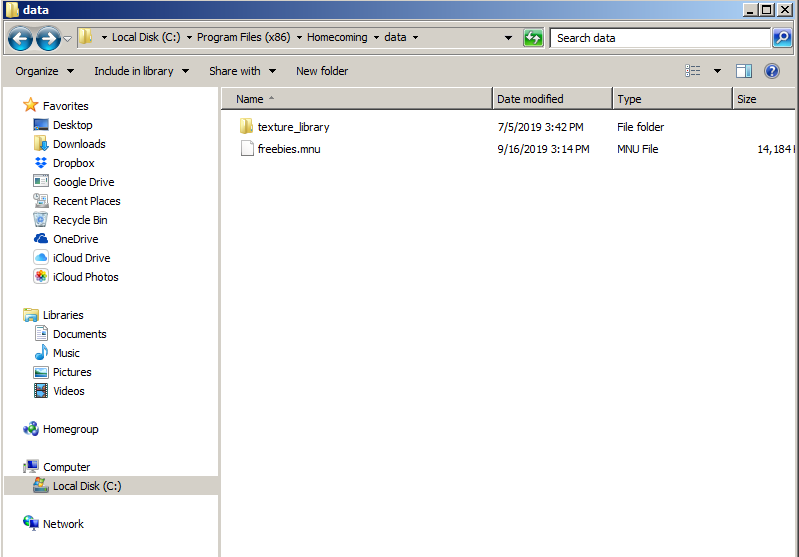
So I need to add three more folders? Edit: I give up, this is why I never majored in computer science.
-
I saved mine here but nothing is happening

-
Whats Peeps thoughts on Regen with a Scrapper?
Murcielago replied to Kid Durin Danark's topic in Scrapper
I didn't choose the click life, it chose me. -
It depends What your playstyle is like What you prefer What primary you're choosing What secondary you're choosing But ultimately just pick one and try it out. If you don't like it, re-roll it and play it as the other AT. Or just log into Justin Pineapple and try out both without much time invested.