The Beta Account Center is temporarily unavailable
×


Spaghetti Betty
-
Posts
1523 -
Joined
-
Last visited
-
Days Won
16
Content Type
Profiles
Forums
Events
Store
Articles
Patch Notes
Everything posted by Spaghetti Betty
-
-
 It's hard for me to answer this, because I have an aversion to support toons. No particular reason. I just like playing Melee ATs more. I find myself liking Dual Pistols better on my Corruptor. I've tried Elec blast on a couple of ATs, but I like it on Defender the best. Other than that, I can't really comment much on ranged sets. Unga bunga melee brain and all that. I think it goes without saying that RES-based armors are gonna be way stronger defensively on a Tanker vs a Scrapper or Brute. There's also caveats to that as well. Rad Armor and Bio Armor are great on Scrappers because of the hybrid protection (Absorb is just that good) and offense (proc nukes, -RES aura) they bring. But personally, I couldn't find myself making a Fiery Aura or Elec Armor Scrapper. Just a little too squishy. DEF-based armors really fit in anywhere. I have SR Scraps and Tanks that are very safe. Really, this could be an essay in itself, so I'll stop now. I'm pretty sure this has been debated pretty recently, but I can share my own experiences. After playing Staff Fighting on a Scrap and Tank, I will pick the Scrap every time. The Tank puts me to sleep. I like SS on a Tank more, but that's due to the safety of Tanks. Fire Melee feels better on Tanks because of the extra AoE. Ice Melee is just great on every AT. I honestly can't give you a solid answer to this question, because I don't even know. The toons I make just end up satisfying an itch I didn't know I had until I start playing. I like my AR/TA Blaster because it goes dakka dakka dakka. I like my Rad/SS Tank because it goes boosh. I like my Ice/Stone Scrap because it has a funny name.
 -
I batSmashed, left flowers, and even cuddled for a bit. Close enough?
-
That's how I've won almost all of my days. As recent as... January 31st. 3 days after my birthday!
-
Overall I don't see any major problems with the tweaks you made. If you find the Heal procs working better for you, then great! Personally, the Slow RES you get from the 3-piece Synapse Shock is non-negotiable, but I always try to build as much as possible. Getting your recharge debuffed at all is super lame, but in the grand scheme of things, 10% won't make too much of a difference if it's not capped. I like the D-Sync in Active Defense. I never even considered that. I will promptly be stealing that for my builds. I agree about Whirling Mace. I would've loved to drop a 6th slot in there, but we're dancing a fine line between toughness and damage, and if I had to give up 1 slot, it would be there. Now if it did KD, that would be a completely different story. IMO if you wanna go forward with this then you are good to go. Oh, and bring Ageless for soloing!
-
Control the altitis? Nope. No. Nuh uh. Absolutely not. Impossible. If it's working for you, then that's great! I can't. I simply have to let it take control or I will combust. My process is I will randomly just have ideas for 3 alts at a time. I'll make all 3 of them. Will I play them? Who knows. But now they're there. I think the longest I've gone without making a new toon is probably a few weeks tops. How long I stay on and how often I switch is simply left to the powers that be. Sometimes I'm playing a different toon every day. If I'm lucky I'll play something long enough to make it to 50+. Good luck on your journey!
-
Is this a troll thread? It feels like a troll thread.
-
I spend about 45 minutes in Mids patchworking something together and go, "Yup, that's pretty good." Then it isn't pretty good, and I'm sad.
-
Did somebody ask for ideas on a fully pimped out, aggression style Shield/WM Tank? Data Link:
-
Noooo! My ego inflator!
-
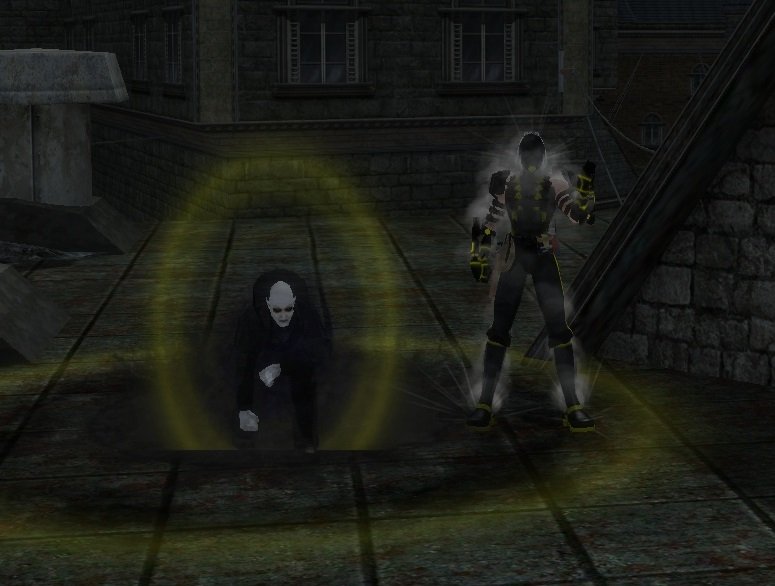
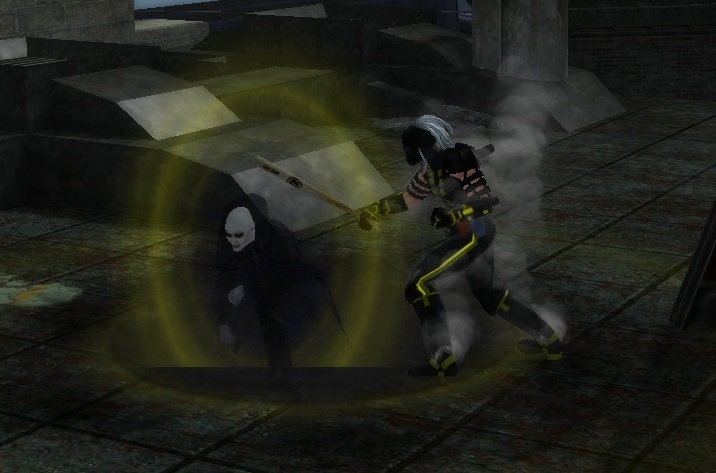
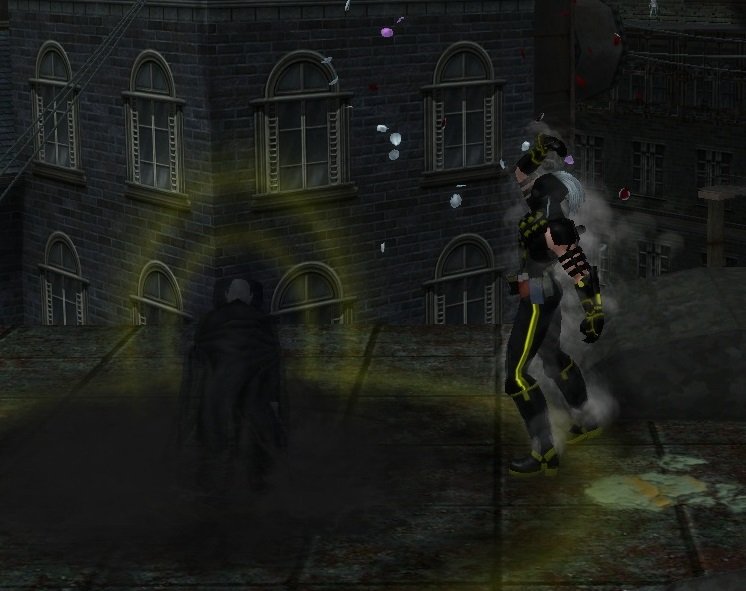
Wow! I've been looking for footage of this animation forever! Thanks!
-
Outside of vidiotmaps, I've never had the need to mod anything in CoX. I felt like the game has always done a pretty decent job at giving you tools to track what you need as the game progressed, provided you're willing to learn how to do it. Compare it to something like WoW. I had to mod the hell out of the UI there just so I can keep track of everything while raiding. Here, we have full ability to customize our UI how we see fit, down to number of trays, chat channels, displayed stats, and where you want it to sit on the screen. It's not perfect at all, but way above average QoL from a typical MMO. Special shoutout to DCUO for having the worst UI ever. As far as 3rd party software goes, I'm a smelly Mids user. I probably spend about as much time in Mids as I do in-game. I just simply don't have the chops to build as I go when progressing a toon. I make one mistake and I'm like, "Good job, dummy. Now go plan it right." I see no mention of the folks that work on SFX mods for the game. They do great work. That's the one thing I wish I had the patience to learn how to do. The first thing I would change is giving StJ sounds from Tekken.
-
I'm really glad the boss can't Base TP and reset the mish when they're losing.
-
Post your best costume designs here!
Spaghetti Betty replied to ChanelNo2's topic in Art & Multimedia
The Jungle Dweller, Broadsword/Dark Armor Stalker- 8155 replies
-
- 12
-

-

-

-
Post your best costume designs here!
Spaghetti Betty replied to ChanelNo2's topic in Art & Multimedia
Rose Tinted Goggles, Trick Arrow/Radiation Blast Defender- 8155 replies
-
- 19
-
-
-
Keep it cool, it's just a simple question.
Spaghetti Betty replied to twozerofoxtrot's topic in Scrapper
It's a great combo! One of my faves. -
Keep it cool, it's just a simple question.
Spaghetti Betty replied to twozerofoxtrot's topic in Scrapper
For my Ice/Stone scrap, I dropped it in GIS. It has a medium proc rate and sets up for Freezing Touch to hit like a truck on top of another truck. Most things are dead before I start seeing any kind of diminishing return on the proc. -
Now I understand why Bio is so popular.
Spaghetti Betty replied to Luminara's topic in General Discussion
Love Gorillaz ♥️ -
Lint rollers, yes, to keep your business suit snazzy on your airline fight you booked through the Homecoming Forums.
-
-
-
For me, they generally get stuck in the first AoE I can pick up to make progression smoother. A lot of my Tanks will blitz through 1-20 this way.
-
Now I understand why Bio is so popular.
Spaghetti Betty replied to Luminara's topic in General Discussion
Actually, this is my favorite thing about Bio; becoming a Trash Lord.