Erratic1
-
Posts
3081 -
Joined
-
Last visited
-
Days Won
13
Content Type
Profiles
Forums
Events
Store
Articles
Patch Notes
Everything posted by Erratic1
-
Yeah, you can be some other guy. 😄

-
 Nope. The website the link goes to has an invalid certificate which causes problems for people who dislike disabling security to see your build. The hex code will import and doesn't risk a thing. If you want me to look at your build in Mid's, there had better be hex.
 -
Shield done right doesn't really need it but you could always make a DM/Shield or Rad/Shield character if you want healing. The charge is a pseudo-pet which derives is damage value from class base damage values. Brutes have a low value which gets augmented by Fury for their normal attacks but does not impact Shield Charge. That is what makes people point to Scrapper/Stalkers/Tankers (higher default defense values) for Shield over Brutes.
-
contest Slot Machine's Random Challenge - 2022
Erratic1 replied to Troo's topic in General Discussion
How/what does one win? 73-50-95: Energy/Willpower Sentinel...bleech 25-71-77: Psychic/Thermal Corruptor...unusual 38-57-58: Rad/Ice Defender...different -
If you lived in City of Heroes/Villains
Erratic1 replied to FenrisWolf44's topic in General Discussion
Steel Canyon seems to have the least problems (gangs for the most part and the occasional clockworks), park space unburdened by murderous plants, and a university--which suggests some amount of business aimed at a young crowd and the attendant atmosphere. You are also unlikely to enter a high rise building to find the sewers, unlike Peregrine Island (let alone killer clowns, aliens, snipers, etc.). -
Did you intend to have no movement power? Perfectly fine if not and you're planning on snagging something from the P2W vendor but thought I'd ask. I moved a very few things around to give you more S/L resistance, bringing things up from 77% to 80%. The closer you get to 90% the increasingly survivable you should be. Being lazy I was not prepared to do a full rebuild so tweaked what you had. Also slotted boosted Recharge Reduction in Hasten (stole a slot from Punch) to get you closer to peram-Hasten. | Copy & Paste this data into Mids Reborn : Hero Designer to view the build | |-------------------------------------------------------------------| |MxDz;1556;717;1434;HEX;| |78DA6594594F534114C7677A07A1A5A5D45AD616BA086D299696C515E306BC40131| |6A3C697DAC8004DB06D6E6F13FD168A313C088A5B7C326E7C01BF8D1B68A2467DBA| |9EDE7326D4DC9B34BF9EFFCC5967EECDDD9E72AFACCC9C67BCF5D27AA15ACD5FD46| |B866CC9D58C82512C9734064F33FC7A2C3D9F93EB52A6976A15A9E7970C5D96568D| |B5102E4DC91559AACAF46261B968F9E62FE8B7CA3A73CD97CBEBE9A58A94CB6EEBE| |F9C2C548AA5558F65CC1457D70CB0BC6A6959EAD5B56225305D29DE4C53D25A3E57| |A81A52BFD30595A4E017E14C3DA6C6E60151C11C0BC4CB48B1887C35084407B389F| |D8496B24E267E210FFD21FE45B674C2CE1030098C3B5914C0C959F0BB023609E6BA| |47DC40BAEF131F2067938C69E4C4B44D8725C64068526534ED60BAB627C8F6A7C46| |7C8C3CF892F90031C8FC1726E4E392CF1C8107110D9912026915D71CCFC0606E054| |999D34802E1A400F0DA0871A0E8EA21DFCAD59CEAFC1B9550DA035C32DB12F4B1C2| |792737802ED28D4EAA172B9A77E62D9661626BE85885E6E9D8829BC414C178E60BA| |481FDA917E6218D901117D5406F705B825C66671F11D44F45344E6FF005DFB9D8C8| |347806A6001131EA681D44941B44E1A448C0611A3411CA55E12806E35B56EB7C045| |0FB10D39E825B6137DC8F75051AF72EEFD8891E37BC44FC4CFC8E417E257A40FCA0| |CA95E43D46B72024CA1B17A75FDEA26F49FC5931E9A249E249E460E9F219EC29B70| |031244D5C58C1EC788BB50EB004514035BD8C0F036F2D823E263E20EB200911214C| |99118C5F02363C41348018DA4D4A6143532B28F279DFD817C091725AD6A4A4F624D| |71103274A28ECCC3FA8982C716711B3923AC177BBABEC90C8A834F42DD86E39EB34| |BF3427D0A40E296B4E73A78C349DAB74BDFFE93AEE035FFDE2072BE89B36EDBA033| |B067CFD8A5AC5D1AB34BE376C9D90EDF1892CC1D3FA454C6B9BA4155990BAE8695A| |B8DC6B546E37AA3F10F85F3F6CF| |-------------------------------------------------------------------|
-
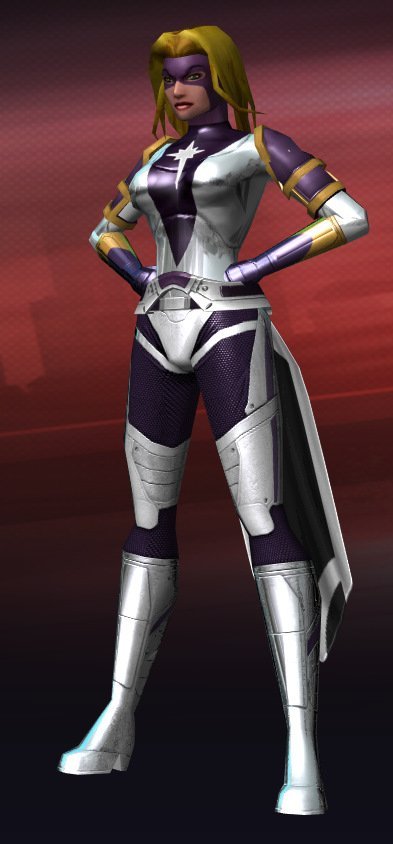
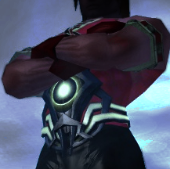
Oh the joys of wrestling with Tech Sleek. My character Mind Blaze (male) worked with that costume and color theme (less the gold). I am guessing you are leaning more heavily into the Emma Frost side of things for color while leaning more Carol Danvers in costume feel (warrior versus pyschic). At a first go, I thought I would try dropping gold from the costume and not wandering too far from the base you've provided. Then I added the gold back in, included a chest symbol to match the name and the one on Captain Marvel's costume. Shame the Alpha chest aura sits away from the body on women otherwise I would have gone for the effect you see in my avatar image to the left: EmmaDanvers.costume EmmaDanvers2.costume Work permitting, I will try to update this post with another costume later today.
-
Back on Live I had a wonderful DM/Elec. I have an Elec/Rad Tanker who struggled in terms of endurance until he could get the cooldown on Energize down sufficiently. On a Brute you would probably need to do the same with regards to Energize or suffer endurance issues as well. But as a plus you would have Fury backing your damage auras.
-
While you have to satisfy yourself, in dpa terms it is roughly equivalent to Knockout Blow. If you're focusing on single target damage, it would seem to be a real plus. Personally, I went with Earth Mastery, but I was working with a different imperative.
-
That entire Tank to Brute translation bit where you have to sink more slots into bringing up Resistance/Defense is where the problem begins and usually hard choices have to be made.
-
Foot Stomp, Rage, and Knockout Blow are definite, must haves and a case could be made for Haymaker. I see no compelling reason to ever take Hand Clap. The other attacks are to taste--take/skip them if you want. On the upside, this leaves you room to take other powers (like Cross Punch, which can help your general lack of AoE options). I have nothing against Super Strength (my SS/Bio being my most perfect creation to date), but have you considered Energy Melee? It is slightly less fixated on single target damage but still quite good at it.
-
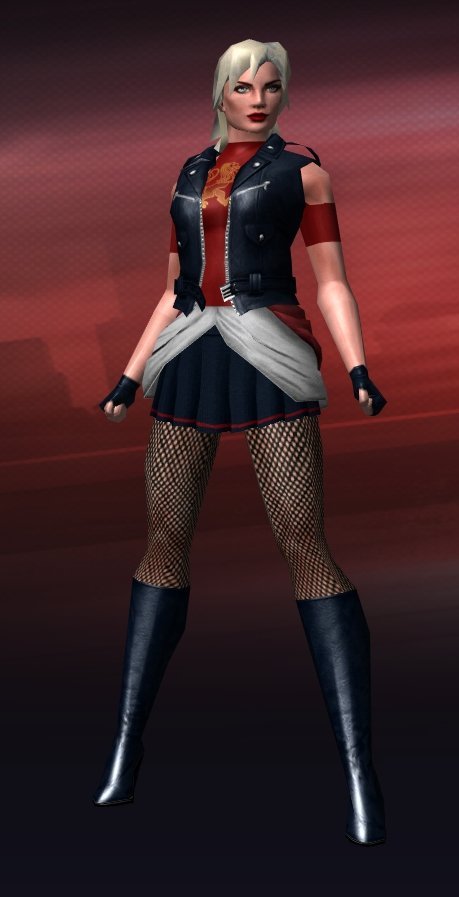
Sadly not an option for Sleeveless Jacket. So you are correct, I should have questioned why women in sleeveless jackets do not get the Champion belt.
-
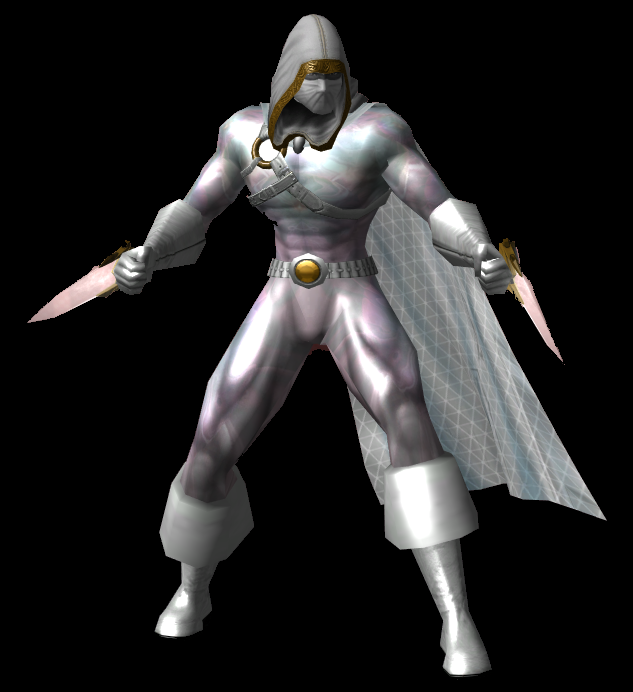
My plan for this year is to focus on the triplet of characters who recently made it to 50 (you've seen them here--Bronze Magus, Empowered, and Earthshock). So I had intended to leave the itch I have felt for a couple of powersets unscratched. But inspiration sometimes arrives unexpectedly.... I was on an Annie Lennox kick and was watching the video for Missionary Man and I mean come on...how can one not be inspired by Annie Lennox? *Sigh* Why does the Champion belt not exist for women? And you know, while Annie Lennox always looks awesome replicating her palette from the video was not completely satisfying in the costume creator. Well, if I am wandering away from slavish devotion to the video, let me cross another line I try to avoid--national flag themed heroes. One thing led to another, and I think I have the costume for the Claws/Invulnerable character I am waiting to make:
-
Corr to play with my son's Titan Tank...??? Father Son Duo Time
Erratic1 replied to ATM Machine's topic in Corruptor
Well it could very well be split-second death for the corruptor in the duo, just not so much for the brute (usually). 😁 I do agree however that missing heals and lack of rez is a downside for Kinetics, but given Fulcrum Shift, Transference, and Speed Boost it needed some. For the more risk averse /Dark is a good choice. -
Corr to play with my son's Titan Tank...??? Father Son Duo Time
Erratic1 replied to ATM Machine's topic in Corruptor
The Brute should never be getting so low in life that a missed Transfusion makes much difference. As for the corruptor, if there is particular concern about a missed transfusion making a difference then taking Water as primary give a self-healing attack. I can say from having taken one to 50 that Water/Kinetics is a lot of fun. That said, I do agree with you on */Dark being a good choice for bringing an element of control that would be missing with Kinetics and would be handy when paired with a Brute. If one really wanted to play up the control angle, Ice/Dark though I do not feel that combination is necessarily head and shoulders above other */Dark choice one could make. -
Corr to play with my son's Titan Tank...??? Father Son Duo Time
Erratic1 replied to ATM Machine's topic in Corruptor
Seismic/Kinetics Seismic, on top of being fun for you also does a fair amount of knocking things down or knocking things up, so your son will face fewer attacks because things are on their butts. Kinetics will keep you and your son topped off on endurance, enable faster cycling of powers with its +Recharge, and of course buffs damage--something good to have when neither AT involved is a primary DPS AT. -
They would be even more fun for people new to them if groups did not rush them. But do any TF enough times and the story slowly emerges.
-
Absorb shield plus the ability to push regen to incredible levels. But yeah, being defense debuffed it not as carefree as not being defense debuffed.
-
Performance Shifter Proc Slotted in Accelerated Metabolism?
Erratic1 replied to Wreckoning's topic in General Discussion
Ahhh...sweet! *runs off to plan on where to use them on various characters* -
Performance Shifter Proc Slotted in Accelerated Metabolism?
Erratic1 replied to Wreckoning's topic in General Discussion
Guessing you never exemplar? -
Bio is a hybrid set which relies on a mix of defense, resistance, regen, and absorption. If something debuffs a Bio's defense there are other tools to rely upon. The most notorious defense debuffers, Cimerorans, primarily deal in S/L damage. As a Bio you should have capped S/L resistance and be mocking them, "Oh no! You debuffed my defenses!"
-
I team for Trials/TFs and radio runs and otherwise solo. As for teams, how often I am around 8 opponents is variable depending on: How itchy is the Controller's trigger finger How many other melees are there engaging portion of the crowd Is there a @#$@# Energy Blast blaster, corruptor, defender, dominator, or sentinel about And on a team there is a significant chance buffs from other players are providing a bigger boost to my dps than my own +Recharge. If I want to be sure to have 8 foes nearby I am probably better off going solo. 😁
-
Well, the context of the statement was low level, without IOs so proc'ing was off the table. 😛 But yeah, a finished build with set bonuses will derive a bit more benefit. I have no money on EM/Rad being better, equal, or worse of a pairing than EM/Bio. That is surely in the eye of the beholder.
-
I did not say +Recharge makes one more survivable (though it does in that you beat down your foes before they beat you down). I was saying that in order to get a significant amount of recharge one would have to be able to survive the number of nearby foes to generate it. The point was I have doubts about how meaningful +Recharge can be unless you're taking on groups of 6-8 opponents at a time--something which a character at low levels will have difficulty surviving. 10% base + 2.5% per foe around you. To be at 30%--roughly the benefit of having slotted a +Recharge SO/IO--you would need 8 foes. At level 20 I am not generally fighting 8 guys at once but YMMV. Edit: Wanted to say that I have considered an EM/EA character because of +Recharge. What stops me is I have NEVER made a character with matching primary and secondary. May be a good reason to consider an EM/Rad instead. Or perhaps a Rad/EA. 🙂
-
At low level you do not have +Recharge and even when you do without IO bonuses your survivability it not going to be allowing for a significant amount of +Recharge generating foes to be on you (though any amount is more than nothing). Yeah, I do not tend to run Offensive on Bio (brute) as I have built to have Efficient on and do not leave that stance often. But there are people who do build to have Offensive as their default on state and as Bio is a hybrid armor set a significant portion of one's survivability is predicated on Defense, Absorb, and Regen, not Resistance (other than Smashing/Lethal). Still, building only towards the end build is not something I tend to do.