The Beta Account Center is temporarily unavailable
×

dtjunkie
Members-
Posts
246 -
Joined
-
Last visited
-
Days Won
2
Content Type
Profiles
Forums
Events
Store
Articles
Patch Notes
Everything posted by dtjunkie
-
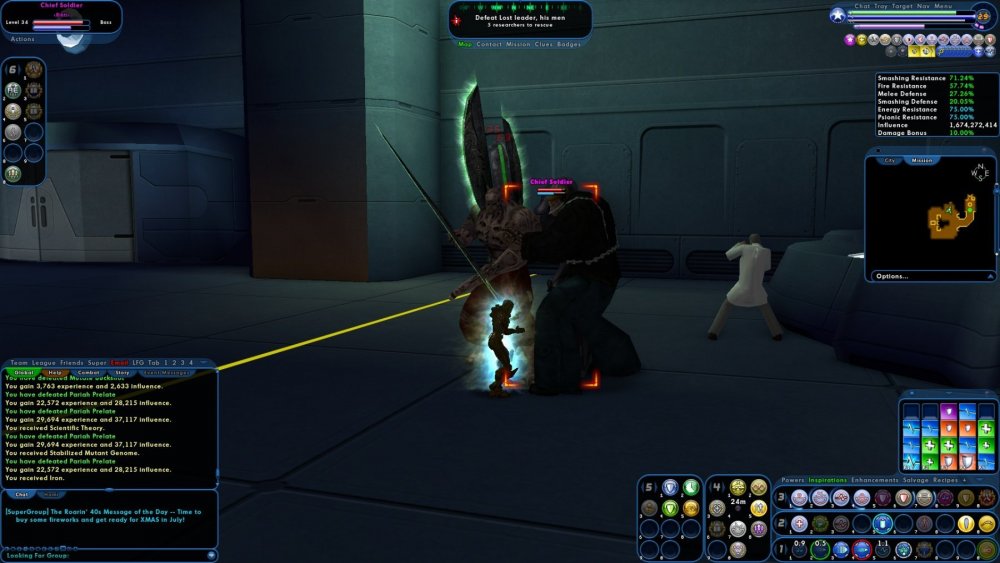
I find the delta between the EB version of an opponent and the AV version of the opponent to be very large no matter who or what level the opponent is. I find fighting an EB is much much much closer to fighting a boss than fighting an AV (e.g., on the difficulty scale in my OP I would have most bosses at a 2, most EBs at a 3, with AVs / Heroes at 10). Where would you put EBs? Do you feel they are closer to a 7 or 8?
-
I agree that Nosferatu, Veles, and Longbow Ballistas are good examples of tougher EBs. I wish more EBs were like them.
-
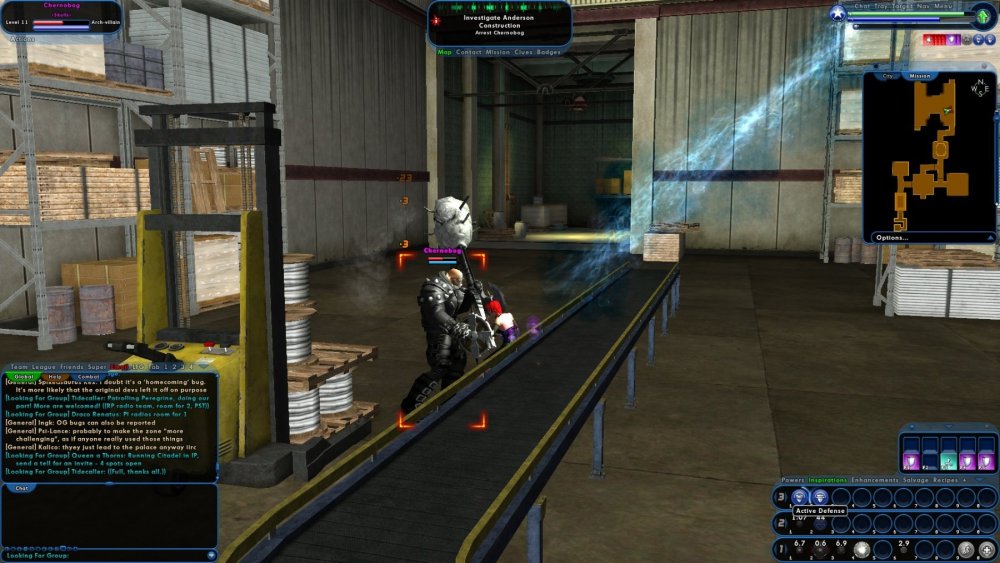
On my DPS toons I can usually get past Chernobog and Morana as AVs (my go to strategy is to use medium lucks to cap defenses) but by the time I get to Veles I always have to crank it down to EB.
-
I think this video also illustrates the difference between an AV and an EB 😂
-
The way I've been thinking about this is classifying the opposition on a 0-10 challenge scale, with 0 being minions and AVs / Heroes being a 10. I feel that on this scale Elite Bosses are about a 3. I was thinking that I would prefer EBs to be more in the 7-8 range on the scale. My reason for bringing this up is that I like to solo story arcs so I can take my time and really read all the clues and contact stories etc. However, I often find it anti-climatic when I get to the end of this giant RWZ storyarc that has led me through 4 contacts and culminates in this huge battle with a Rikti Warlord and then whoa! cutscence shows up, but then I defeat the EB big baddies easily and quickly. When I switch the difficulty to AV I typically have to pull out all the tricks. The envenomed daggers (hopefully I remembered to stock up!). The inspirations. The Tier IV Lore Pet. Do I have any War Wolf Whistles left? I guess I was just wondering if anyone else felt that EBs are much closer to a boss than an AV. A fight with EB Nemesis is barely more challenging than a fight with a Fake Nemesis boss. I'd like that Epic Boss fight to be , well a little more epic, but without me needing to make sure I have the perfect recipe of -regen and temp powers on hand. To sum, I feel like when soloing that final boss fight I'm stuck choosing either "Can I play Daddy?" or "I am Death Incarnate" and it would be cool to have the "Bring 'em on!" option.
-
I am standing by, ready to punch the things.
-
Have you tried SS? Take Hasten, add some LoTGs in there, and then go to town with a proc'ed out rage fueled footstomp that recharges every few seconds. And you have KO blow for whatever boss is left.
-
Had a lot of fun! That Terra Volta room is always a blast.
-
See you were thinking storylines I was thinking Man I want to see Freak Tanks punching Greater Devoured.
-
Yes, I was in Granite and at about 40% on Negative Energy Defense. Only at 19% for the Electric Armor tank.
-
Thanks all! That makes sense. I was confused because the other tank on the team didn't appear to be getting stunned (perhaps I was attracting all the aggro) and my stone / ax tank wasn't stunned the few times he ran this (but the difficulty was probably only +1 so I guess the mag 100 stun kept missing)
-
Sign me up for hordes of DE assaulting the Freakshow Shanty town in Crey's Folly. Let's put Dreck in charge of Carnival Town and Terra in charge of the DE and let's gooooooooooooo
-
I was running a 4/8 Dr. Kahn TF with my Electric Armor / Super Strength Tank. Everything was super smooth until the fight with Reichsman. I was repeatedly Stunned during the fight, and twice I was killed very quickly (too quickly to make a BF and hit Energize for example). I'm not familiar enough with Reichsman to understand how he was doing this. I've tanked this TF with other powersets previously and not encountered this. My build is below if it helps. This Hero build was built using Mids Reborn 3.2.17 https://github.com/LoadedCamel/MidsReborn Click this DataLink to open the build! Power Hitter: Level 50 Science Tanker Primary Power Set: Electric Armor Secondary Power Set: Super Strength Power Pool: Fighting Power Pool: Leaping Power Pool: Leadership Power Pool: Speed Ancillary Pool: Energy Mastery Hero Profile: Level 1: Charged Armor -- UnbGrd-ResDam(A), UnbGrd-ResDam/EndRdx(3), UnbGrd-ResDam/EndRdx/Rchg(3), UnbGrd-Rchg/ResDam(19), UnbGrd-EndRdx/Rchg(19), StdPrt-ResDam/Def+(21) Level 1: Jab -- SprGntFis-Acc/Dmg(A), SprGntFis-Dmg/Rchg(5), SprGntFis-Acc/Dmg/Rchg(5), SprGntFis-Dmg/EndRdx/Rchg(11), SprGntFis-Acc/Dmg/EndRdx/Rchg(13), SprGntFis-Rchg/+Absorb(27) Level 2: Punch -- SprBlsCol-Dmg/EndRdx/Acc/Rchg(A), SprBlsCol-Acc/Dmg/Rchg(7), SprBlsCol-Acc/Dmg/EndRdx(7), SprBlsCol-Dmg/EndRdx(9), SprBlsCol-Acc/Dmg(9), SprBlsCol-Rchg/HoldProc(11) Level 4: Haymaker -- KntCmb-Acc/Dmg(A), KntCmb-Dmg/EndRdx(13), KntCmb-Dmg/Rchg(15), KntCmb-Dmg/EndRdx/Rchg(15), TchofDth-Dam%(17), GldStr-%Dam(17) Level 6: Static Shield -- Ags-Psi/Status(A), UnbGrd-EndRdx/Rchg(31), UnbGrd-ResDam/EndRdx/Rchg(31), UnbGrd-ResDam(31), UnbGrd-ResDam/EndRdx(33), UnbGrd-Rchg/ResDam(33) Level 8: Grounded -- UnbGrd-ResDam(A), UnbGrd-ResDam/EndRdx(33), UnbGrd-ResDam/EndRdx/Rchg(34), UnbGrd-Rchg/ResDam(34), UnbGrd-EndRdx/Rchg(34), GldArm-3defTpProc(36) Level 10: Taunt -- Empty(A) Level 12: Energize -- Prv-Heal(A), Prv-Heal/EndRdx(46), Prv-EndRdx/Rchg(46), Prv-Heal/Rchg(46), Prv-Heal/Rchg/EndRdx(48), Prv-Absorb%(48) Level 14: Boxing -- Empty(A) Level 16: Tough -- UnbGrd-ResDam(A), UnbGrd-ResDam/EndRdx(36), UnbGrd-EndRdx/Rchg(36), UnbGrd-Rchg/ResDam(37), UnbGrd-ResDam/EndRdx/Rchg(37), UnbGrd-Max HP%(37) Level 18: Lightning Reflexes -- Run-I(A) Level 20: Knockout Blow -- KntCmb-Acc/Dmg(A), KntCmb-Dmg/EndRdx(21), KntCmb-Dmg/Rchg(23), KntCmb-Dmg/EndRdx/Rchg(23), Hct-Dmg(25), Hct-Dam%(25) Level 22: Conductive Shield -- UnbGrd-ResDam(A), UnbGrd-ResDam/EndRdx(43), UnbGrd-EndRdx/Rchg(43), UnbGrd-Rchg/ResDam(45), UnbGrd-ResDam/EndRdx/Rchg(45) Level 24: Weave -- ShlWal-ResDam/Re TP(A), LucoftheG-Def/Rchg+(40), Rct-ResDam%(43), LucoftheG-Def(45) Level 26: Power Sink -- RechRdx-I(A) Level 28: Combat Jumping -- LucoftheG-Def/Rchg+(A) Level 30: Super Jump -- BlsoftheZ-ResKB(A) Level 32: Lightning Field -- SprMghoft-Acc/Dmg(A), SprMghoft-Dmg/Rchg(42), SprMghoft-Acc/Dmg/Rchg(42), SprMghoft-Dmg/EndRdx/Rchg(42), SprMghoft-Acc/Dmg/EndRdx/Rchg(48), SprMghoft-Rchg/Res%(50) Level 35: Rage -- RechRdx-I(A) Level 38: Foot Stomp -- Arm-Dmg(A), Arm-Dam%(39), Arm-Dmg/Rchg(39), ScrDrv-Dam%(39), ExpStr-Dam%(40), PrfZng-Dam%(40) Level 41: Assault -- Empty(A) Level 44: Maneuvers -- LucoftheG-Def/Rchg+(A) Level 47: Conserve Power -- RechRdx-I(A) Level 49: Hasten -- RechRdx-I(A), RechRdx-I(50), RechRdx-I(50) Level 1: Gauntlet Level 1: Brawl -- Empty(A) Level 1: Sprint -- Empty(A) Level 2: Rest -- Empty(A) Level 1: Swift -- Empty(A) Level 1: Hurdle -- Empty(A) Level 1: Health -- Pnc-Heal/+End(A), Mrc-Rcvry+(27), NmnCnv-Regen/Rcvry+(29) Level 1: Stamina -- PrfShf-End%(A), PrfShf-EndMod(29) Level 30: Double Jump ------------
-
I feel this pain. I just blew 900M on 10 recipes (was trying to bid 90M).
-
Any surprises you've come across with Alpha slotting?
dtjunkie replied to biostem's topic in General Discussion
No matter what I try the answer always seems to be the same. Musculature Core Paragon, because the best defense is more offense. -
Have They Ever Addressed Whether Companions Can Be Fixed?
dtjunkie replied to Arnabas's topic in General Discussion
I'd be happy if ranged companions would stop entering melee. Hey Fusionette I'm doing my best here, but I can't taunt away those AOEs. -
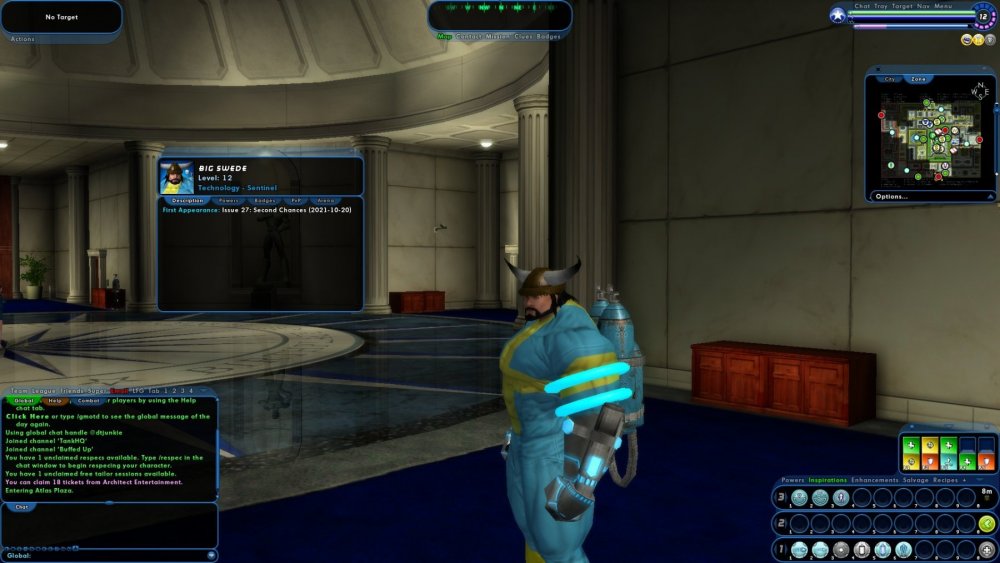
For thematic reasons I wanted to hit the hardcap for psionic resistance. I also have more defense in this build. I focused a lot on dmg procs. I think Tesla Cage is a monster slotted like this. This Hero build was built using Mids Reborn 3.2.17 https://github.com/LoadedCamel/MidsReborn Click this DataLink to open the build! Unclocked: Level 50 Technology Sentinel Primary Power Set: Electrical Blast Secondary Power Set: Electric Armor Power Pool: Leaping Power Pool: Fighting Power Pool: Leadership Power Pool: Speed Hero Profile: Level 1: Lightning Bolt -- Dvs-Acc/Dmg(A), Dvs-Dmg/EndRdx(3), Dvs-Dmg/Rchg(5), Dvs-Acc/Dmg/Rchg(5), GldJvl-Acc/Dmg(7), GldJvl-Dam%(7) Level 1: Charged Armor -- UnbGrd-ResDam(A), UnbGrd-ResDam/EndRdx(3), UnbGrd-EndRdx/Rchg(9), UnbGrd-Rchg/ResDam(9), UnbGrd-ResDam/EndRdx/Rchg(11), ImpArm-ResPsi(11) Level 2: Ball Lightning -- SprSntWar-Acc/Dmg(A), SprSntWar-Dmg/Rchg(13), SprSntWar-Acc/Dmg/Rchg(13), SprSntWar-Acc/Dmg/EndRdx(15), SprSntWar-Acc/Dmg/EndRdx/Rchg(15), SprSntWar-Rchg/+Absorb(17) Level 4: Charged Shield -- Prv-Heal(A), Prv-Heal/EndRdx(17) Level 6: Zapping Bolt -- Apc-Dmg/Rchg(A), Apc-Acc/Dmg/Rchg(19), Apc-Acc/Rchg(19), Apc-Dmg/EndRdx(21), Apc-Dam%(21), GldJvl-Dam%(23) Level 8: Super Jump -- BlsoftheZ-ResKB(A) Level 10: Energize -- Prv-Heal(A), Prv-Heal/EndRdx(23), Prv-EndRdx/Rchg(25), Prv-Heal/Rchg(25), Prv-Heal/Rchg/EndRdx(27), Prv-Absorb%(27) Level 12: Tesla Cage -- UnbCns-Dam%(A), Apc-Dmg(29), GldJvl-Dam%(29), NrnSht-Dam%(31), GldNet-Dam%(31), GhsWdwEmb-Dam%(31) Level 14: Boxing -- Empty(A) Level 16: Static Shield -- GldArm-3defTpProc(A), ImpArm-ResPsi(33) Level 18: Conductive Shield -- UnbGrd-ResDam(A), UnbGrd-ResDam/EndRdx(33), UnbGrd-Rchg/ResDam(33), UnbGrd-ResDam/EndRdx/Rchg(34), ImpArm-ResPsi(34) Level 20: Grounded -- StdPrt-ResDam/Def+(A), ImpArm-ResPsi(34) Level 22: Tough -- UnbGrd-ResDam(A), UnbGrd-ResDam/EndRdx(36), UnbGrd-EndRdx/Rchg(36), UnbGrd-Rchg/ResDam(37), UnbGrd-ResDam/EndRdx/Rchg(37), UnbGrd-Max HP%(37) Level 24: Weave -- LucoftheG-Def/Rchg+(A), ShlWal-ResDam/Re TP(36) Level 26: Charged Bolts -- Dvs-Acc/Dmg(A), Dvs-Dmg/EndRdx(39), Dvs-Dmg/Rchg(39), Dvs-Acc/Dmg/Rchg(39), Dcm-Build%(40), GldJvl-Dam%(40) Level 28: Short Circuit -- Arm-Dmg(A), Arm-Dmg/Rchg(40), Arm-Acc/Dmg/Rchg(42), Arm-Acc/Rchg(42), Arm-Dmg/EndRdx(42), Arm-Dam%(43) Level 30: Lightning Reflexes -- Run-I(A) Level 32: Thunderous Blast -- Bmbdmt-Dam(A), Bmbdmt-Dam/Rech(43), Bmbdmt-+FireDmg(43), Dtn-Acc/Dmg(45), Dtn-Dmg/Rchg(45), PstBls-Dam%(45) Level 35: Power Sink -- PrfShf-EndMod(A) Level 38: Power Surge -- Ags-ResDam/EndRdx(A), Ags-ResDam/Rchg(46), Ags-EndRdx/Rchg(46), Ags-ResDam/EndRdx/Rchg(46), Ags-ResDam(48), Ags-Psi/Status(48) Level 41: Maneuvers -- LucoftheG-Def/Rchg+(A) Level 44: Assault -- EndRdx-I(A) Level 47: Combat Jumping -- LucoftheG-Def/Rchg+(A) Level 49: Hasten -- RechRdx-I(A), RechRdx-I(50) Level 1: Opportunity Level 1: Brawl -- Empty(A) Level 1: Sprint -- Empty(A) Level 2: Rest -- Empty(A) Level 1: Swift -- Empty(A) Level 1: Hurdle -- Empty(A) Level 1: Health -- Pnc-Heal/+End(A), NmnCnv-Regen/Rcvry+(48), Mrc-Rcvry+(50) Level 1: Stamina -- PrfShf-End%(A), PrfShf-EndMod(50) Level 8: Double Jump Level 50: Musculature Core Paragon Level 50: Rebirth Core Epiphany Level 50: Ion Core Final Judgement Level 50: Degenerative Core Flawless Interface Level 50: Assault Core Embodiment Level 50: Clockwork Radial Superior Ally Level 50: Freedom Phalanx Reserve Level 50: The Atlas Medallion Level 50: Task Force Commander Level 50: Portal Jockey Level 1: Shocked ------------
-
-
Possible bug in "Lost Motivation" - wrong level on some mobs
dtjunkie replied to Myamoto Musashi's topic in Bug Reports
-
That's the entire Sky Raider costume though right? I just want the jet pack.
-
This was my solution to the OP's problem. However, I second the motion and would like this as a costume option.
-
Arc 50791 - Building a Better (Bigger) Jump Bot
dtjunkie replied to dtjunkie's topic in Mission Architect
Wow @cranebump! Thank you so much for the great detailed feedback! For the title color I was trying to find something crimson, since it's about the origin of the Crimson Prototype. I really like the Nemesis Base map, but as you experienced I think it's really hard for the player to find that cave entrance. I like your idea of providing that info on the pop-up. Do you think I should just change the map? I thought all my custom critters had descriptions (I definitely wrote them!) so thanks for noticing only the dinos had them. For the final mission I wanted to make the big baddie optional. Not sure if that came across clearly. I'm also struggling with the mission complete objective. I really want that map, but it doesn't have any collect object points, so I have to do either a destroy an object or protect an object. Right now it's protect an object, but I think that makes the mission likely to fail with large spawns. This is my first real effort (made a one shot mission for badges a long time ago). -
Yes this is my solution. I usually design the costume so the blasts are obviously being generated from the technology of the suit.


